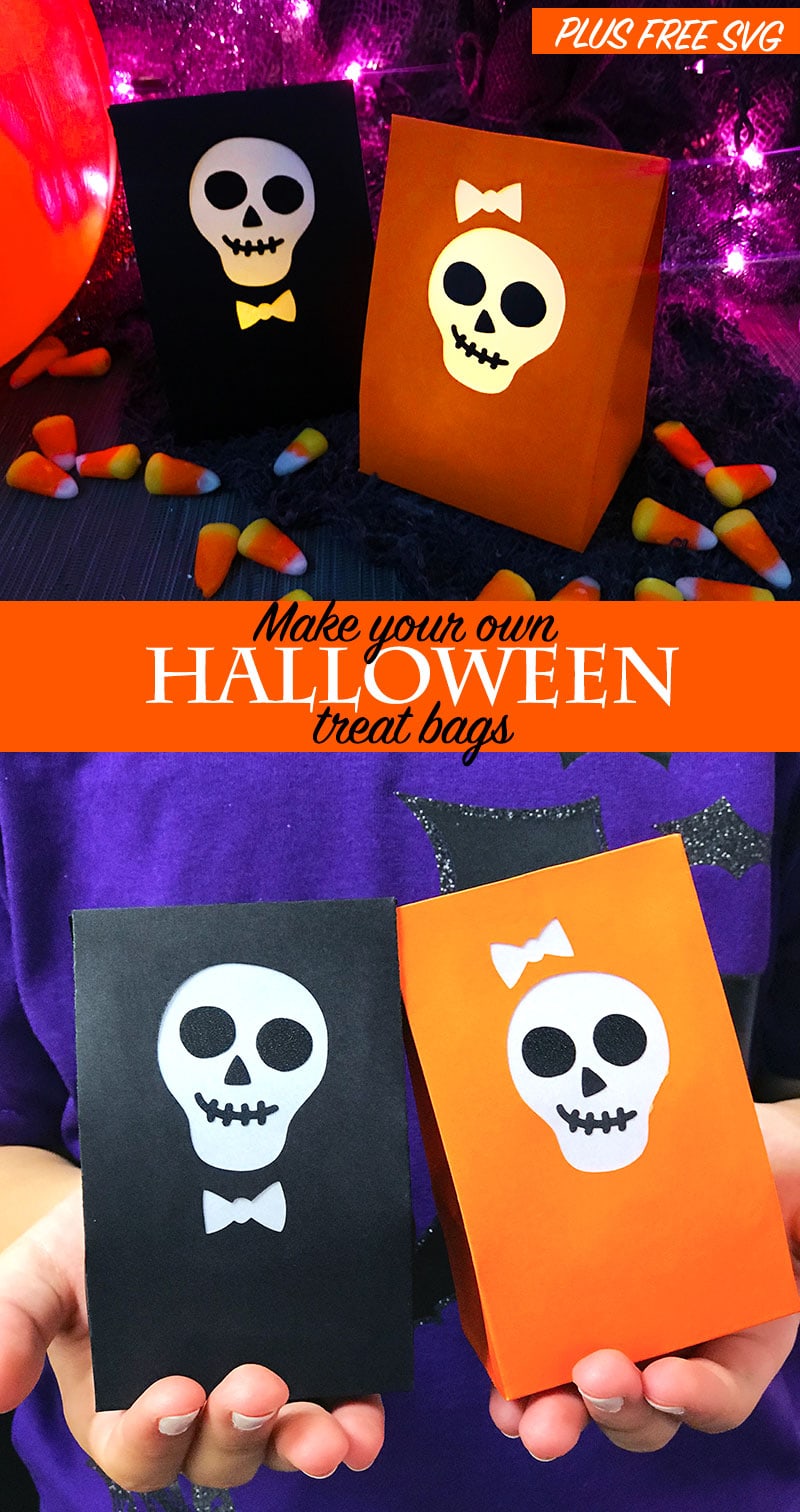
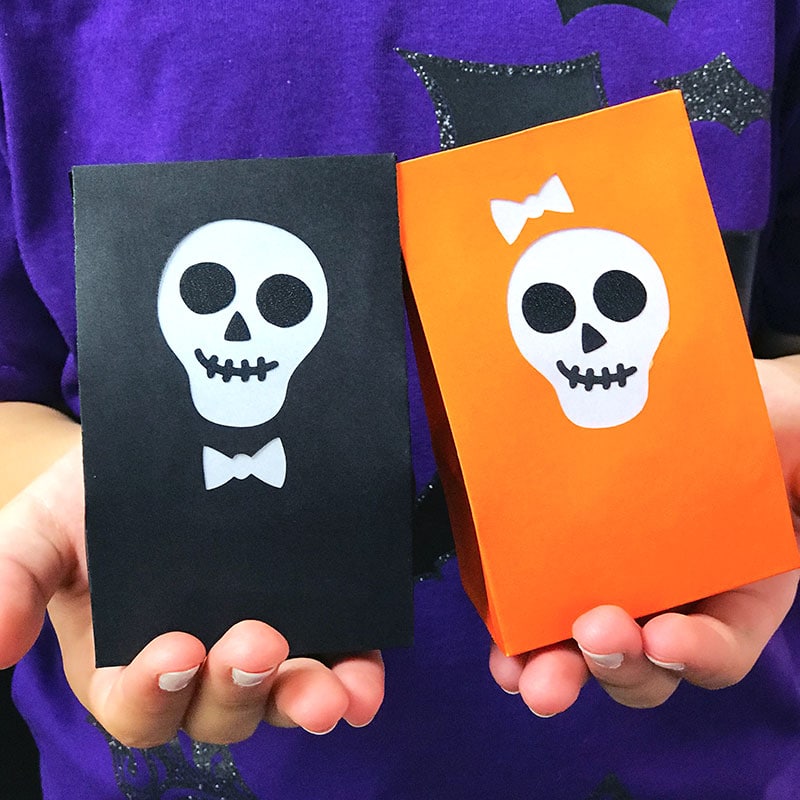
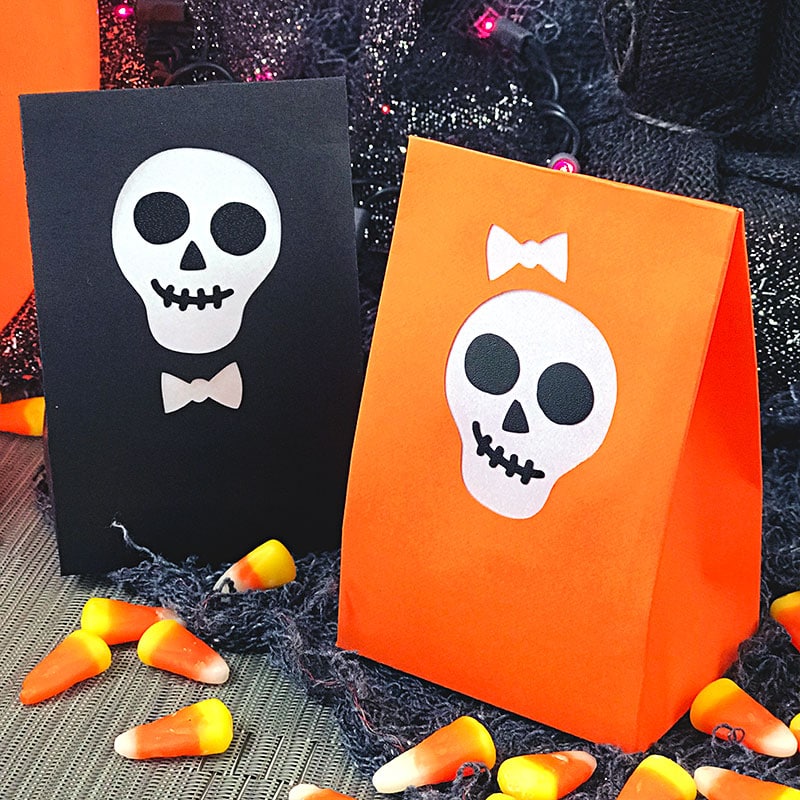
Make your own mini Halloween treat bags. I have a free Skull SVG design for you to use with your Halloween projects this year. Today we're going to turn this one design into two and make little treat bags. This is a quick and easy Halloween Cricut Project. Customize with your own ideas, use the art for more projects and have fun with the kids getting creative!
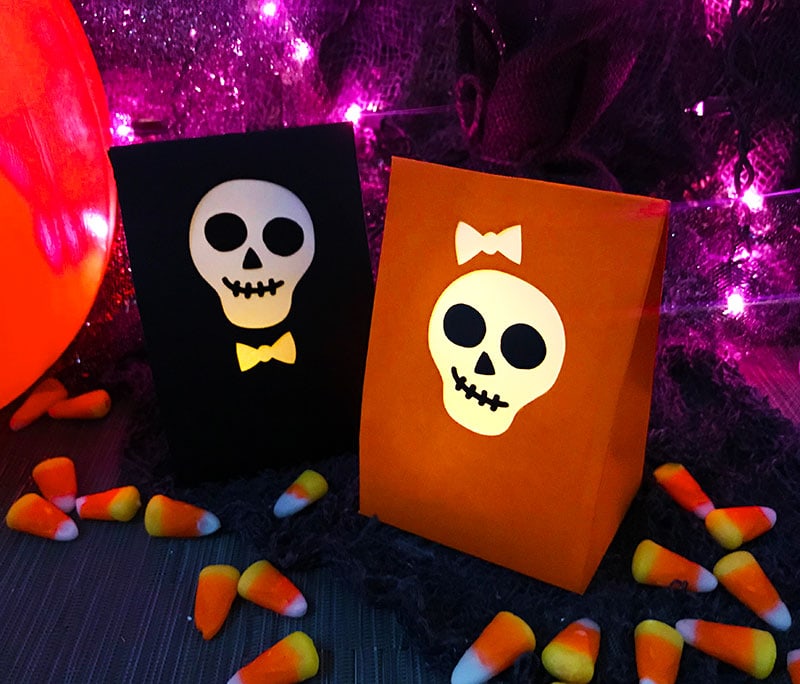
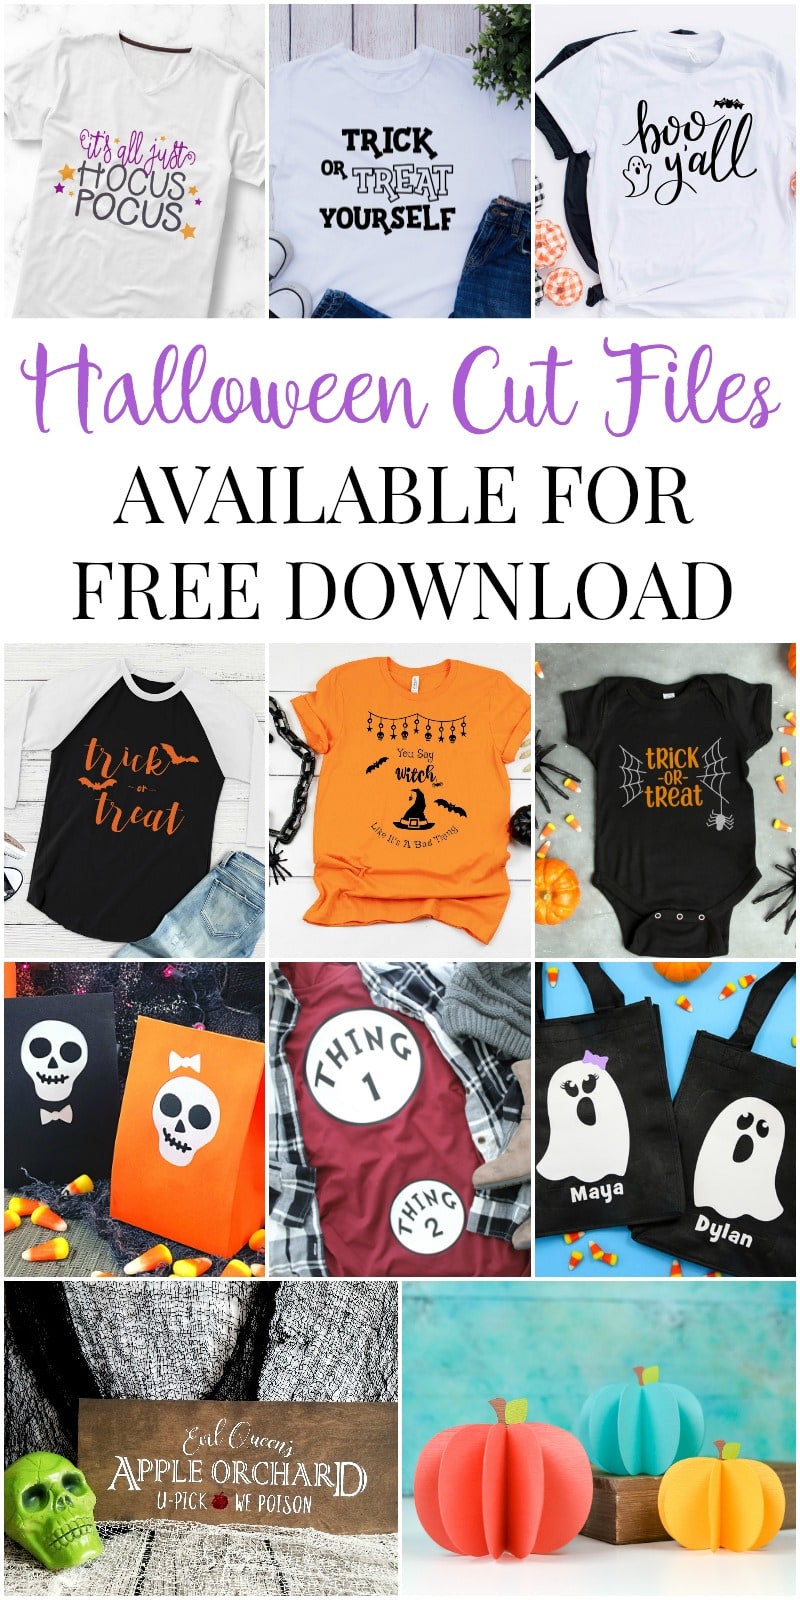
I've joined up with some of my internet design friends to share some Halloween SVG files and projects ideas with you today. You can mix and match all the designs to create all kinds of fun Halloween party crafts and projects. You can find links to all the Halloween project ideas and SVG files used below. Check out all these cool project ideas…
How to Make Mini Halloween Treat Bags
Make cute little treat bags for Halloween. You can cut all the pieces and have the kids decorate the bags as part of a class party. Or how about making the bags ahead of time and fill them up to surprise neighbors with mini boo bags. I'm including two free SVG files for this project. Feel free to combine them with other designs I've shared. You can also use this design to make Halloween luminaries. Just fill the “bags” with a mini, battery operated light instead of candy.
Materials
- Cricut Machine
- Cricut Design Space
- SVG Skull Design by Jen Goode (download below)
- SVG Mini Treat Bag design by Jen Goode (download below)
- Orange and Black paper or cardstock
- Black Vinyl (I used chalkboard vinyl because that's what I had on-hand.)
- Vellum or other translucent white paper (parchment or wax paper mix work too)
- Glue

Instructions
- Download the cut files (skull and treat bag) and upload to Cricut Design Space
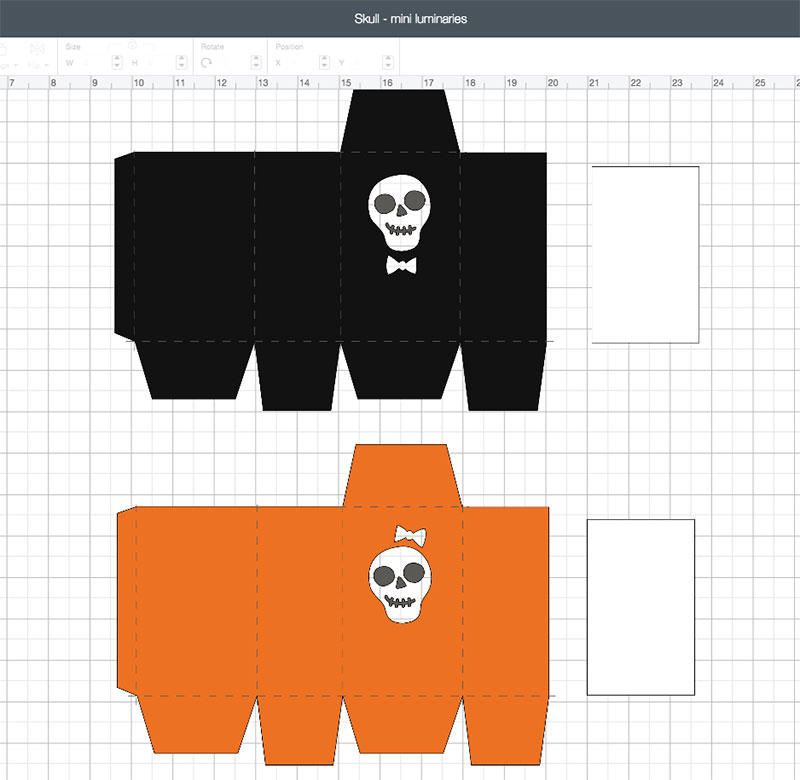
- Lay out the design as shown in the screenshot below. Make sure the top of the bag is properly set with the images (I had to make this project twice as I first created the entire bag upside down – oops!).
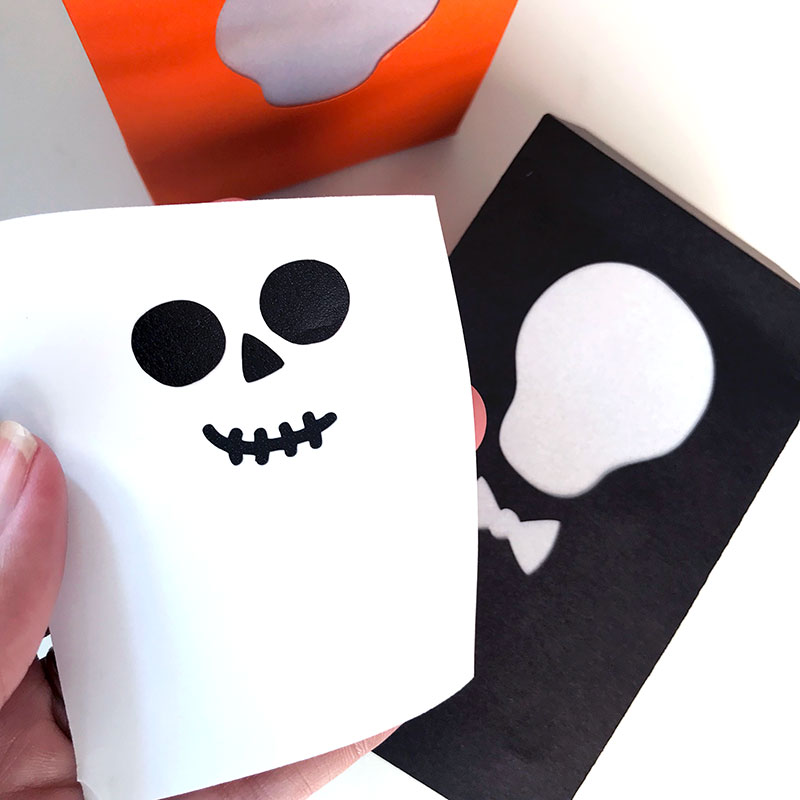
- I used the Contour tool to create separate pieces of the skull to use. I used just the skull outline to slice out of the bag. Then I used just the skull face with vinyl as a sticker to place on the vellum. I also created a rectangle for the vellum on the inside of the bag. You can easily cut this rectangle by hand, I just find it easier to size in Design Space.
- Make sure to adjust the different layers for the appropriate action. The bag has a layer of score lines you need to set to “score” before sending the project to the mat” Don't forget to attach the score lines and the cut shape of the bag together.
- Follow on-screen instructions to cut the different pieces.
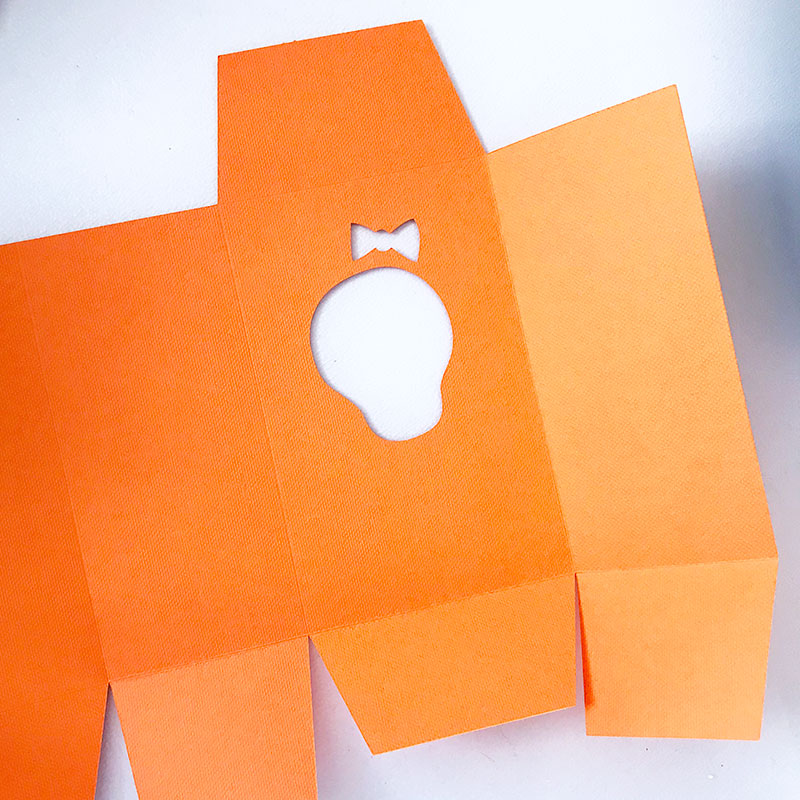
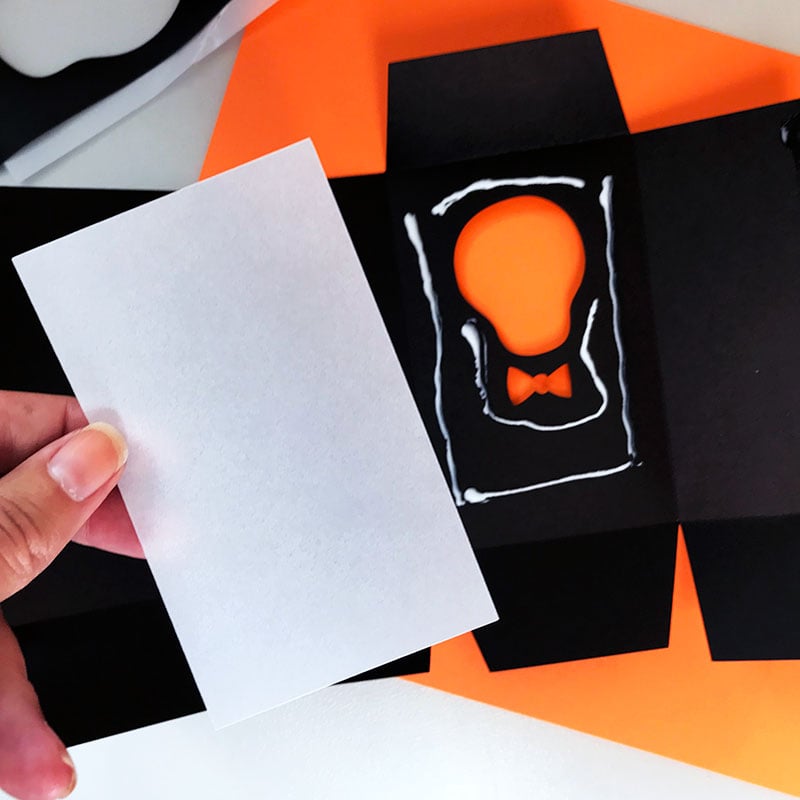
- Assemble the bags. First fold along all the score lines. Then glue the vellum in place on the inside of the bag. Then apply the skull face. Finally, glue the bag side flap and bottom flaps to create the bag.
- You can leave the bag as is to use as an open-top luminary or gently crease the top half of either side to allow the bag to seal shut.
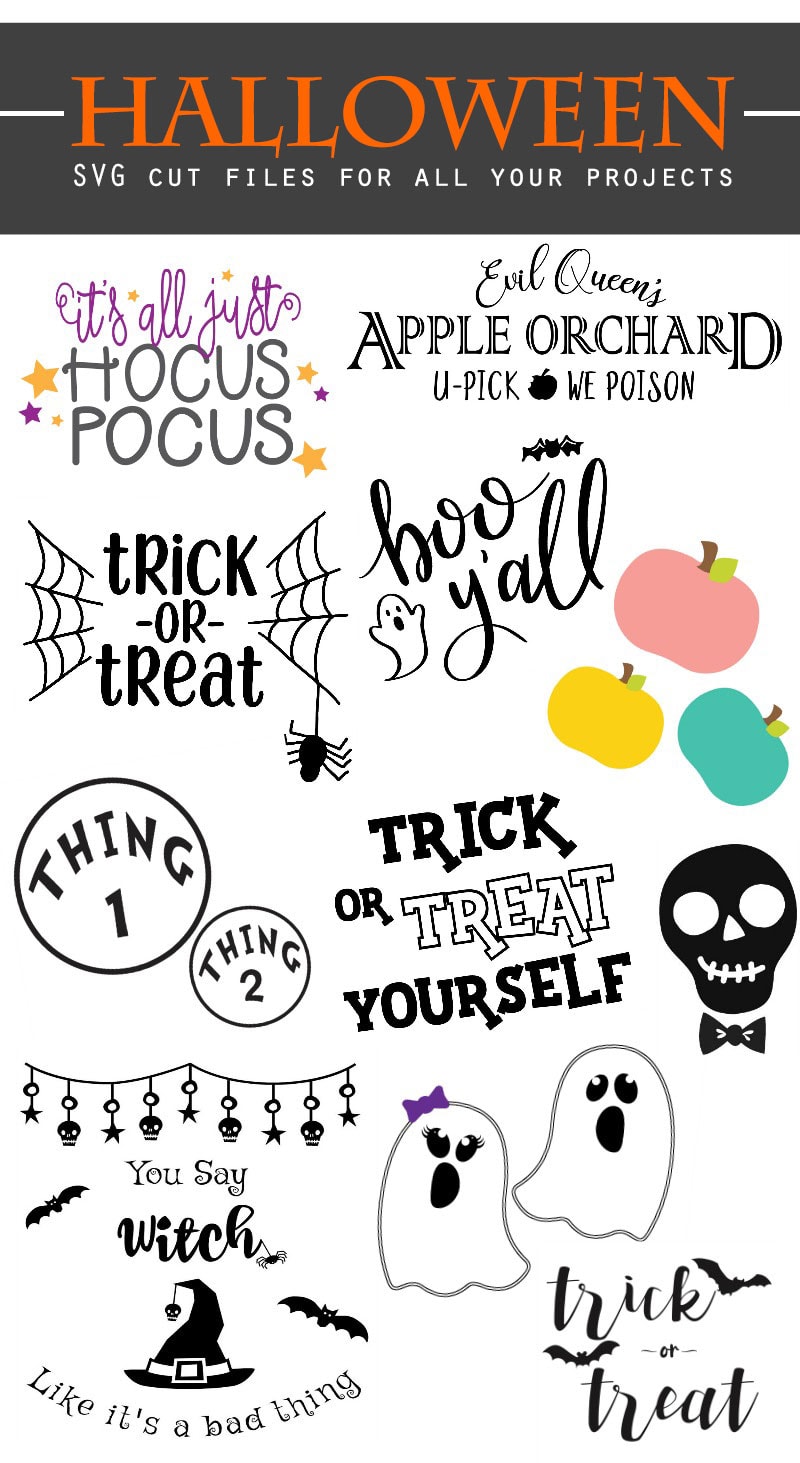
More Halloween SVG Files and Project Ideas
- It's All Just Hocus Pocus – The Simply Crafted Life
- Treat or Treat Spiderweb – Happiness is Homemade
- Thing 1 & Thing 2 – The Country Chic Cottage
- Girl and Boy Ghosts – That's What Che Said
- 3D Pumpkins – Hey Let's Make Stuff
- Queen's Orchard – Crafting in the Rain
- Boo Y'all – Pineapple Paper Co.
- You Say Witch Like it's a Bad Thing – Hello Creative Family
- Trick or Treat – Everyday Party
- Trick or Treat Yourself – Brooklyn Berry Designs
More Halloween Treat Bags You Can Make
I've created a few more Halloween treat bag printables you can make. Check out the Mummy treat bag and the Happy Halloween candy printable treat bag. Or how about making mini boo bags or decorating a pre-made bag to create silly monster face treat bags. If you want to get really fancy, make your own cute little bat bag toppers. Or look for even more Halloween ideas below.
Whether you make your own Halloween treat bags or an entire party set up, we've got you covered with all these fun Halloween SVG files. Download them all and then go get creative making a bunch of Halloween crafts! I can't wait to see what you create.
