Get out your Cricut and make DIY Rainbow Bookmarks in minutes. Today my friend, Jessica Roe, is sharing this fun DIY Cricut project. This is such a fun project for readers of any age.
DIY rainbow bookmarks you can make with your Cricut
Create a fun rainbow and heart bookmark with your Cricut Maker and designs from Jen Goode – project design by Jessica Roe.
Hi everyone! It’s Jess from Everyday Party Magazine, and I’m so excited to be here today! I’m a Cricut enthusiast, and I love using Jen’s cut designs for party decor, favors, and more!
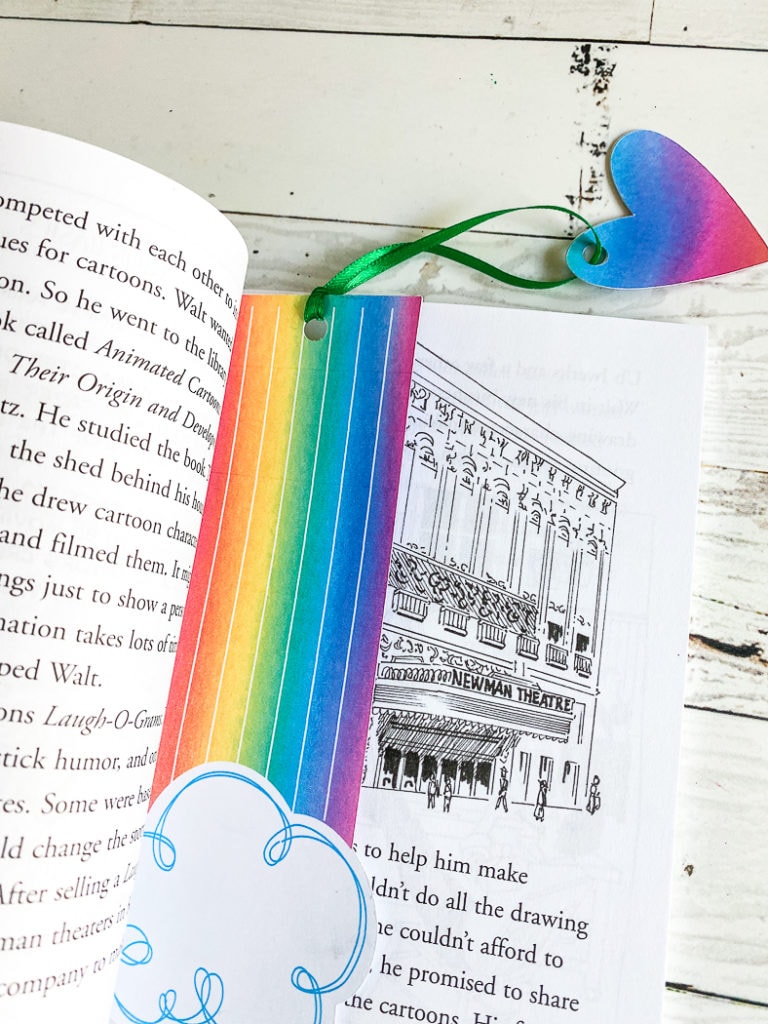
Make your own rainbow and heart bookmark
My little niece is just beginning her reading journey. And, she was telling me about how she always lost her page when she started her nightly reading assignment. So, I suggested we make her a few new bookmarks. She LOVED Jen’s Rainbow and Hearts Print then Cut File. And, with a few simple modifications, we were ready to make an adorable new bookmark for my niece!
Together, my niece and I made a few new bookmarks for her to keep and share in just a few minutes!
HOW TO MAKE YOUR OWN RAINBOW AND HEARTS BOOKMARK
Follow the below instructions to create your own beautiful bookmarks. These cute cardstock bookmarks are perfect for class treats, reader reward programs, and even little party favors.
Materials
- Cricut Maker cutting machine
- Cricut Design Space account
- Rainbow and Hearts cut design by Jen Goode (#M68C4E1)
- Cricut Design Space Access
- Card Stock Paper
- Printer
- Ribbon
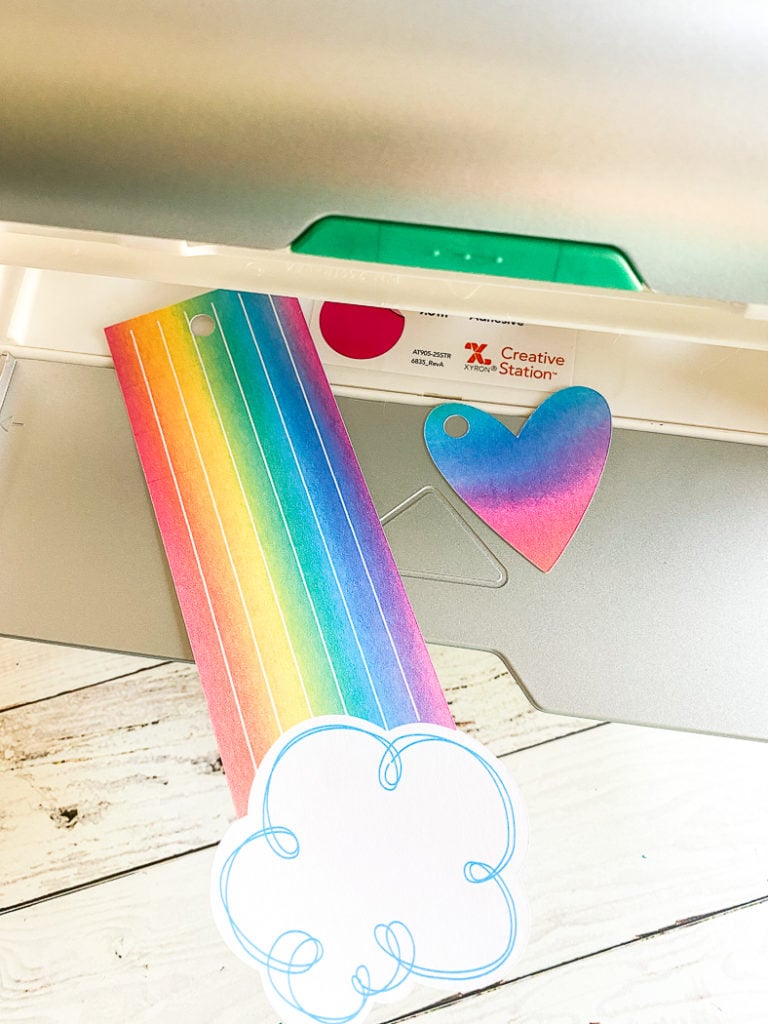
- Adhesive Tape Runner or Xyron Creative Station
- A New Book
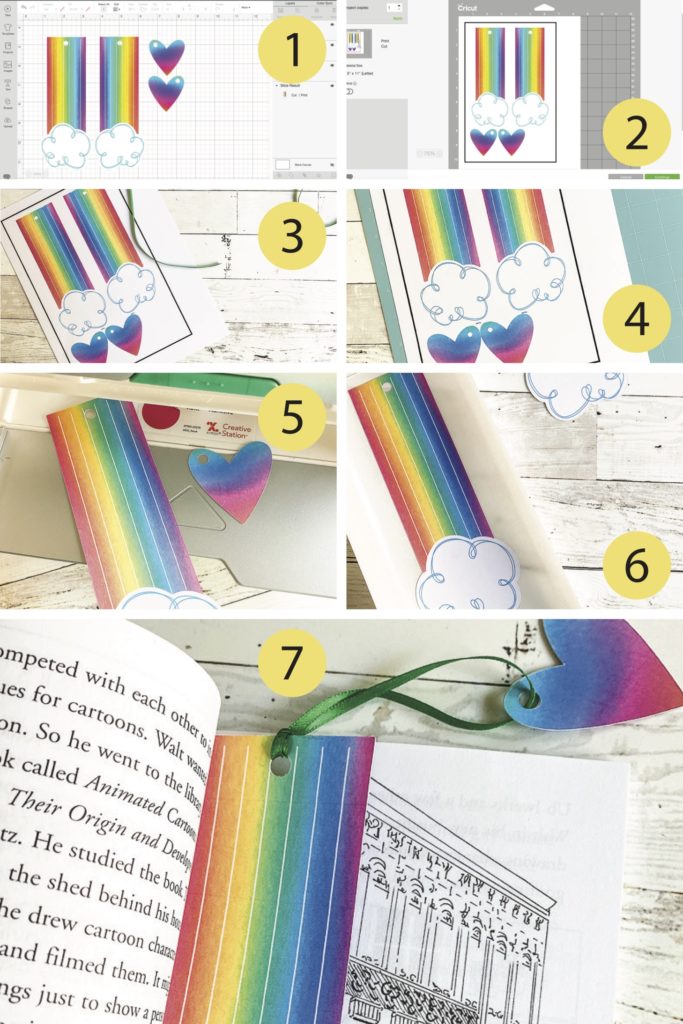
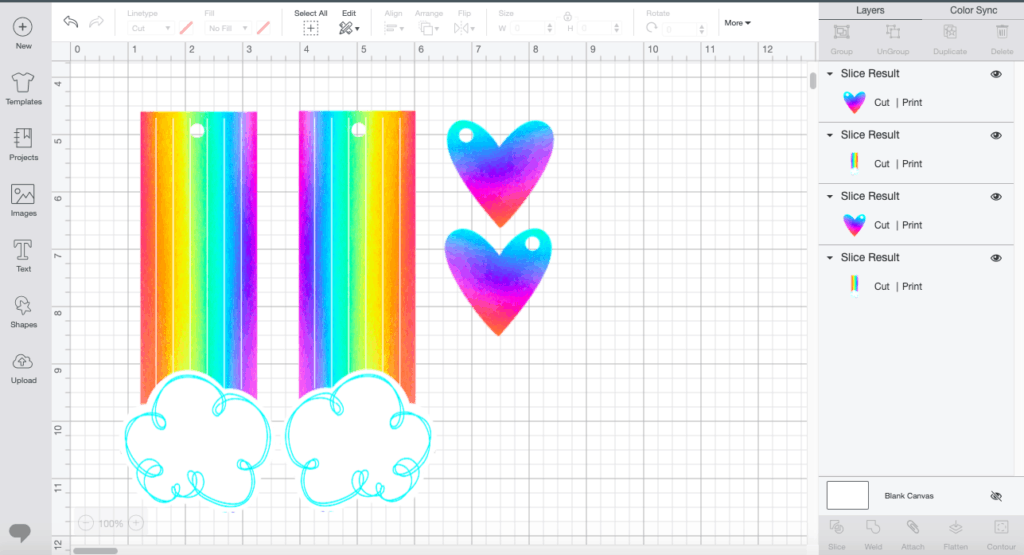
We’ve set up a Cricut Design Space canvas to help you get started with this Rainbow Bookmark. Click here to open up this rainbow bookmark project in Cricut Design Space.
Instructions
- Open the Design Space Cut File and size it to fit your needs.
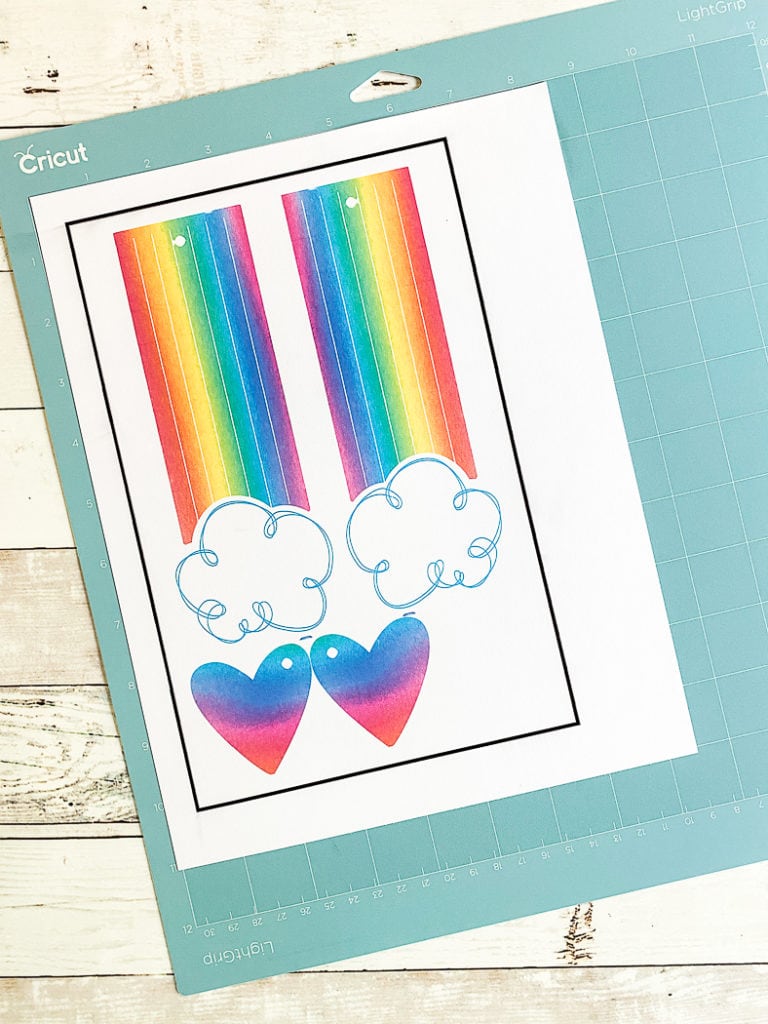
- Send the project to print. Print in high quality on heavy card stock for the best results.
- Place the printed image on a light grip cutting mat and send it to cut.
- Weed the excess paper.
- Apply adhesive to the back of one of the rainbows and hearts that you just print then cut.
- Stick the rainbow and hearts together.
- Tie a ribbon with slack through the heart. Then, loop the ribbon and heart through the small hole in the top of the rainbows.