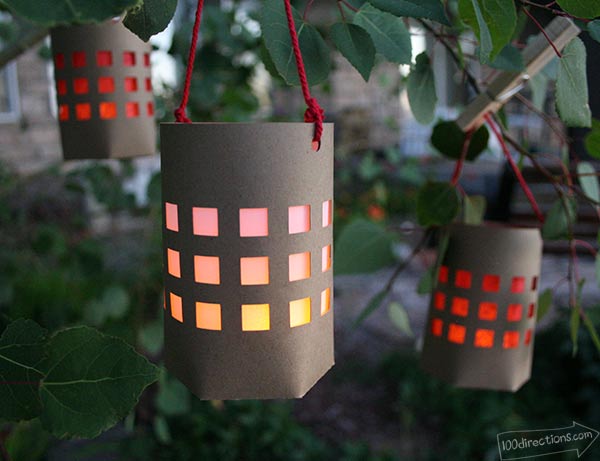
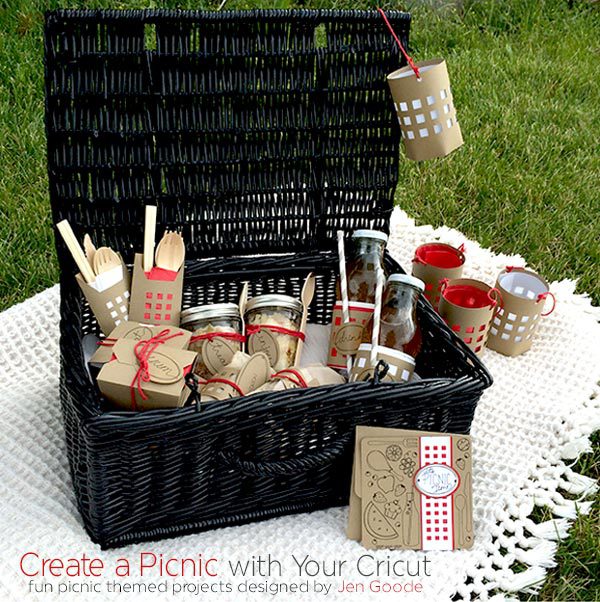
Add a little romance or maybe a little sparkly magic to your next picnic with pretty paper lanterns. This is a Cricut project you can make all year round. These lanterns look really pretty at nice and are super easy to make if you have a Cricut Explore.
Make a Picnic Lantern with Your Cricut
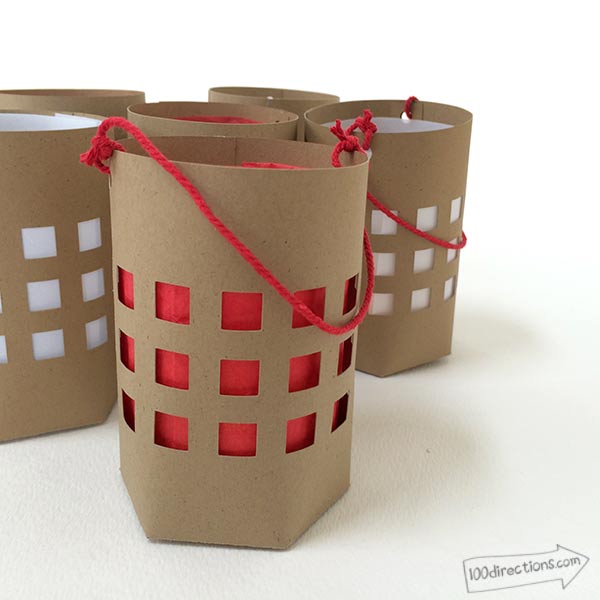
I've created a lantern cut pattern you can use that is available in the Cricut Design Space. Pick your favorite cardstock colors and create a lovely little paper lantern perfect for any occasion! Tip: make sure to use battery-operated votive candles – real candles will likely burn the paper.
Materials:
- Cardstock
- Tissue paper or Vellum
- Twine
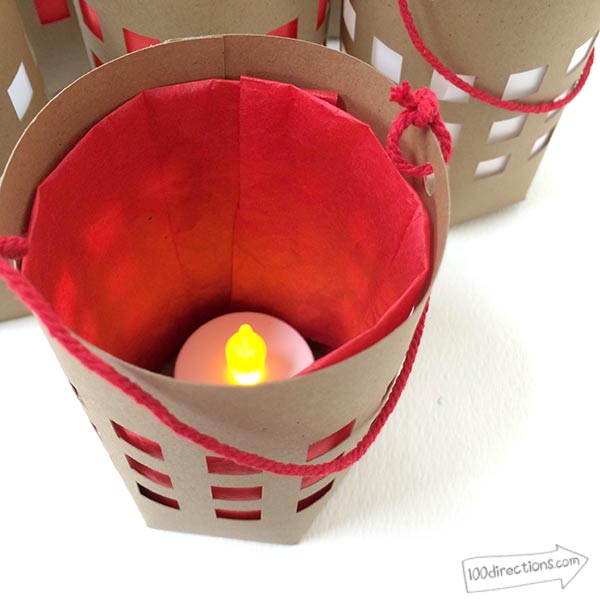
- Battery operated votive candle
- Picnic Lantern cutting file designed by Jen Goode
- Glue/adhesive
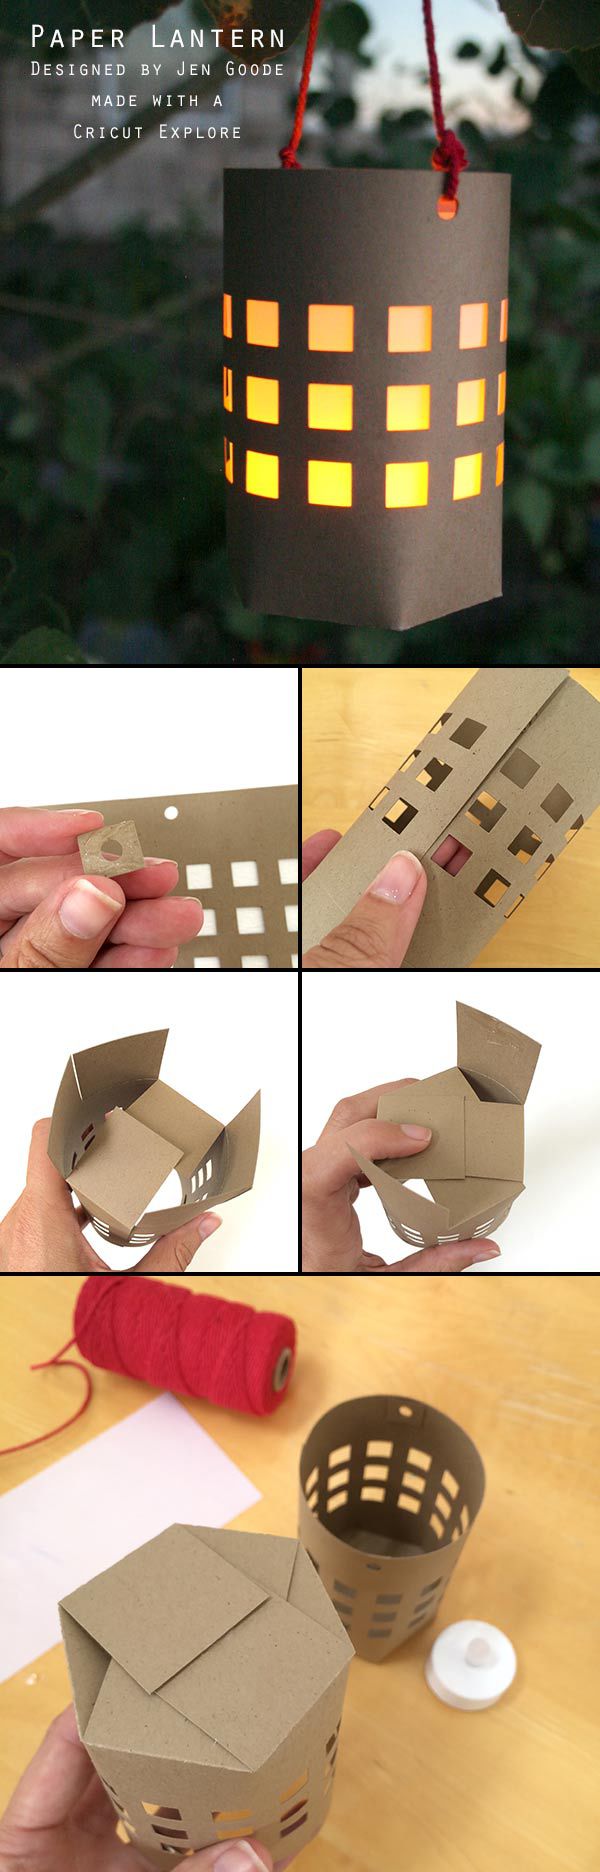
To make this project: first, visit the Cricut Design Space Make-it-Now lantern project in the Cricut Design Space and follow the on screen instructions. Once all your paper pieces have been cut, assemble the lantern:
Instructions
- Fold lantern bottom flaps along score lines.
- Glue hole reinforcements to the inside of the lantern, overlapping the existing holes. These aren't required, but will help your lantern hold up to any
- Roll the main lantern piece and adhere in place along the edge.
- Fold in two opposite flaps. Do not glue these first two flaps, this will prevent glue from oozing out at the inside bottom of your lantern, keeping the presentation clean and pretty.
- Fold two more opposite flaps and adhere in place.
- Fold the last two flaps in and adhere in place.
- Cut and tie twine through the holes at the top of the lantern.
- Add the lantern insert. Make sure the paper you use for the insert is somewhat translucent so the light can shine through.
- Add the battery-operated votive candle. Hang and enjoy!
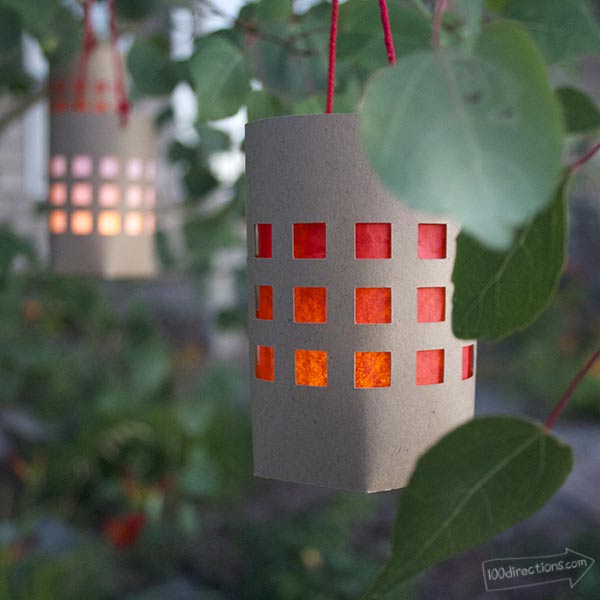
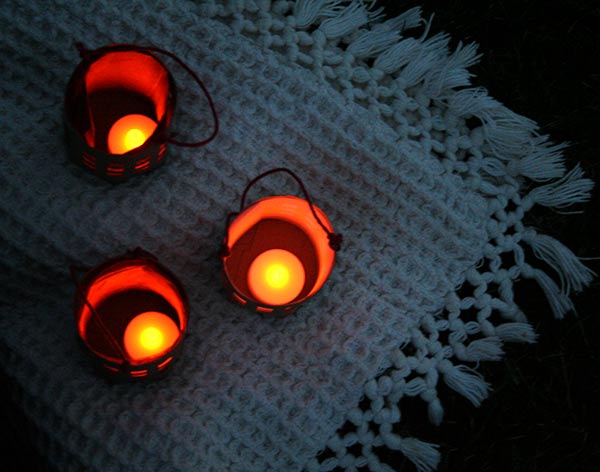
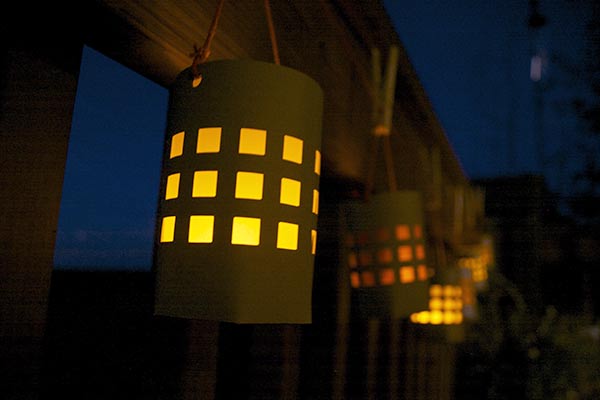
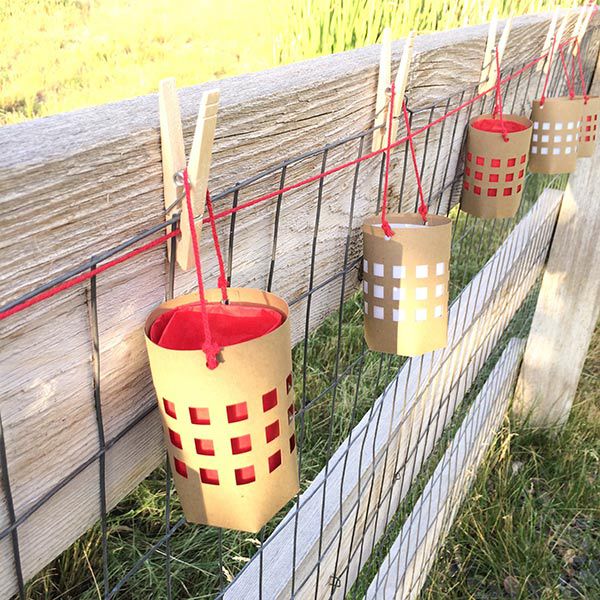
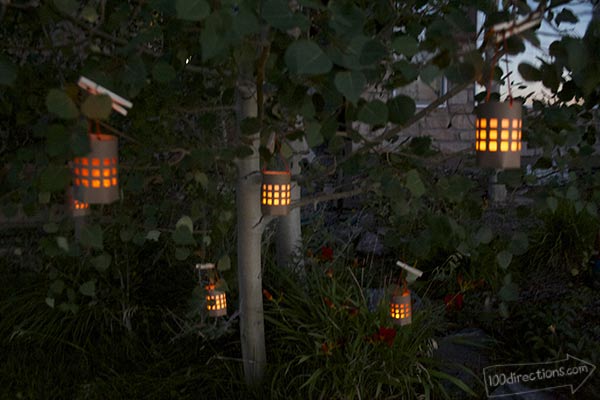
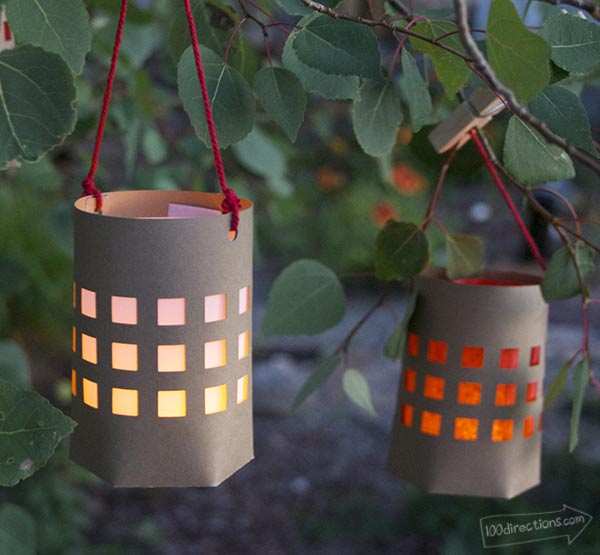
Mix and match paper colors to accent whatever event you'd like. You can also leave out the inside paper layer to create a brighter glow with your lantern. Hang the lanterns from a fence, from a tree branch or set out on the table. Whatever you do, I hope you enjoy the atmosphere these lanterns create.
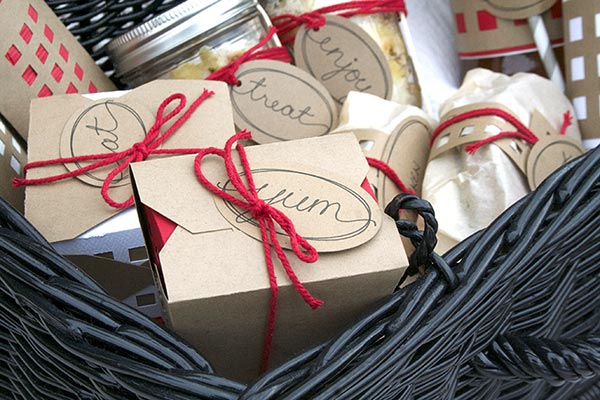
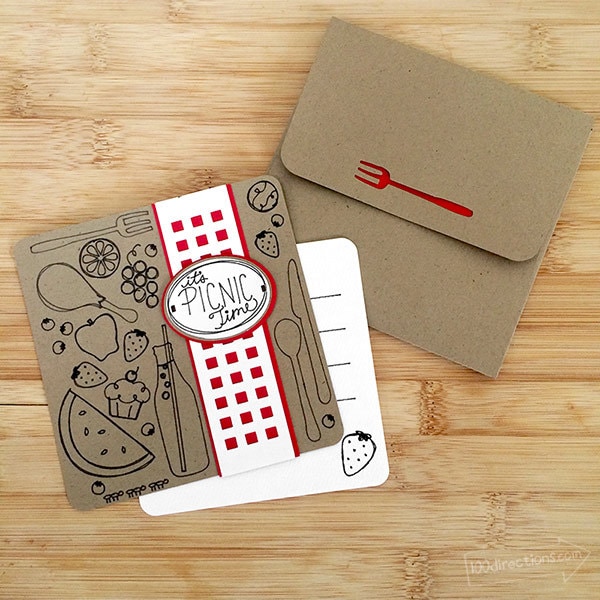
More Picnic Projects in this Collection
There are more projects in this DIY picnic set. Mix and match the pieces that fit your specific event. This DIY picnic collection includes everything you need to make your own picnic-themed set up. From food boxes to labels, each project is designed to dress up any picnic party! Here are more picnic craft tutorials you can make:
More Cricut Projects:


