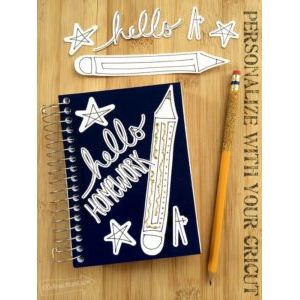
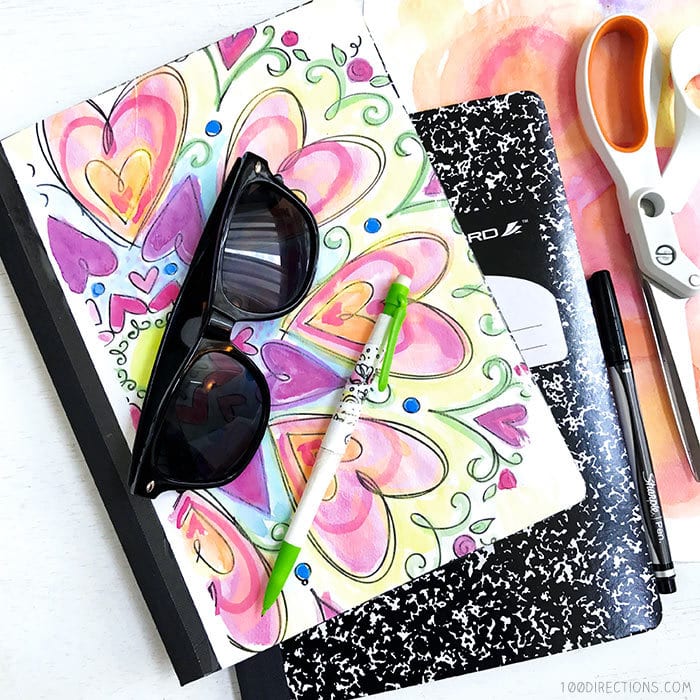
Lets get crafty with this back-to-school Cricut machine project. Make a personalized homework notebook. Instead of buying expensive paper products for school, how about buying the basic items and personalizing with fun designs and your Cricut.
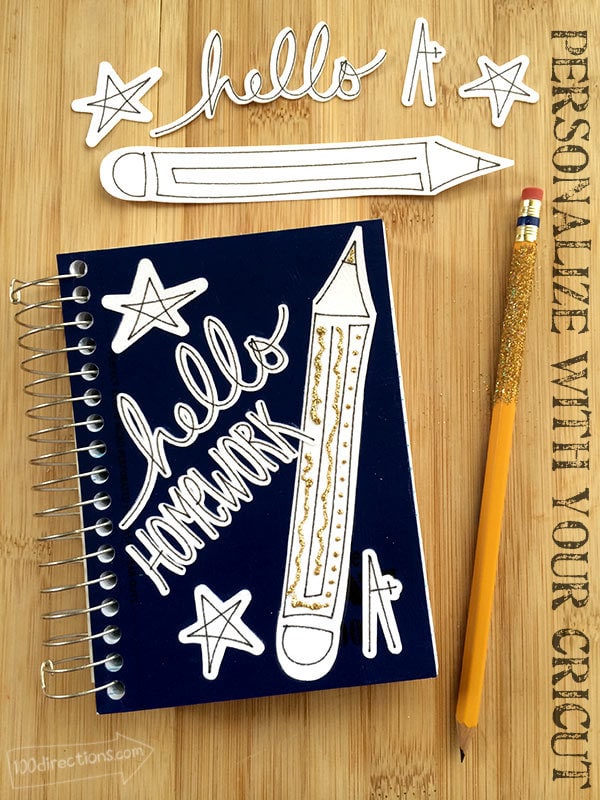
Mix and match your favorite paper colors, add designs you love and create it all at home for less than the high-priced items at the store! I designed this homework notebook using a 97¢ mini notebook that I decoupaged.
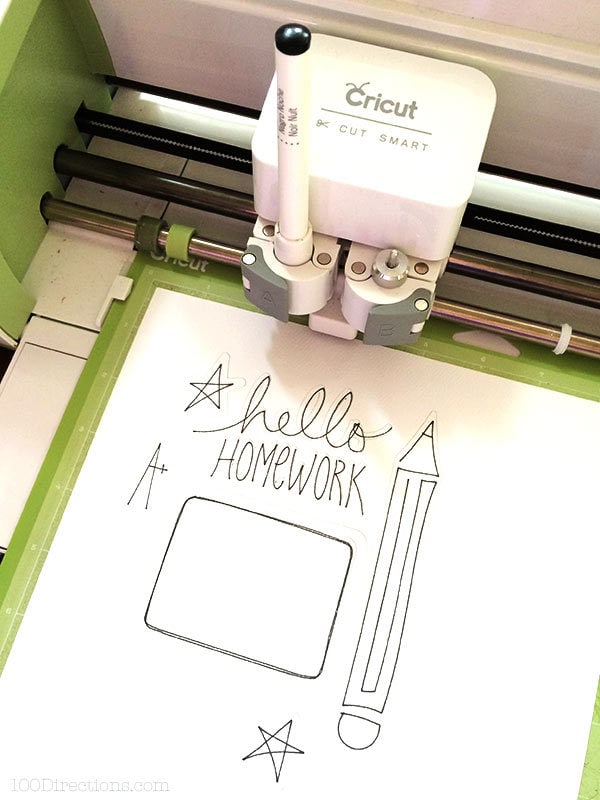
You don’t need much to personalize your own school supplies. Using a Cricut machine, you can cut more complicated designs with ease. I designed all of the art I used in this project and the Cricut not only cut the designs, but also drew all the line art.
Create fantastic customized school supplies as simple or as complex as you’d like.
For this project, I choose to decoupage the paper designs to the notebook, but you could also adhere the cut designs using any kind of adhesive or cut from vinyl. I like the idea of coating the paper with Mod Podge for extra wear and tear protection.
Materials you need:
- Cricut machine
- Black Cricut pen
- Small notebook
- Cardstock
- Mod Podge
- Paintbrush
- Glitter glue

How to make a Hello Homework notebook with your Cricut:
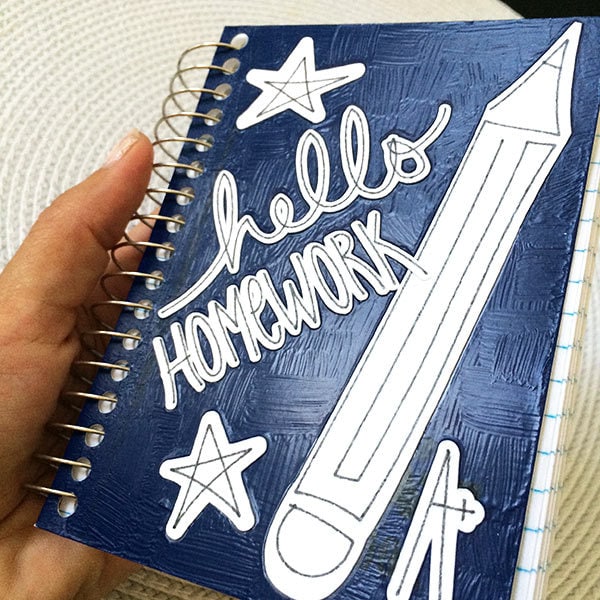
- Create the Cricut cut art. Upload the Hello Homework design file to your Cricut design space. Cut the design on thick white cardstock. Remove all the cut pieces.
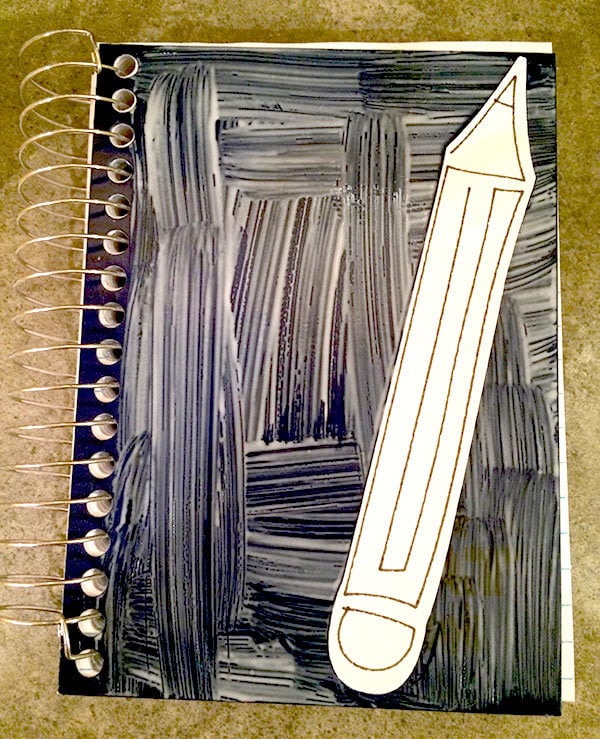
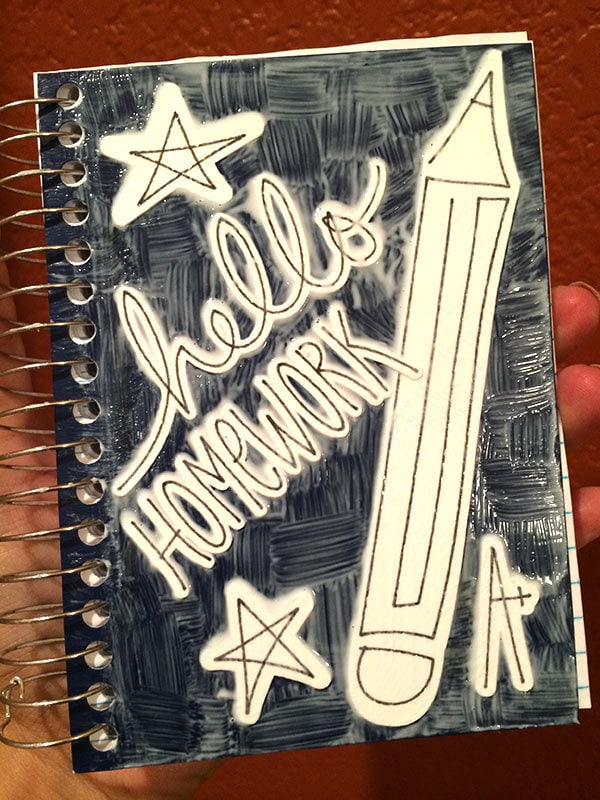
- Coat the cover of your notebook with Mod Podge using the paintbrush. Carefully place the art cut pieces where you’d like on the notebook. Using the end of the paintbrush, carefully press the designs in place. Allow to dry. Optionally, apply a coat of Mod Podge to the entire cover of the notebook, including the art cuts. Allow to dry completely.
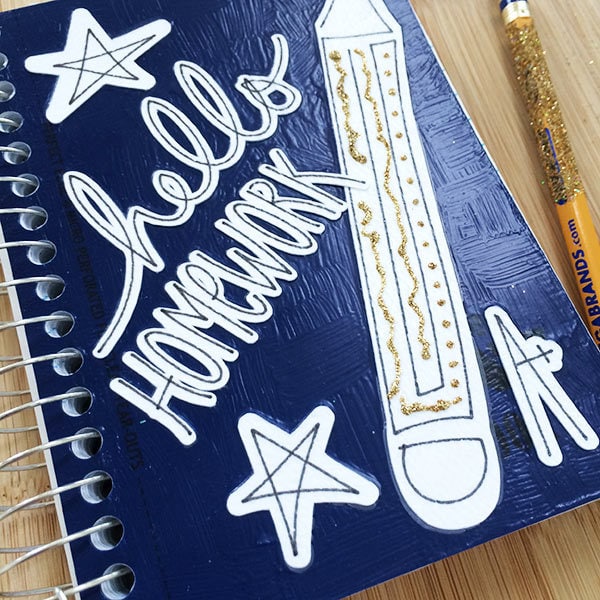
- Apply glitter accents to finish the look using glitter glue. I used Martha Stewart gold glitter glue – the tip of the glue tube is nice and small, so I was able to add smaller details of glitter to my personalized notebook. Allow to completely dry before using.
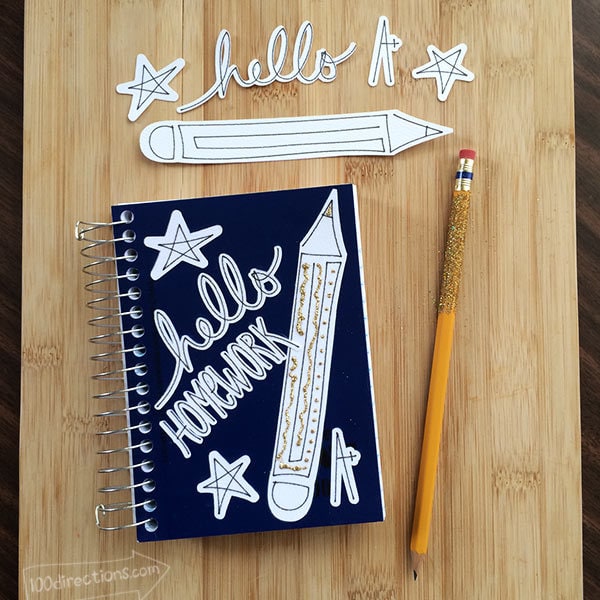
Download the designs I created for this notebook art and use the pieces in your next project. Just save this SVG file to your desktop and then upload as an SVG to your Cricut Design Space account. I hope you love it!

Hello Homework SVG designed by Jen Goode
I hope you enjoy this school project! If you use it, I’d love to hear about it!
More Back-to-school themed projects you might like:
- School images designed by Jen Goode to use with your Cricut
- Make Cute Binders for School
- Personalize notebooks with printable art (my project tutorial at Skip to My Lou)
- Use Iron-on Vinyl to customize a notebook


I haven’t figured out how to cut and write at the same time. When I put in a design it won’t let me choose both cut and write. For example, I added text to a square that I wanted cut out, but it only outlined the square with the pen after putting in the words. I also have trouble with the Explore cutting or writing above the mat line even when I am holding the mat tight to the rollers.