Let's talk about personalize your own accessories. From hats and shoes to purses and even luggage, you can customize your stuff in just a few minutes. You don't need to get out the fancy paint pens or pay for expensive embroidery either. In just a few minutes you can create your own lovely personalized accents with the help of iron-on vinyl and the Cricut Mini.
This Cricut product will help you level up your crafting game! Customize items you had no idea you could create with. I'll show you how!
Let's talk about it! Have you ever tried to personalize your own things with heat set transfers and vinyl?
Easy Customizing with EasyPress Mini and HTV
Today we're going to talk about customizing projects with the EasyPress Mini. There are a million things you can personalize with heat set materials like iron-on vinyl (HTV) and Infusible Ink products. However, until now, small and hard-to reach projects were off limits.
Why EasyPress Mini
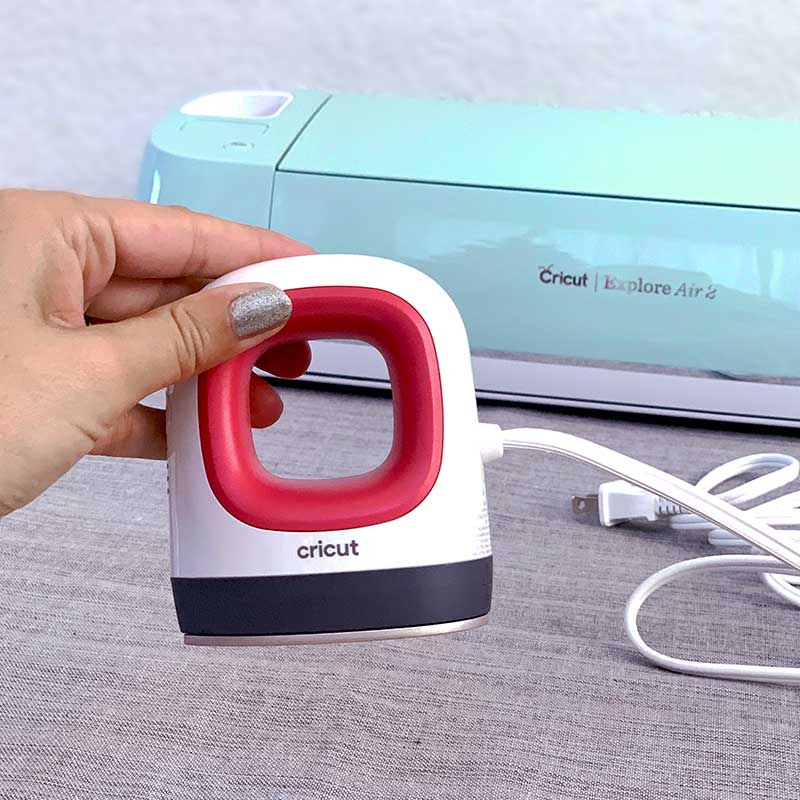
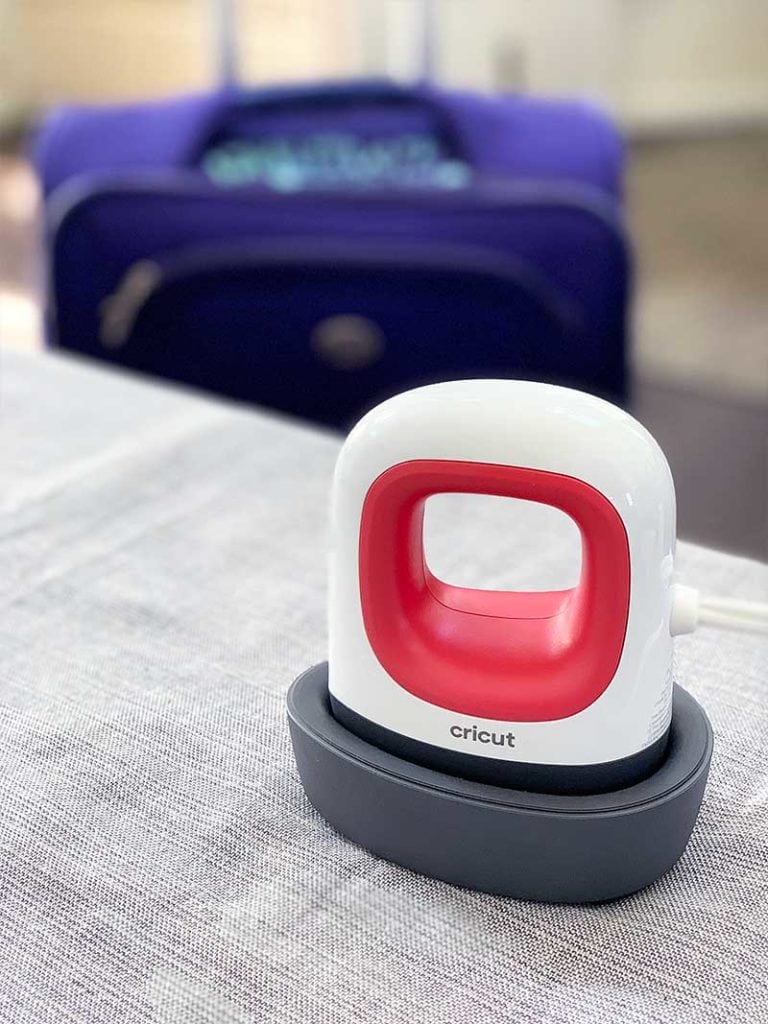
The EasyPress Mini helps you get professional heat transfer results every time. It has an evenly heated plate and simple controls allowing for foolproof, flawless transfers that really last. The Mini version of the EasyPress we already know and love is designed for those smaller projects like hats, sneakers and hard-to-reach spaces. I love it, I hope you do too!
EasyPress Mini is not the average mini iron
If you're thinking a little craft iron is just as good. Oh no it isn't! Traditional craft irons, while small, don't usually reach the temperatures for real iron-on success.
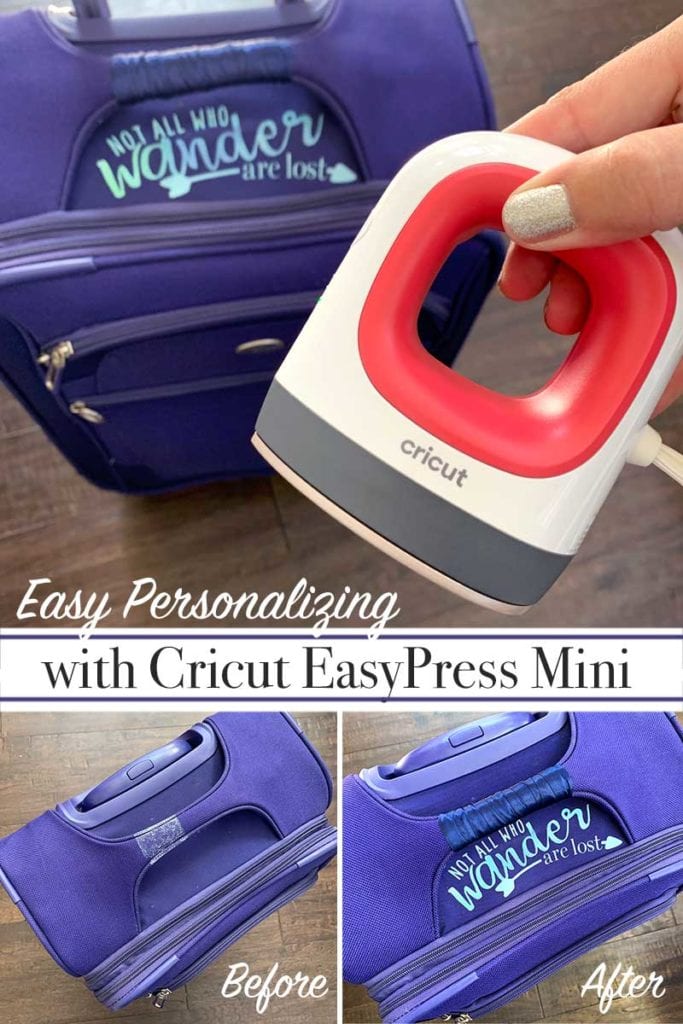
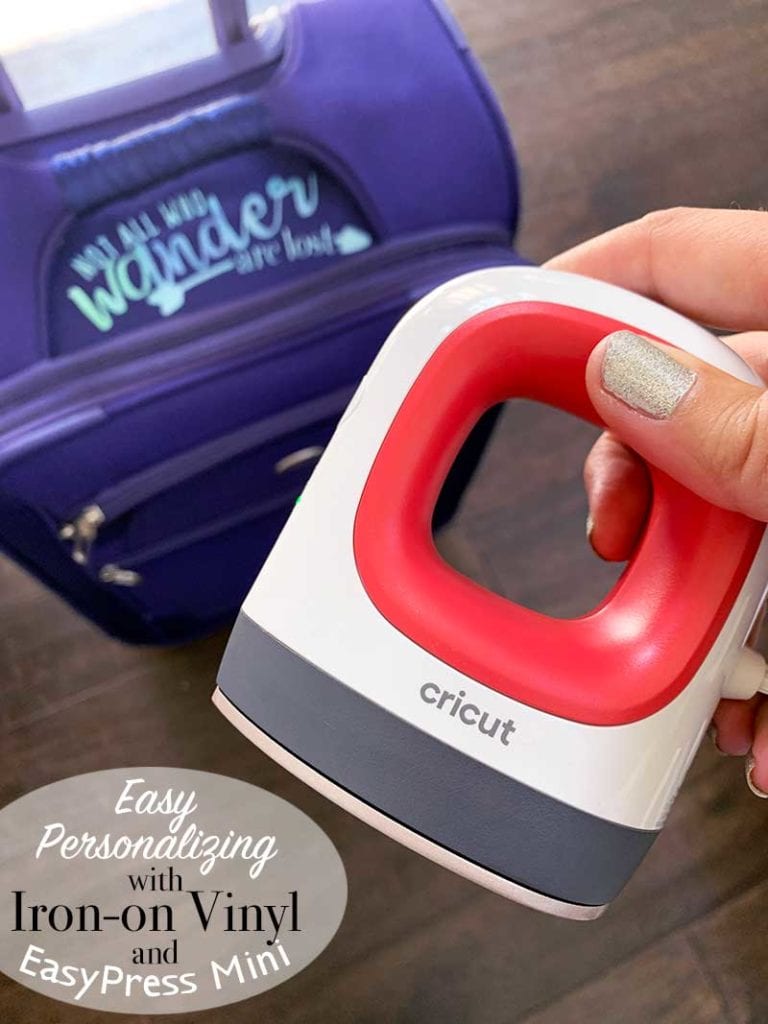
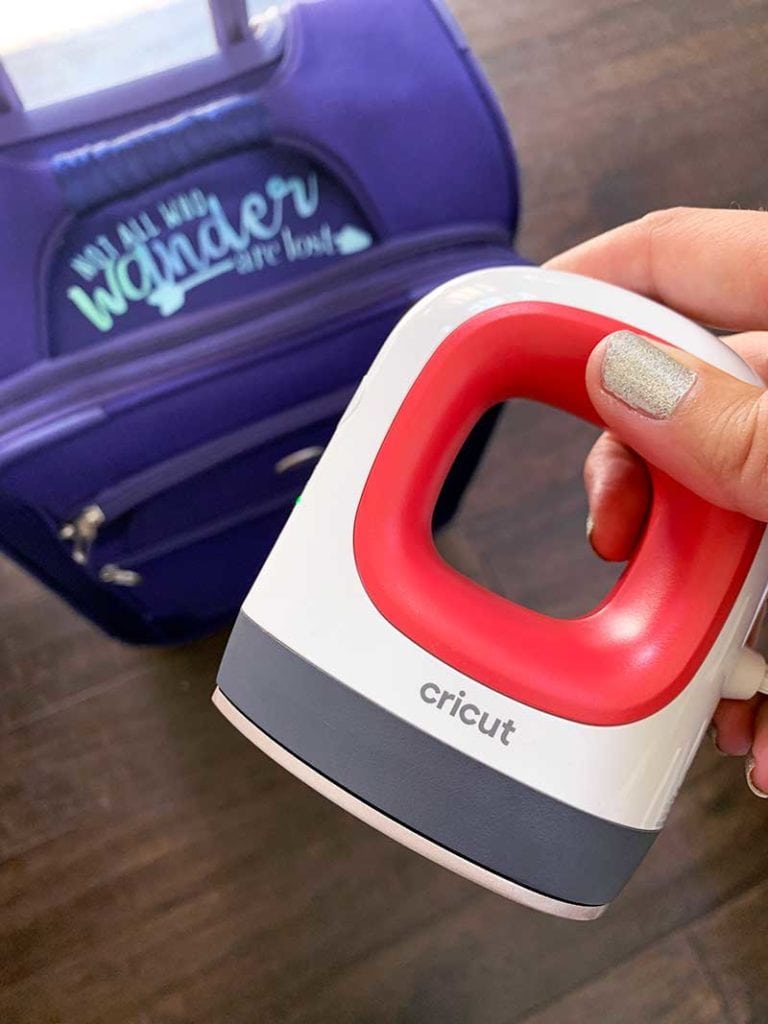
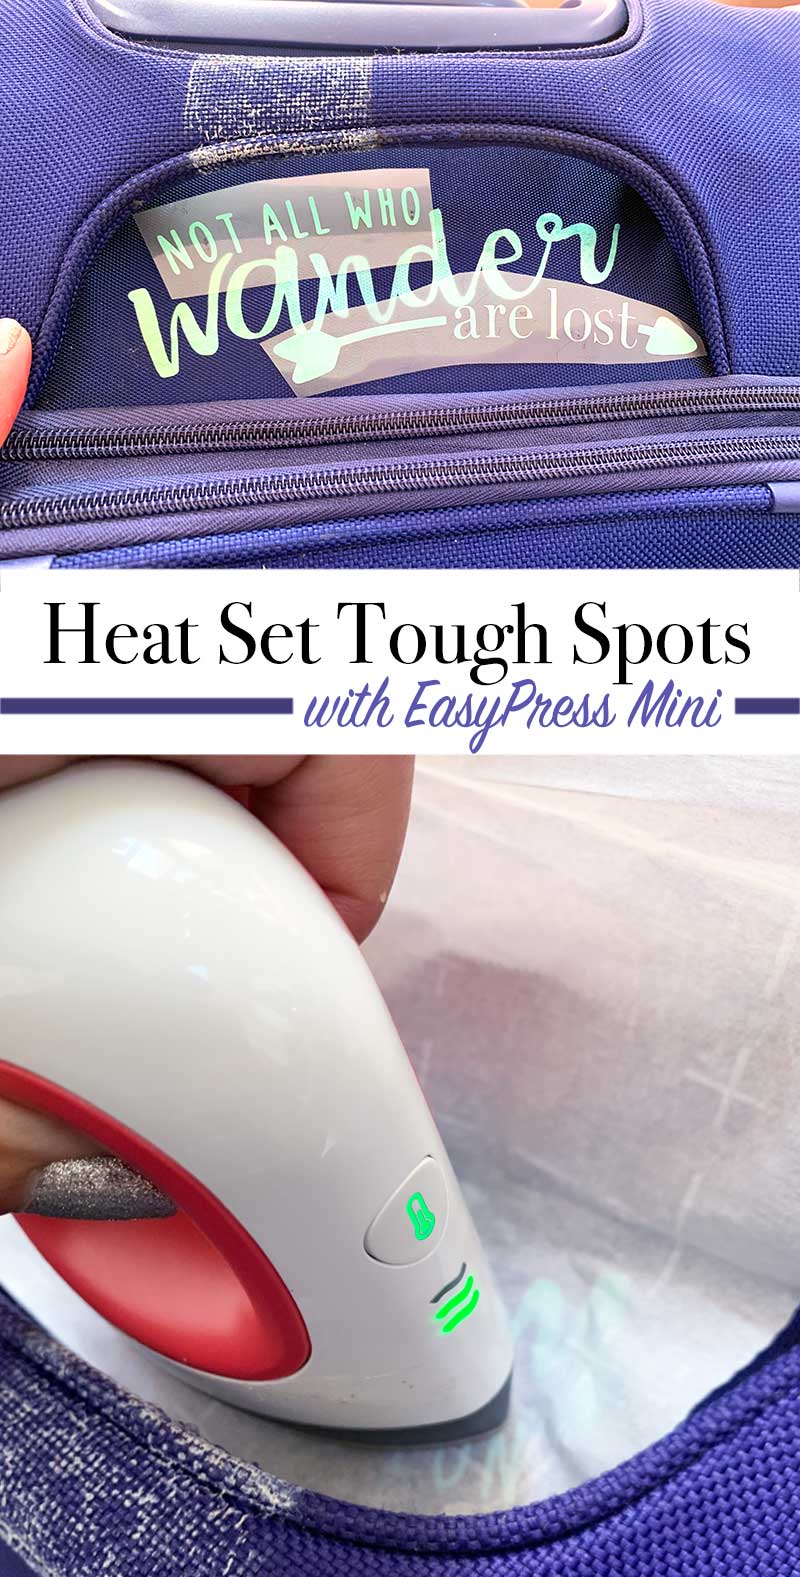
DIY Personalized Luggage with EasyPress Mini
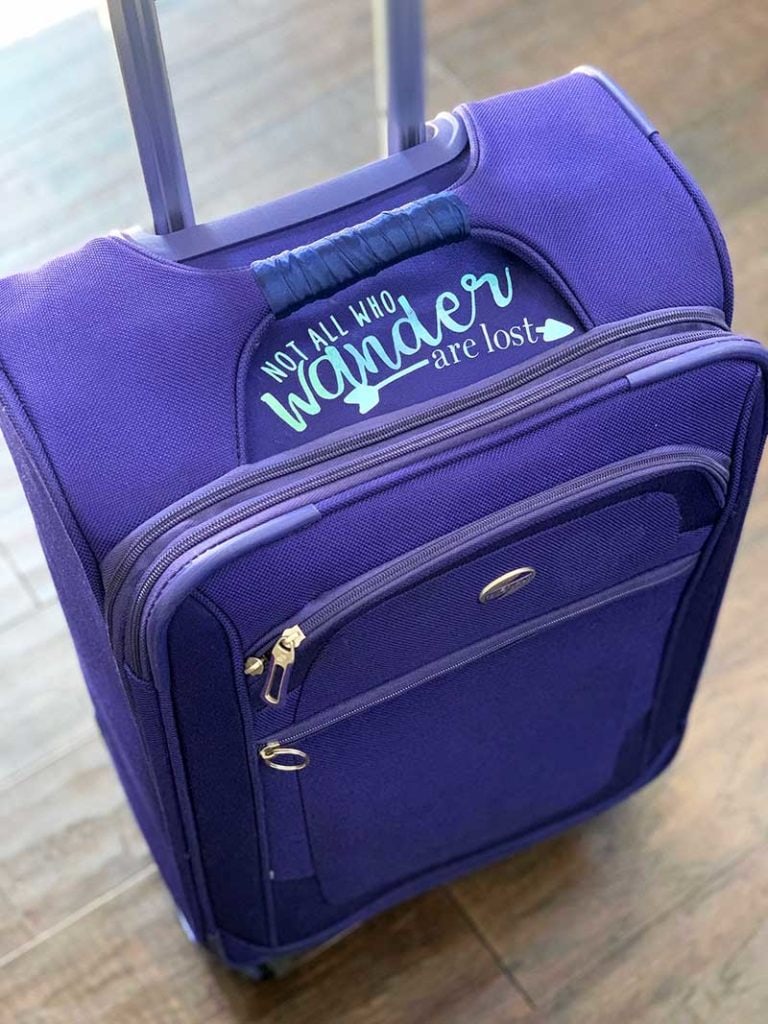
Do you struggle to spot your luggage? I can't tell you how many times have I've been traveling and seen all the look-alike bags. It seems that most everyone has a basic black suitcase. If you don't tie a ribbon on it or paint a big monogram, you're destined to hunt for your bag for a big. Have you seen all the ways people personalize their luggage so it's easier to find?
Usually I go with a patterned design duct tape “ribbon”. It's cute, but it gets worn and when you try to remove the tape it leaves a gross adhesive residue. We've also used paint markers, stickers, adhesive vinyl, Sharpie pens and brush on painted designs. All to help pretty up our travel bags and make ours stand out.
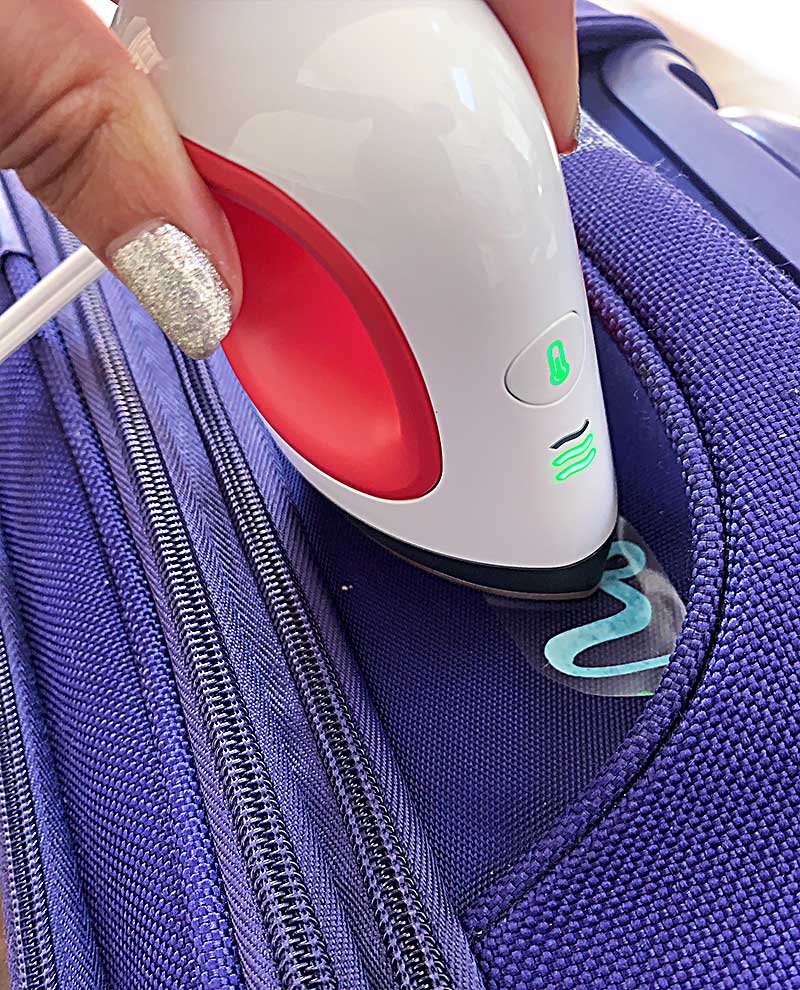
Now I have a new favorite. Iron-on vinyl designs! And while using a standard iron is cumbersome and requires some agility, the EasyPress Mini is my new best friend. It's got the perfect heat settings to create fantastic personalized projects and it's smaller than a traditional iron so little spaces is no problem.
How to personalize luggage with HTV
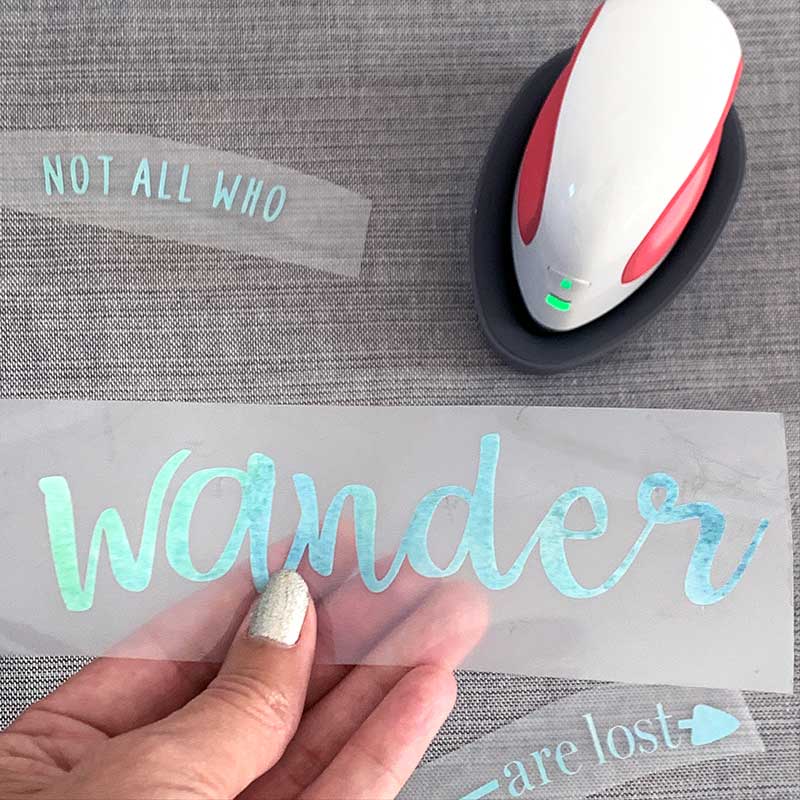
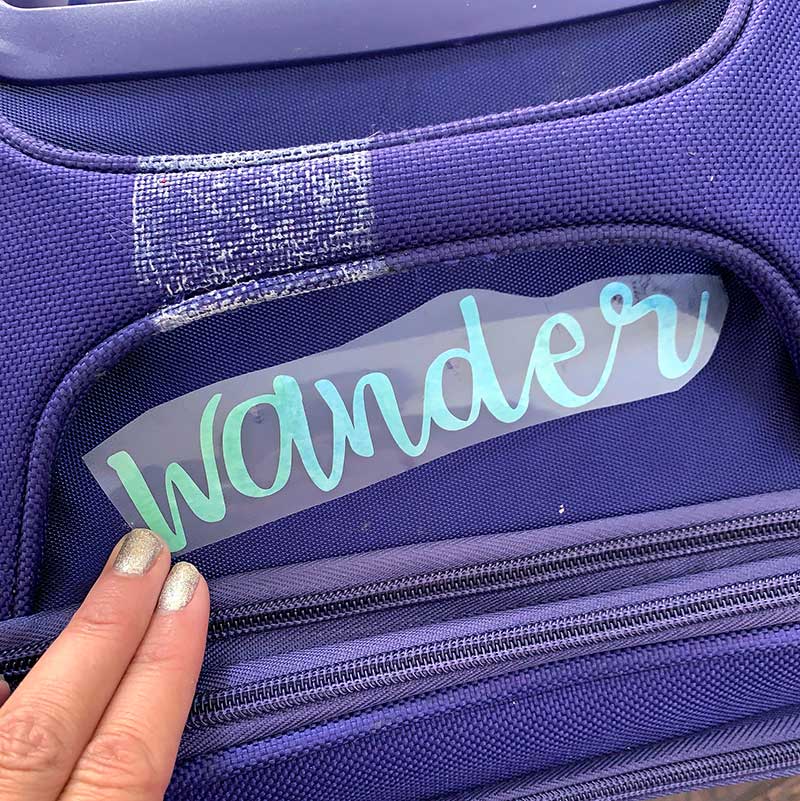
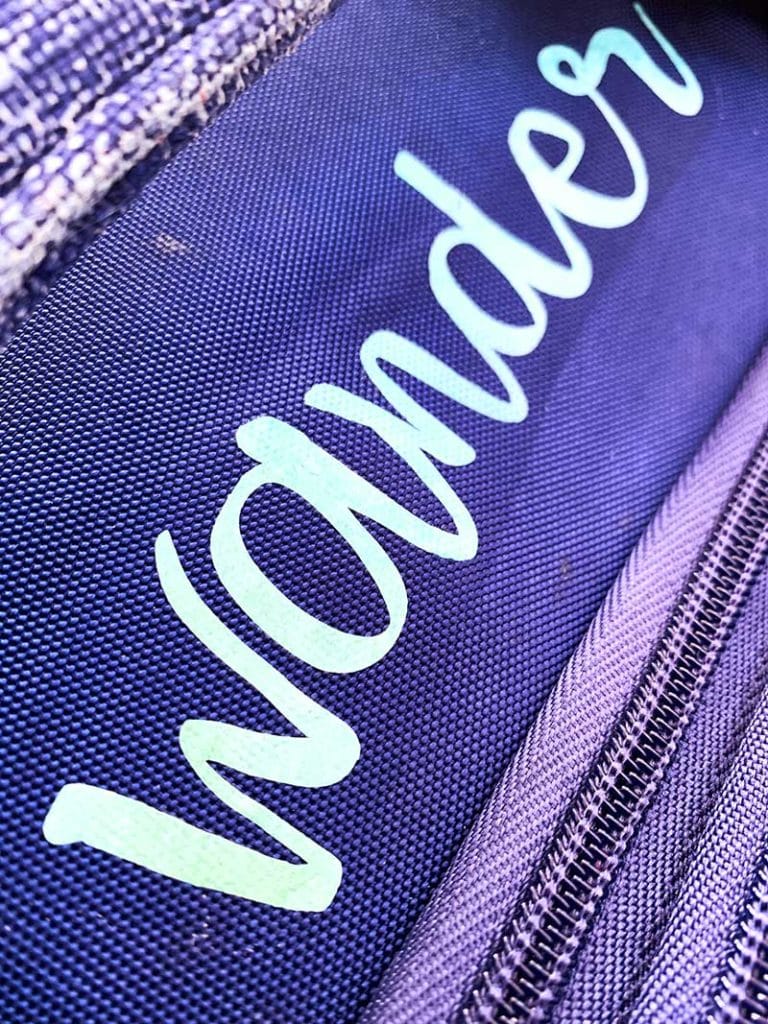
You can personalize luggage in minutes with the EasyPress Mini. The heat transfer process is quick and easier than you might think. Just pick a design, cut it out and heat set!
I'm starting off with just a few word art designs, but I I'll definitely be adding more as time goes on… maybe a new design for every place I visit!
Materials
- Project to personalize (I'm using a carryon suitcase)
- EasyPress Mini
- Favorite Iron-on vinyl
- Cricut machine
- Cricut word art canvas in Cricut Design Space
- Weeding tools
- Heat press mat if needed (the luggage doesn't need it)
Instructions
- Create a design with HTV and your Cricut machine. I've set up a Design Space canvas you can use with the word art I used for my project. Remember to mirror your design!
- Weed design as needed
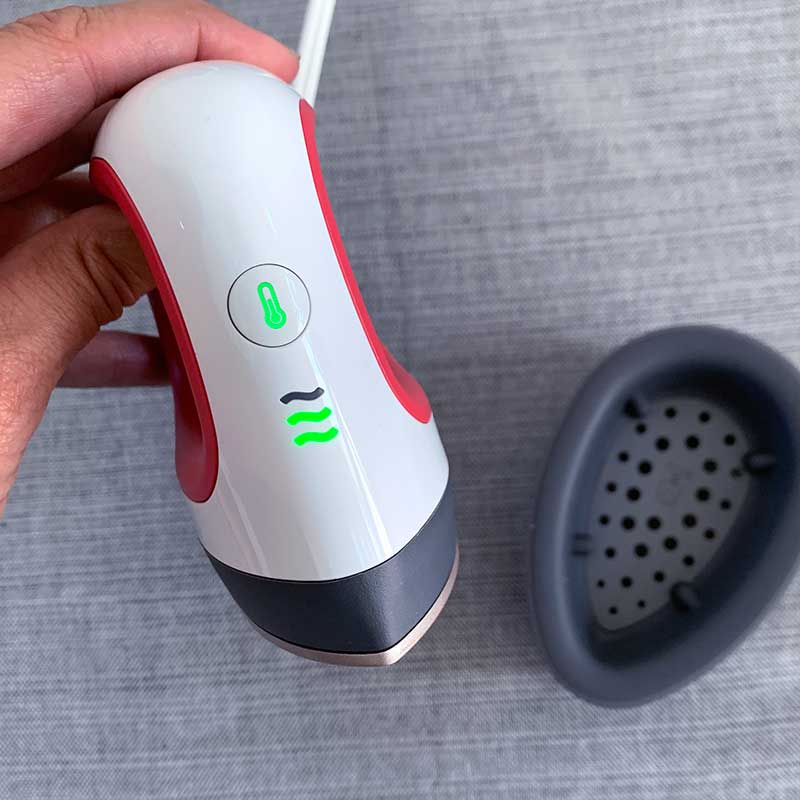
- Pre-heat the EasyPress mini to desired temperature as directed.
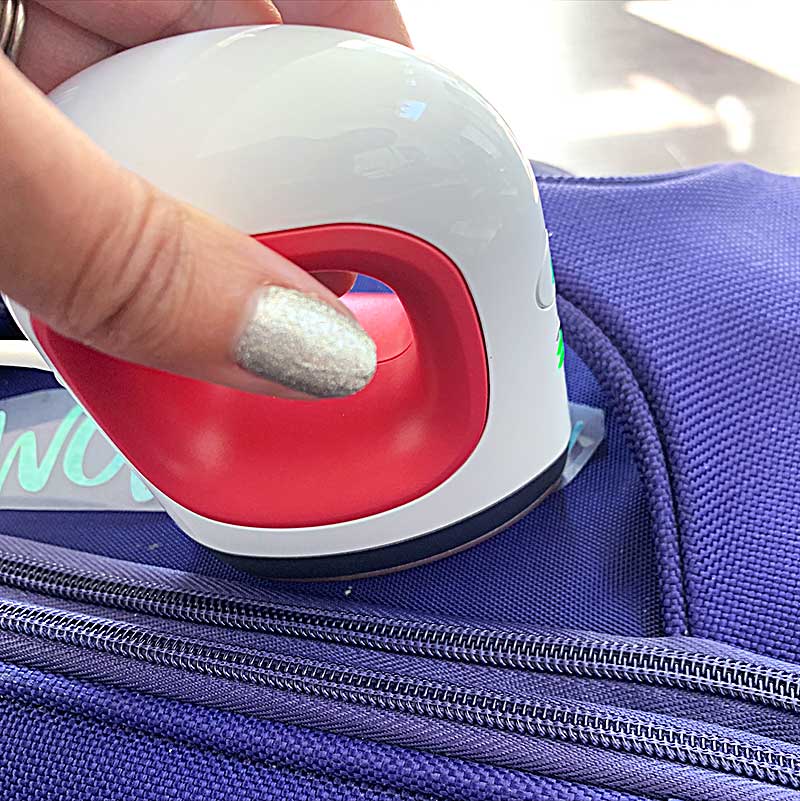
- Apply the HTV to your project and heat set with your EasyPress Mini. Make sure to gently move the heat around as you set your design.
I finished off my suitcase with a ribbon wrapped around the top handle to cover the leftover duct tape adhesive. You could custom cut more vinyl and heat set it in place, but I wanted the entire handle covered.
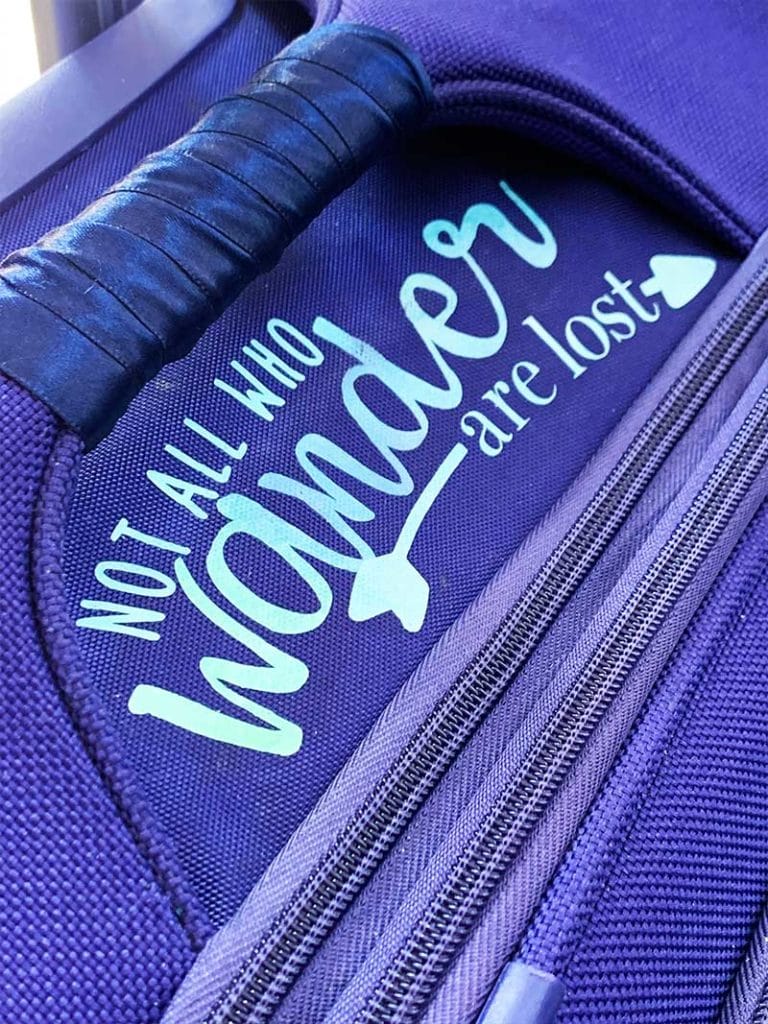
Imagine how cool your own luggage will look with inspirational word art all over it! Thank YOU EasyPress Mini!
EasyPress Mini Quick How-to Reference
There are three heat settings for Cricut EasyPress Mini: Low, Medium, or High. Here is the basic overview:
- Low — for lightweight, delicate, synthetic, or heat-sensitive fabrics; also great for more delicate heat-transfer vinyl, such as Foil Iron-On
- Medium — for most fabrics and heat-transfer vinyl
- High — for Infusible Ink projects and blanks
EasyPress Mini Tips
- Check the Cricut EasyPress Mini guide for recommended heat settings before apply heat transfers to any project.
- Test a small area of your project surface to ensure it is heat safe.
- Gently move the EasyPress Mini as you heat-set your design. Moving the unit during transfer helps keep light pressure, preventing press marks in your base material.
For additional information, recommended temperatures and times for your EasyPress Mini projects, see the Cricut EasyPress Heat Transfer Guide.
For a full list of EasyPress Mini FAQs, visit Cricut.com