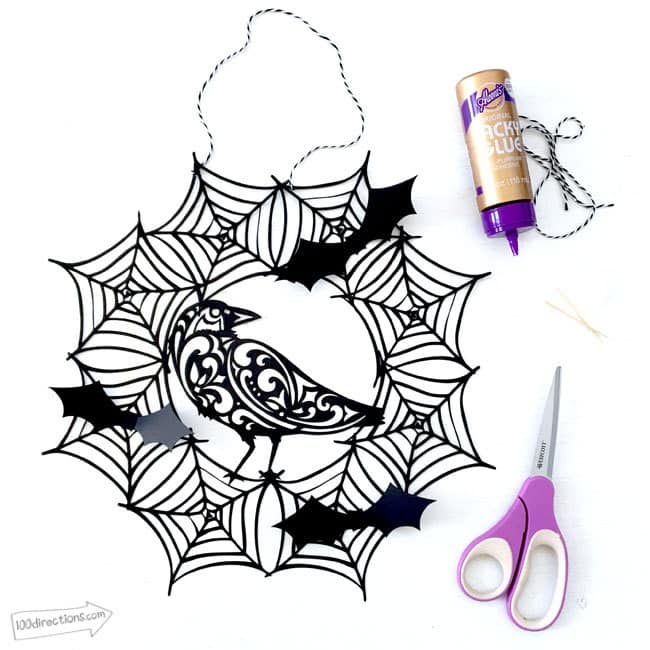
I love to decorate for Halloween with Spiderweb art. So today I'm showing you how to make your own Spiderweb Wreath. This looks like a really fancy Halloween Cricut project, but with the help of your Cricut machine, you'll be able to make this wreath in under an hour!
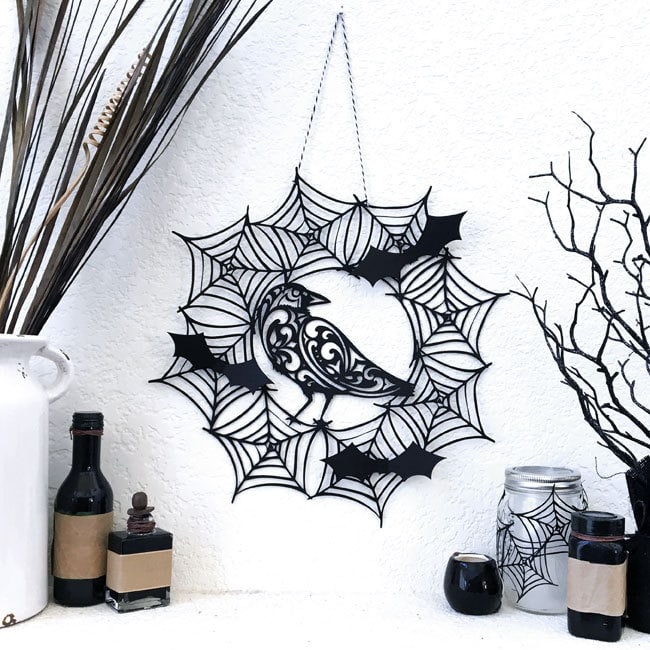
You can make the wreath as big as you'd like, just make more spiderwebs to create a larger wreath. I've added in a decorative raven design because I kind of love it. You can customize your wreath with another design or more details if you'd like.
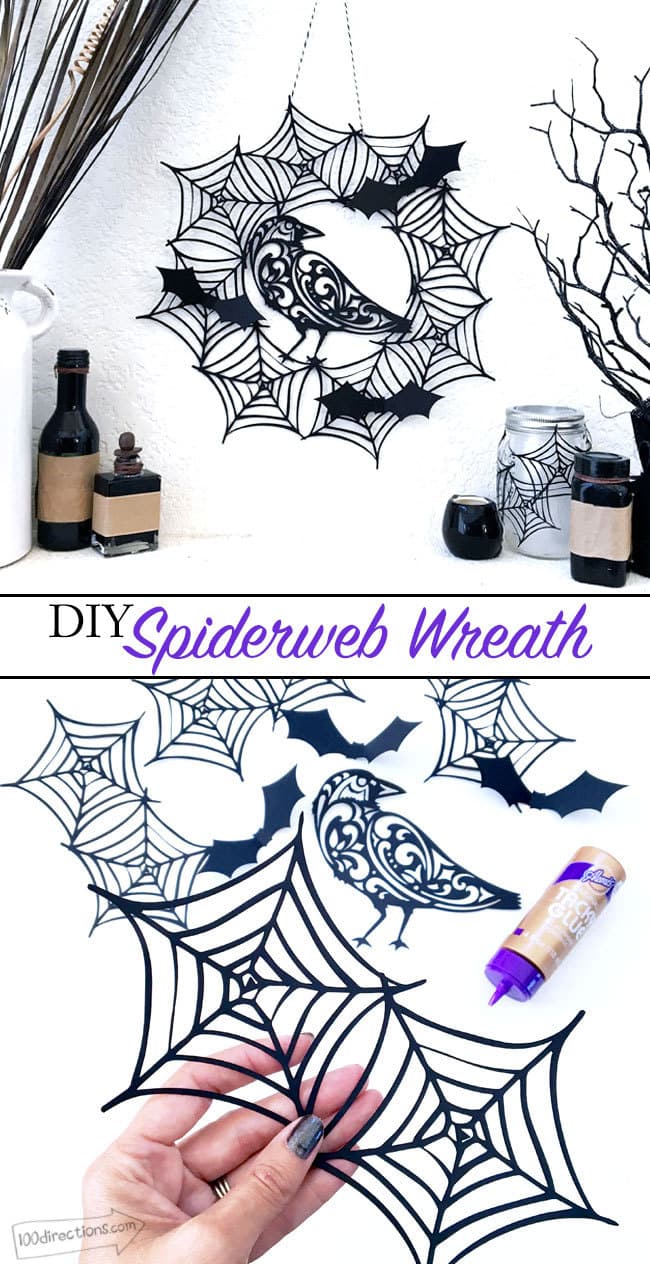
DIY Spiderweb Wreath
Make a spooky fun spiderweb wreath to decorate this Halloween. You can change the size of the webs to create a wreath in the size you’d like. You can also change out the decorative raven or bat designs to create a wreath that is uniquely you.
Materials
- Cricut Machine
- Cricut Design Space™ software
- Various Halloween Cut Designs by Jen Goode
- Spiderweb Wreath project canvas in Cricut Design Space
- 12″ x 12″ Standard Grip Cricut® mat
- Black cardstock
- Glue or Mod Podge
- Twine
Instructions
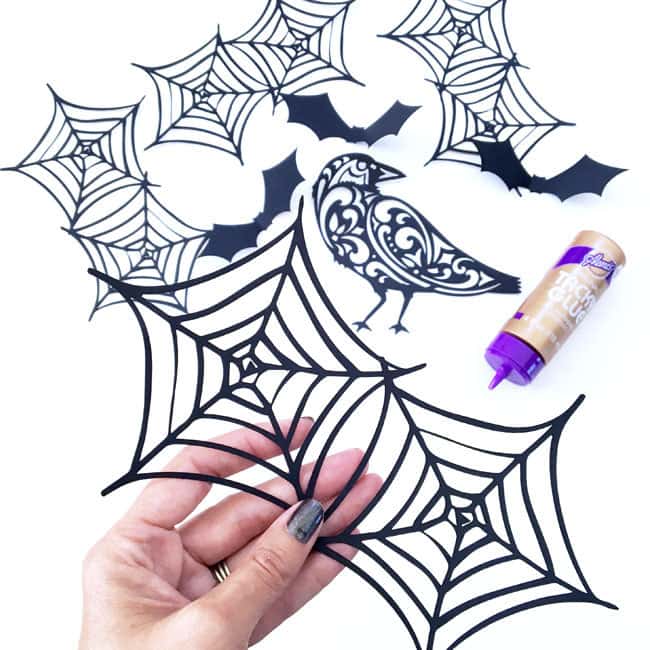
- Follow onscreen instructions to cut the design.
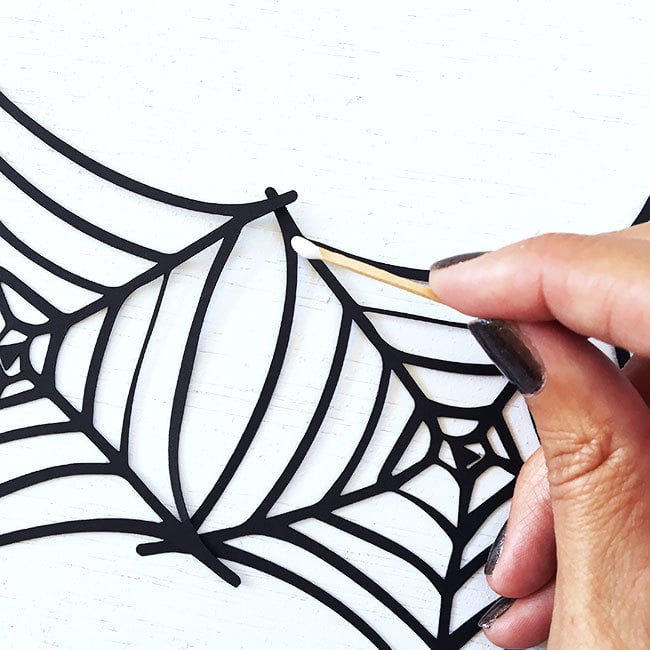
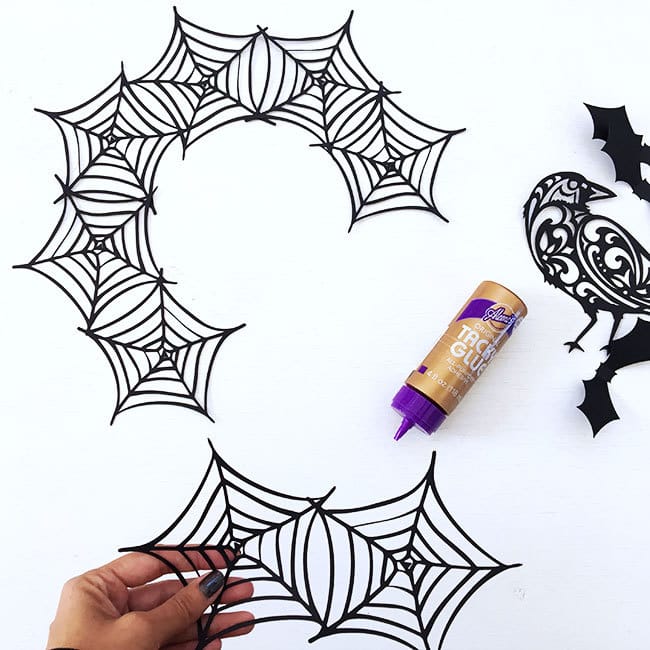
- Lay out each spiderweb cut design to create a circle/wreath shape. Each cut should include 2 spiderwebs attached to each other. Glue connecting pieces together.
- Glue (or Mod Podge) the raven to spiderwebs to display in the center of the wreath.
- Fold each of the bats at wing/body joint and then glue bat body to the spider web as you’d like.
- Tie twine to the web for hanging.
If you have a Cricut Access Account, get a head start with this project by using my preset canvas layout. Link below.

Make your own Spiderweb Wreath for Halloween in Cricut Design Space.
More Spiderweb Halloween Project Ideas
This project coordinated with the spiderweb luminary and the spiderweb garland.


Holy cow! This is amazing girl! Totally have to make this now!
Thank you so much, I’d love to see how it turns out!