You know I love nail art, right? Here's a cute and quick Halloween nail art idea you can create yourself. The trick with this easy nail art is the printables and polish. I'm using eyeball and Halloween decor printables I designed. You can download and print then out yourself to decorate your own nails. Use all eyeballs or mix up the images to create a fun Halloween look!
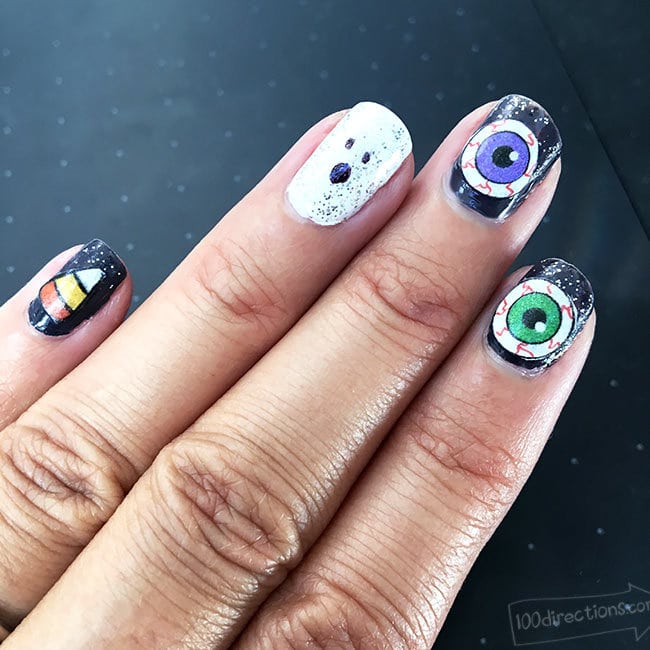
Quick Halloween Nail Art
The secret to creating this nail art quickly is the nail glue and the printables. You don't have to be able to paint fancy designs when you can just apply nail art from your favorite Halloween printables. You can print the art on any standard printer paper (don't use cardstock). Apply a coat of top coat polish to the paper to prime it for your nail art use and then you're ready to create fun nails for Halloween!

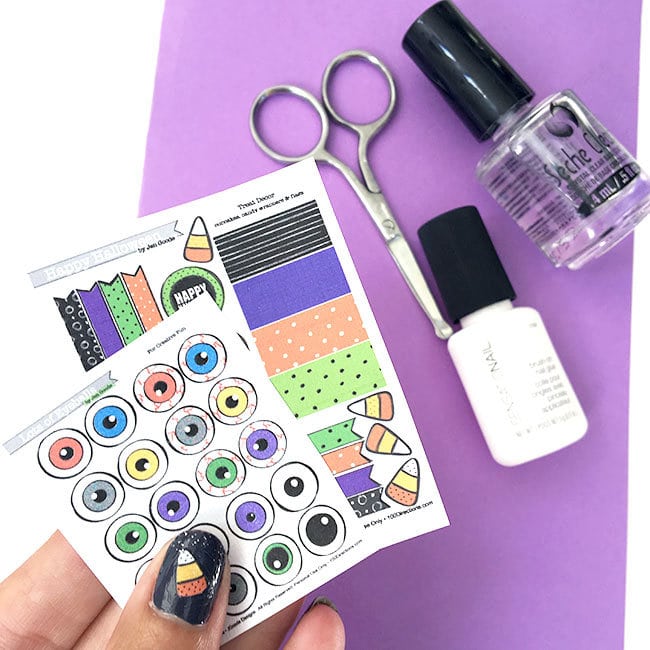
Materials
- Printable Halloween art – Eyeball Art and Halloween (candy corn) decor art
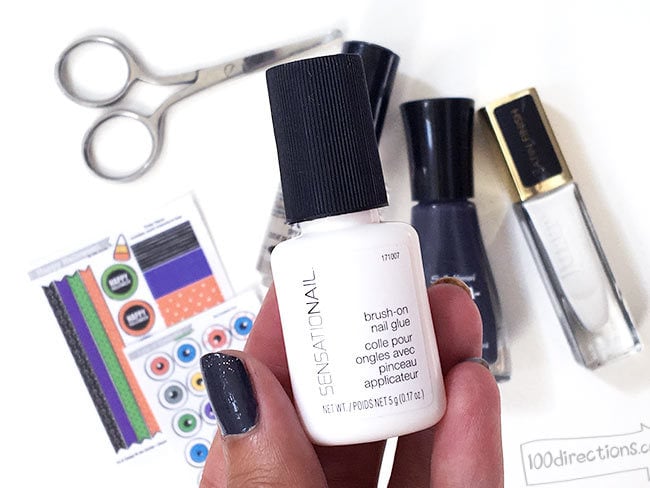
- Nail Glue – I'm using a brush on glue
- Top Coat Nail Polish
- Small scissors – I'm using small beauty scissors for better cutting control
- A toothpick
Instructions
- Paint your nails however you like. Make sure to apply a good top coat and that your nails are thoroughly dry before applying the cute Halloween art. If you don't want colored nails, just apply a layer of top coat and allow to dry.
- Print the Halloween art at a reduced size. I printed the eyeballs at 20% and the Halloween decor page at 25% of actual size.
- Brush a layer of the nail top coat on to the back of the printable art and allow to dry.
- Cut out the art pieces you want to apply to your nails.
- Apply nail glue to your nail. Make sure to coat the entire nail with the glue so you have an even seal with the art piece. I love the brush on nail glue because it makes it so much easier to apply the glue to my nails.
- Press the art down on the glue and hold in place with the toothpick. Apply some pressure to the edges or the tiny art piece to ensure they are sealed.
- Apply a layer of top coat and allow to dry.
Alternatively, print the art on to a sheet of label paper or printable vinyl. You should still add a layer of nail glue and a top coat polish layer to ensure the art stays put on your nail.I used a sharpie fine point permanent marker to draw in a little ghost face on one of my nails and then I sealed it with the top coat as well. You can create nail art from so many cute printables. Just print out the art at miniature size, apply some nail glue and seal with a good top coat polish!
- Eyeball printable Art (print at 20% actual size)
- Halloween (candy corn) decor art (print at 25% actual size)
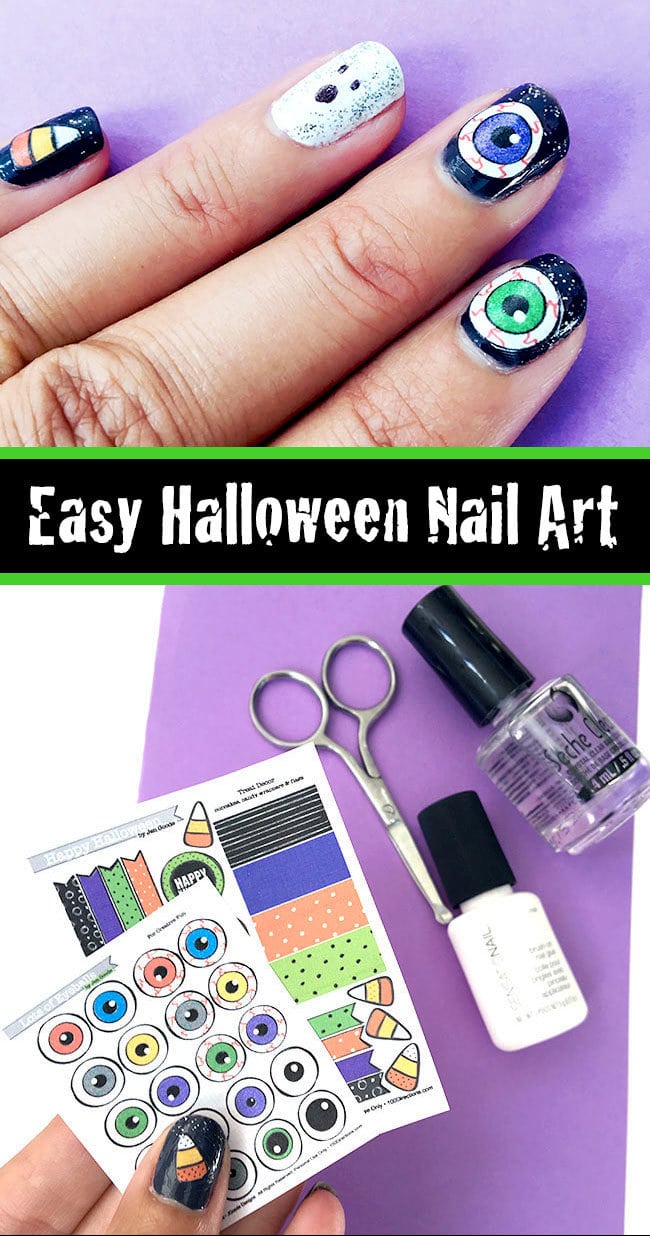
Looking for more cute nail art ideas for Halloween? I've got candy corn nails and spooky sophisticated nail art you can try.
More great Halloween Projects you can make
All this week I'm sharing fun AND quick Halloween projects you can make. I've partners with The Country Chic Cottage and 30 Minute Crafts to cohost this year's Craft Lightning, Halloween edition. You'll fine all kinds of fun projects designed by bloggers from all over the web. Every project is design to make in under 15 minutes! That's a ton of quick crafting fun. Check out today's features:
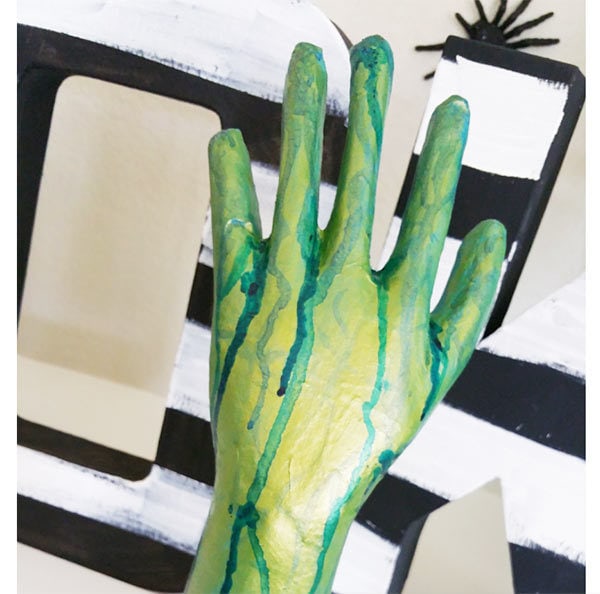
Creepy Hand Halloween decor by Just JP
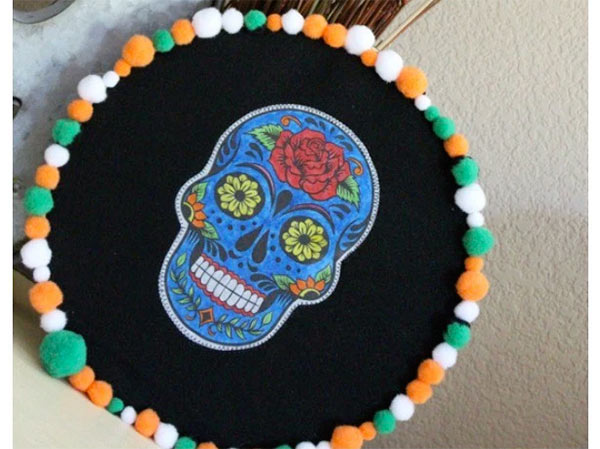
Embroidery Hoop Skull from Sew What Alicia
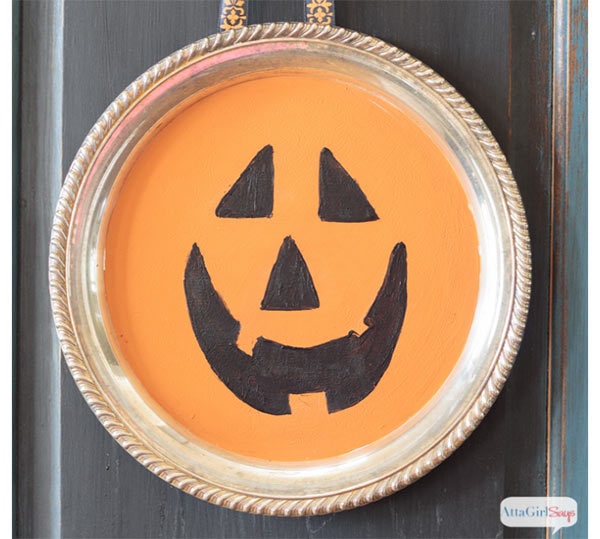
Painted Jack-O-Lantern Tray from Atta Girl Says
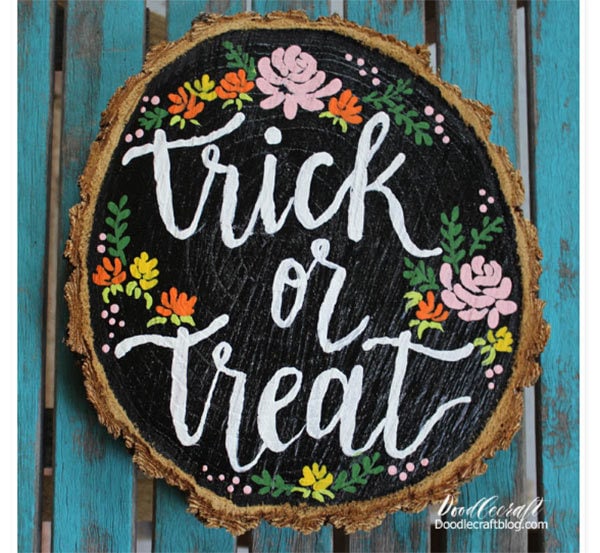
Trick-Or-Treat Brush Calligraphy Wood Slice Decor from Doodle Craft
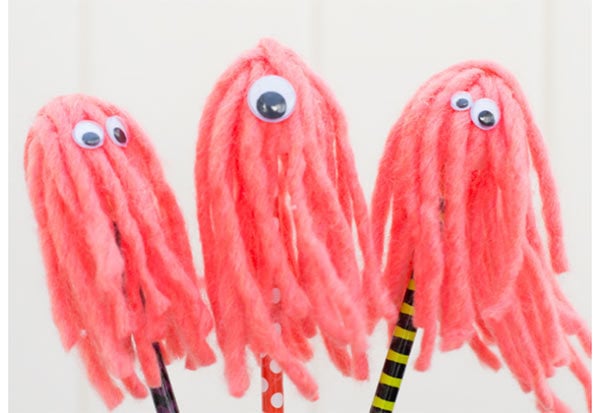
Crazy Yarn Pencils from Frenchie Wraps
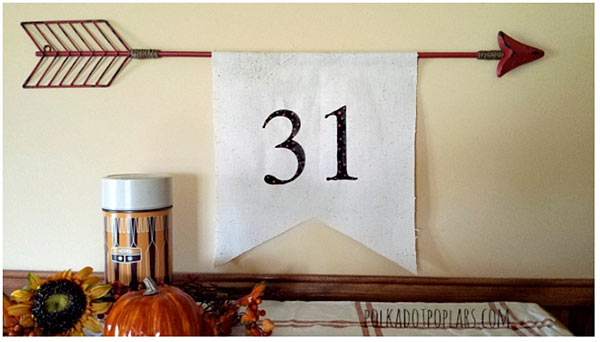
DIY Pennant Flag from Poka Dot Poplars
That wraps up today's featured quick Halloween crafts. Stop back by tomorrow for day 2 and a whole new pile of fun Halloween project ideas you can make in under 15 minutes!
Check out day 1 of the series, I've created easy bat and Raven cupcake toppers and shared more fun Halloween project ideas.
Do you have a favorite Quick Halloween Craft? Or maybe you have a nail art design for Halloween you love? I'd love to hear about it, leave me a note below or stop by the 100 Directions Facebook page and tell me about it!


I love themed nail art – this is super cute!