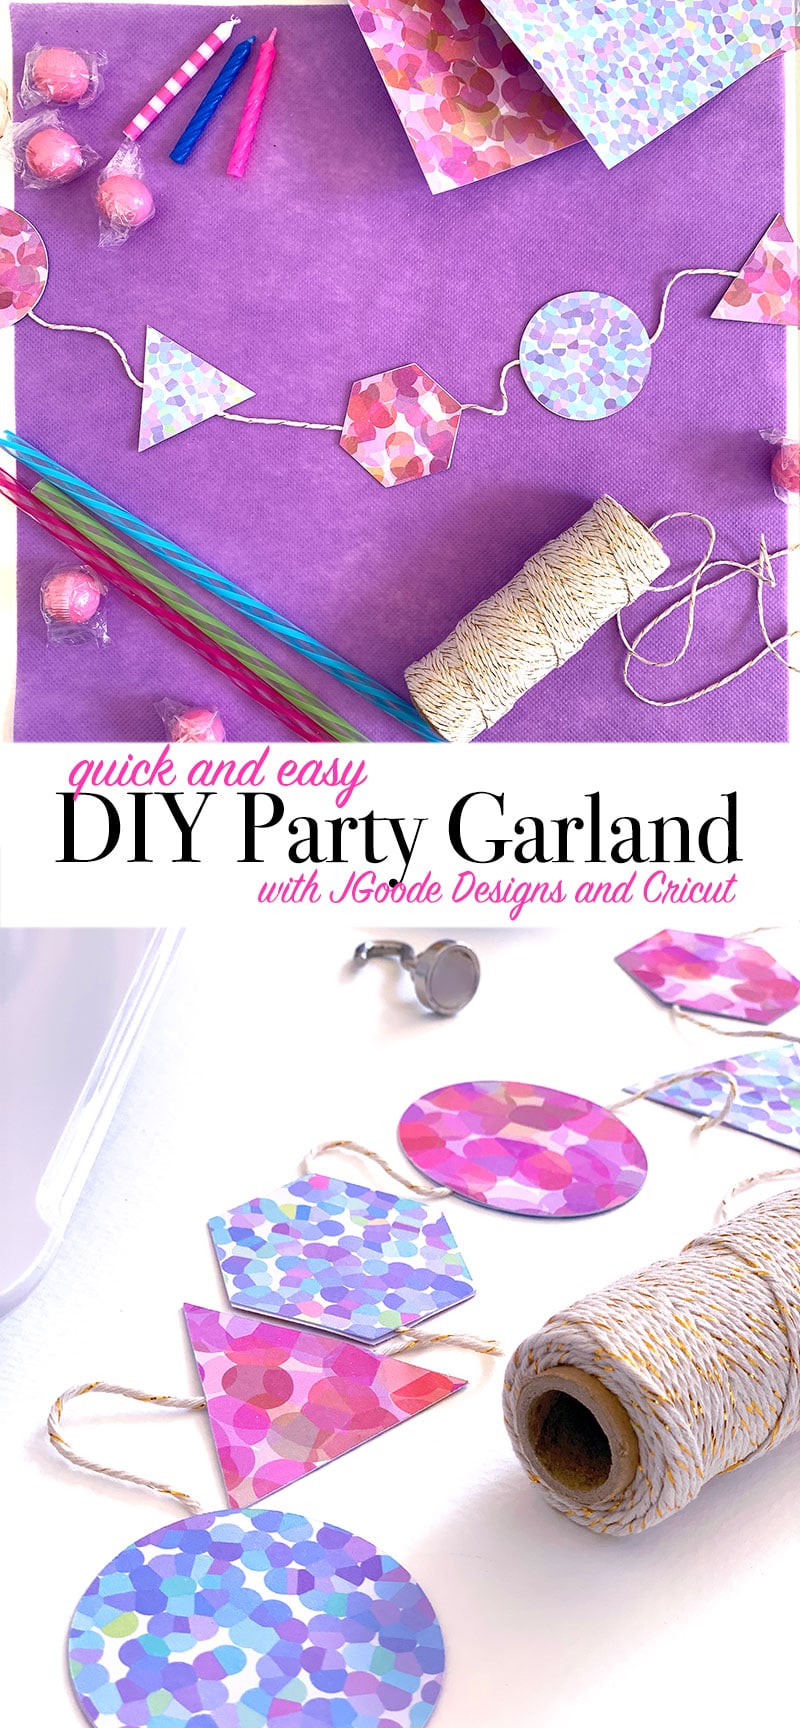
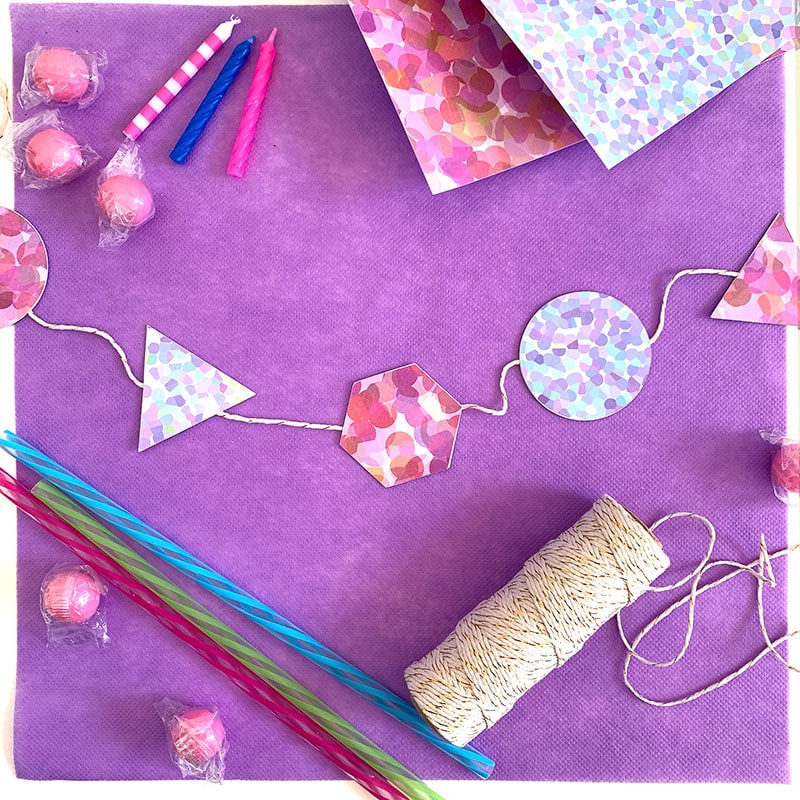
Did you know you can make super cute garland in just a few minutes for any occasion? I'll show you how! This is the perfect little diy party decor accessory you can make yourself with just a few supplies, match any theme take anywhere you need.
Today's project is day 4 of my CRAFTWEEK series. I'm sharing easy to make crafts inspired by travel or for travel fun. PLUS I'm sharing a fun giveaway each day on Instagram, so hop over there to check it out!
It's CRAFTWEEK!
March is National Craft Month. So I've partnered with some of my favorite creative bloggers to share some crafty ideas with you all week long!
With all the travel I've been doing, I thought it would be fun to showcase some travel inspired projects.
This quick craft is just one of the fun DIY ideas I'm sharing for CRAFTWEEK. All week I'll be featuring some fun and easy crafts you can create yourself. Plus you'll find more craft ideas from other bloggers below PLUS each day this week we will be sharing a link to a giveaway.
DIY Party Decor you can make in minutes
I'm a big fan of quick crafts. We like to celebrate all kinds of events, especially birthdays even when we are on the go. So creating party decor that is easy to set up is important. Party garland and banners are really nice because they can easily be folded up into a little bag and packed away to travel where ever you go.
Make Your Own Mini Party Garland in Minutes
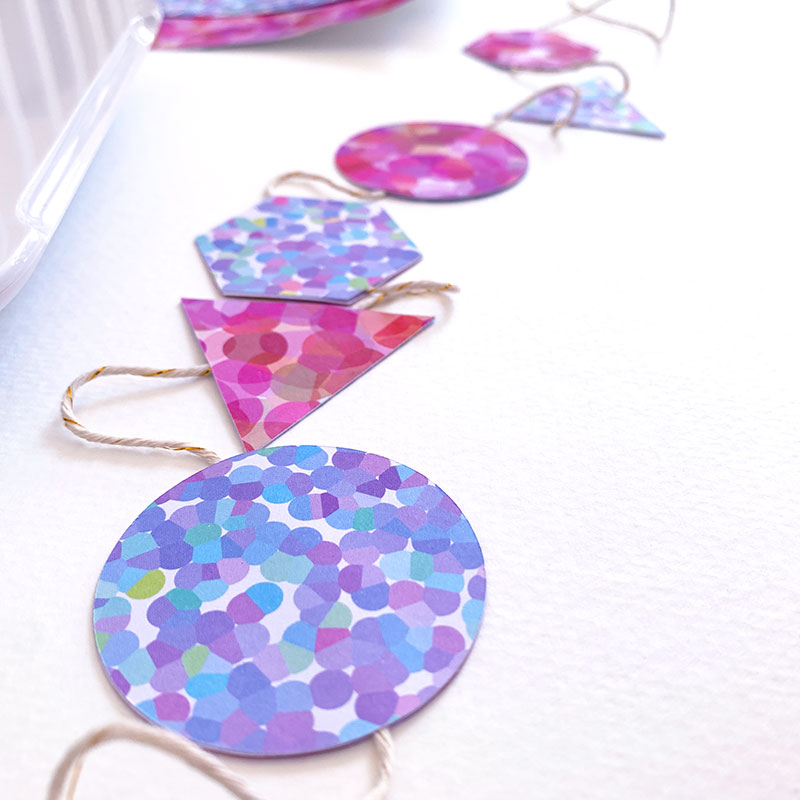
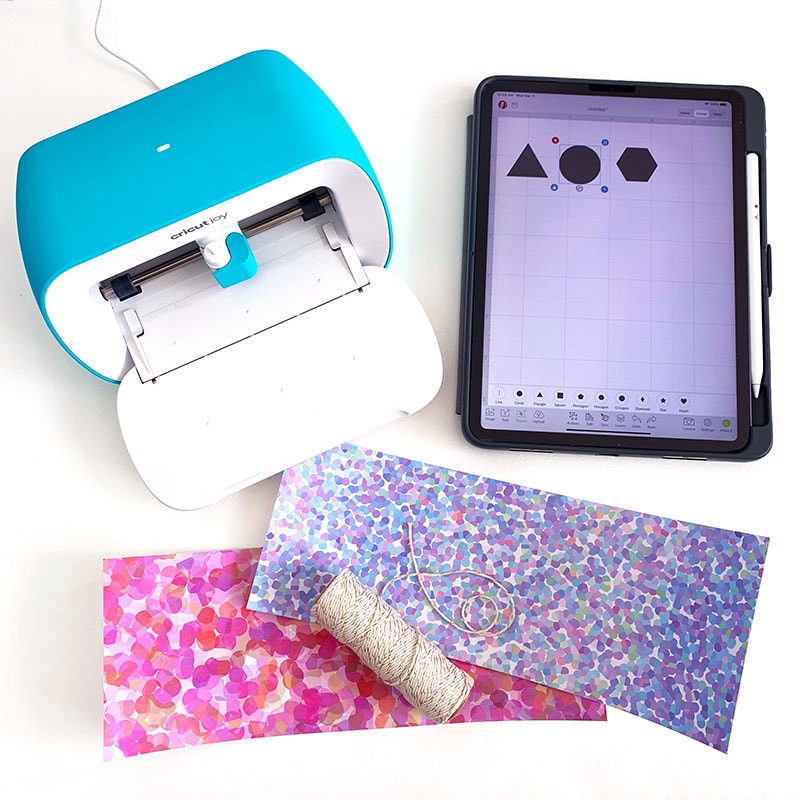
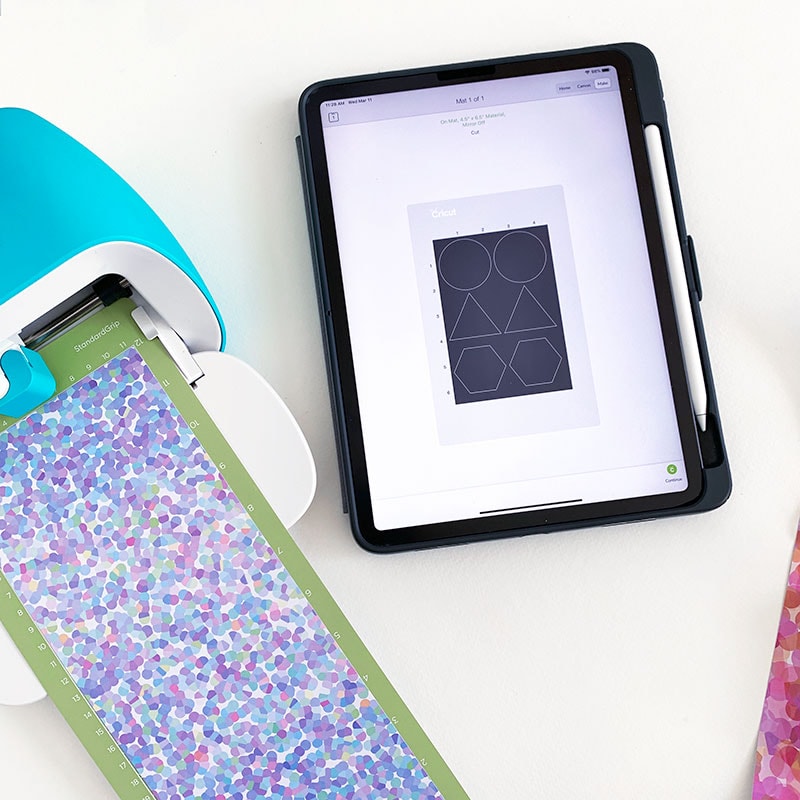
This mini party banner garland just takes a few steps to make. If you use my adhesive backed paper, you don't even need glue or tape!
You can use scissors to cut out your own shapes. You can also use basic cardstock or even wrapping paper instead of the paper I used. I'm using this pretty patterned paper because 1. it's new 2. I designed it and am excited to share and 3. it's easy to just cut, stick together and voila, the project is finished!
Materials
- Deluxe Adhesive Backed Paper designed by Jen Goode from Cricut
- Cricut Machine (I'm using my Cricut Joy) plus mat and Cricut Design Space
- Optionally you can use scissors instead
- Twine or yarn
Instructions
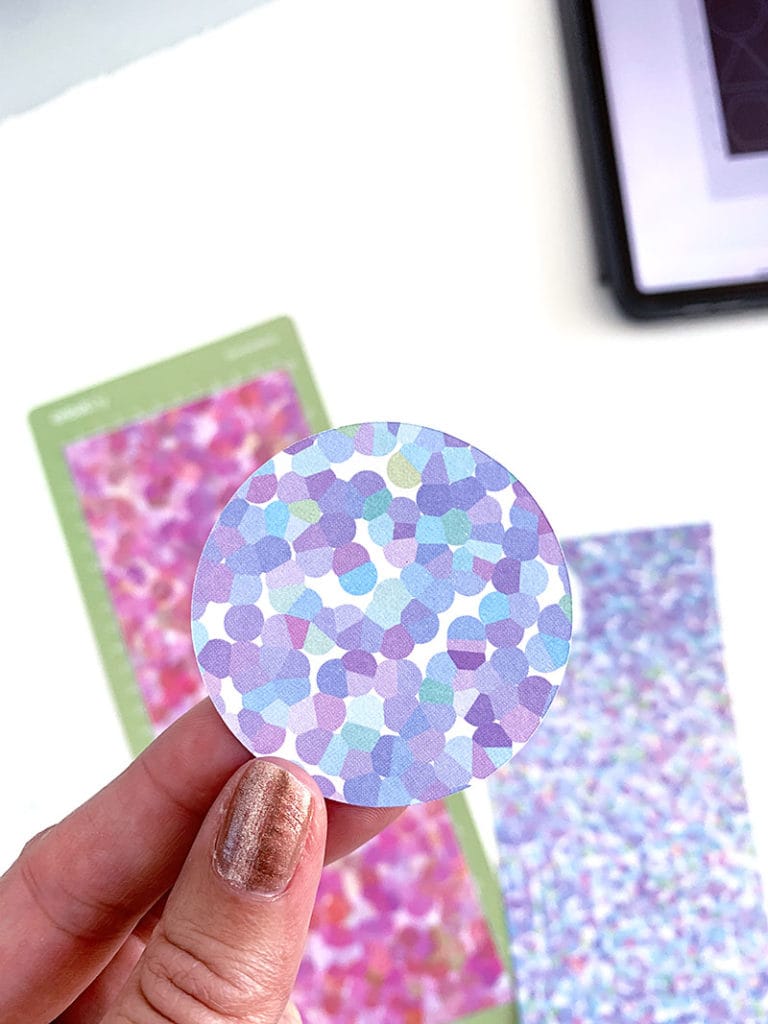
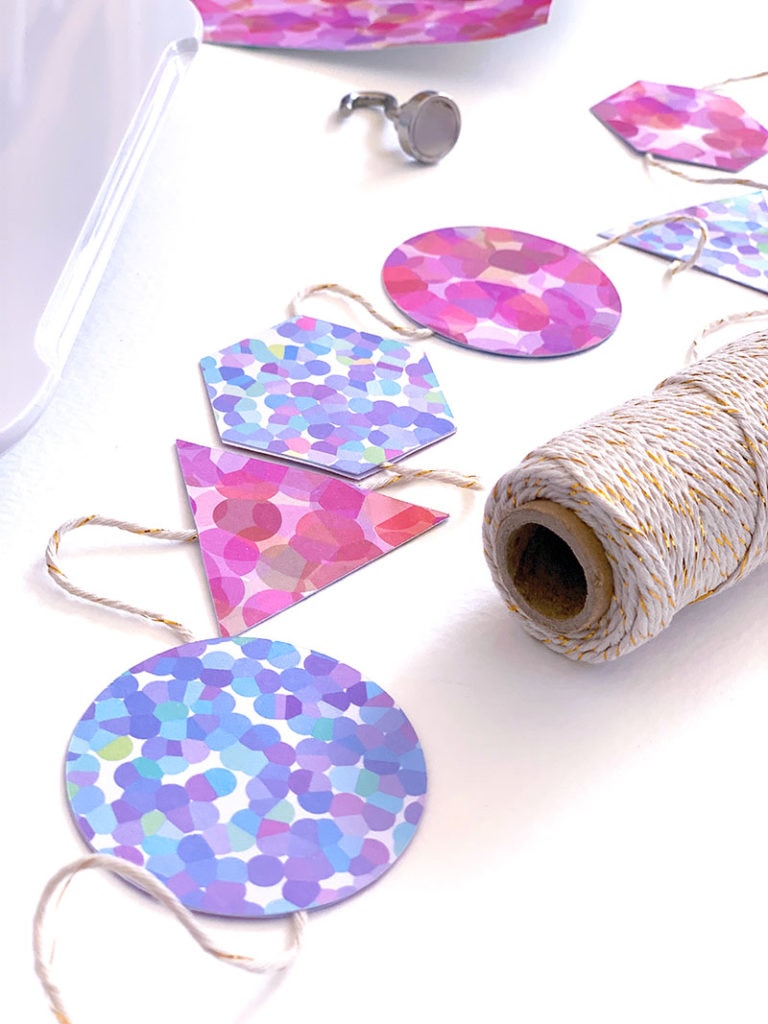
- Cut out the shapes you want to use. Make sure to cut two shapes for each single garland piece, front and back.
- Layer two cutout pieces together, making sure to place the twine in the middle. Adhere together.
- Leave about 2″ of space between each piece and repeat until you have the length of banner you'd like.
You can add garland pieces with letters or words, you can alternate a decorative piece with a letter, add tassels or whatever you'd like. Pick your own favorite colors, something to match you party theme or even use scraps you have in your craftroom.
Display Trick: If you'd like to hang your garland and banners without using tape, this might do the trick. I like to use little magnet hooks. Our home has metal edging at the corner of the walls, so this works perfectly in door frames. You might find that the magnets stick to window frames too.
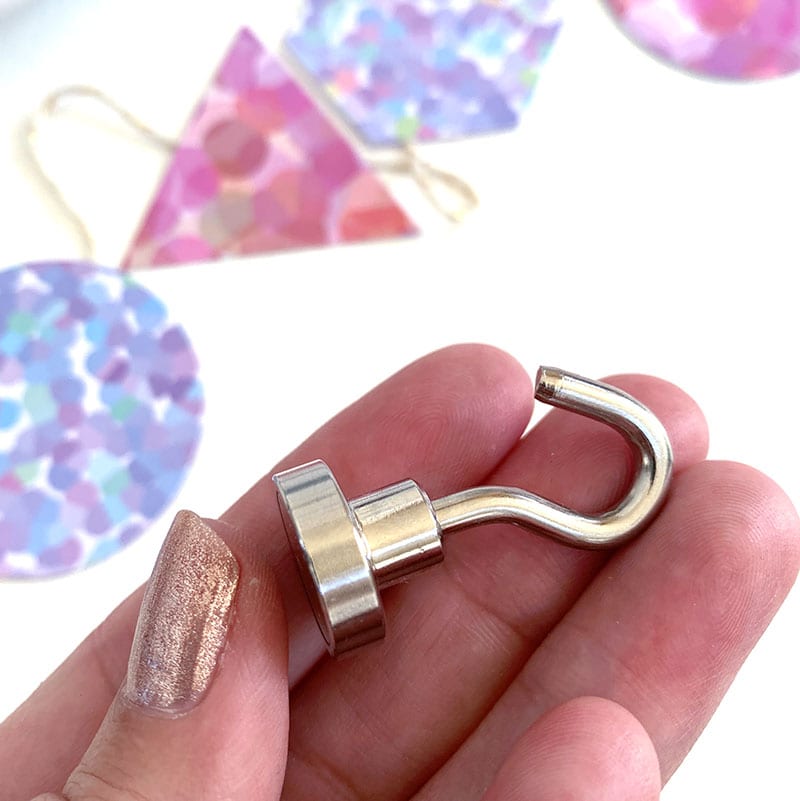
I've also found that when traveling on a cruise ship, there is plenty of metal in the walls of the cabin to hang different decorations. Make sure to use magnet hooks that have a strong magnet so they can hold the weight of your decor.