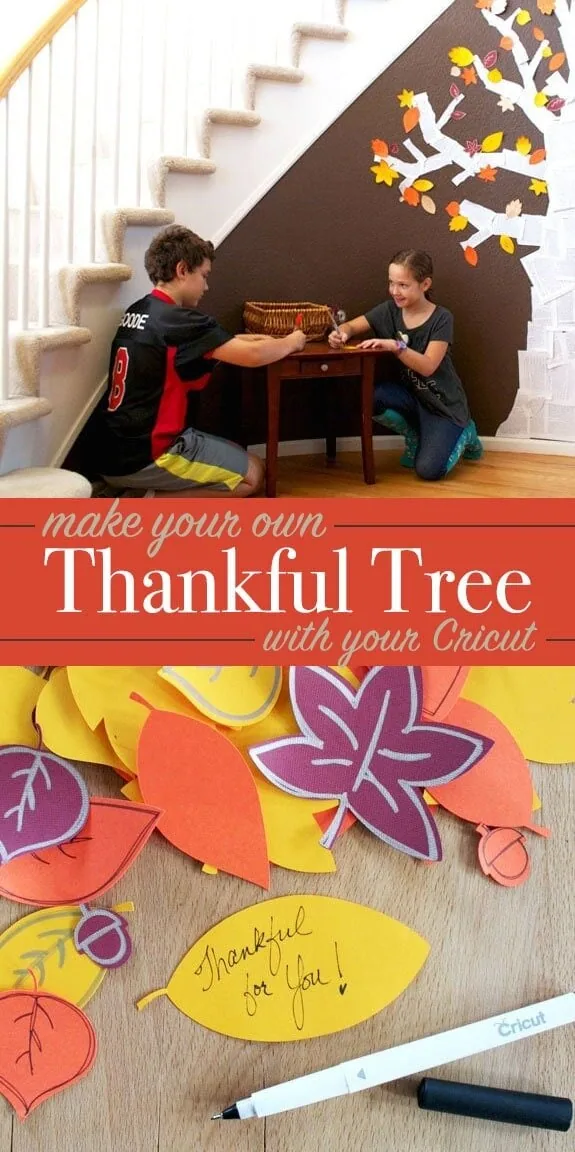
Learn how to make your own Thankful tree with colorful paper leaves. Add your own kind words, happy phrases and thoughtful messages. It's the perfect family activity everyone will love to share.

A few years ago we made our first Thankful Tree. The plan was to keep it up through Thanksgiving and then take it down and replace it with Christmas decor. We ended up leaving it up for over a year. Each season we added new leaves and extra decor to go with whatever we were celebrating. So while I thinking of new projects to make with my Cricut, adding a Thankful Tree was a no-brainer.
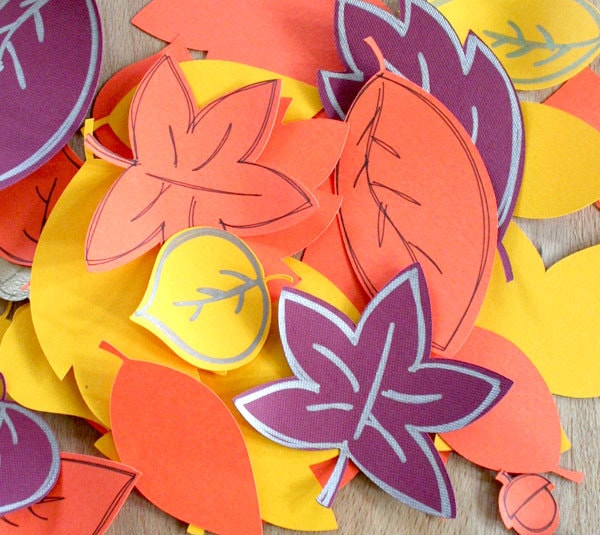
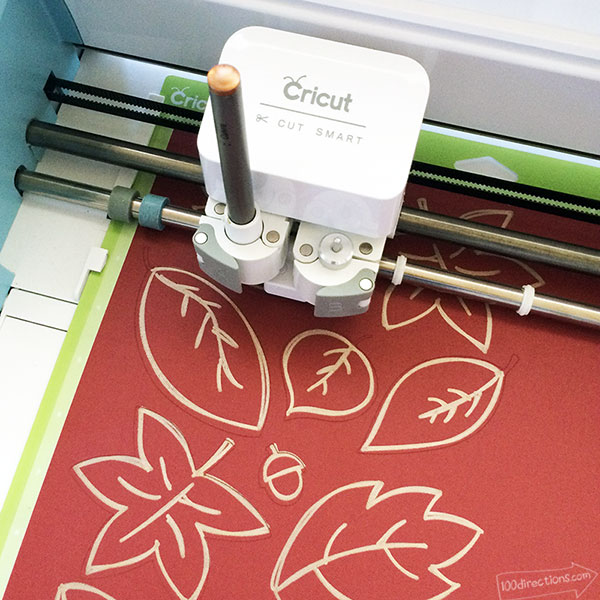
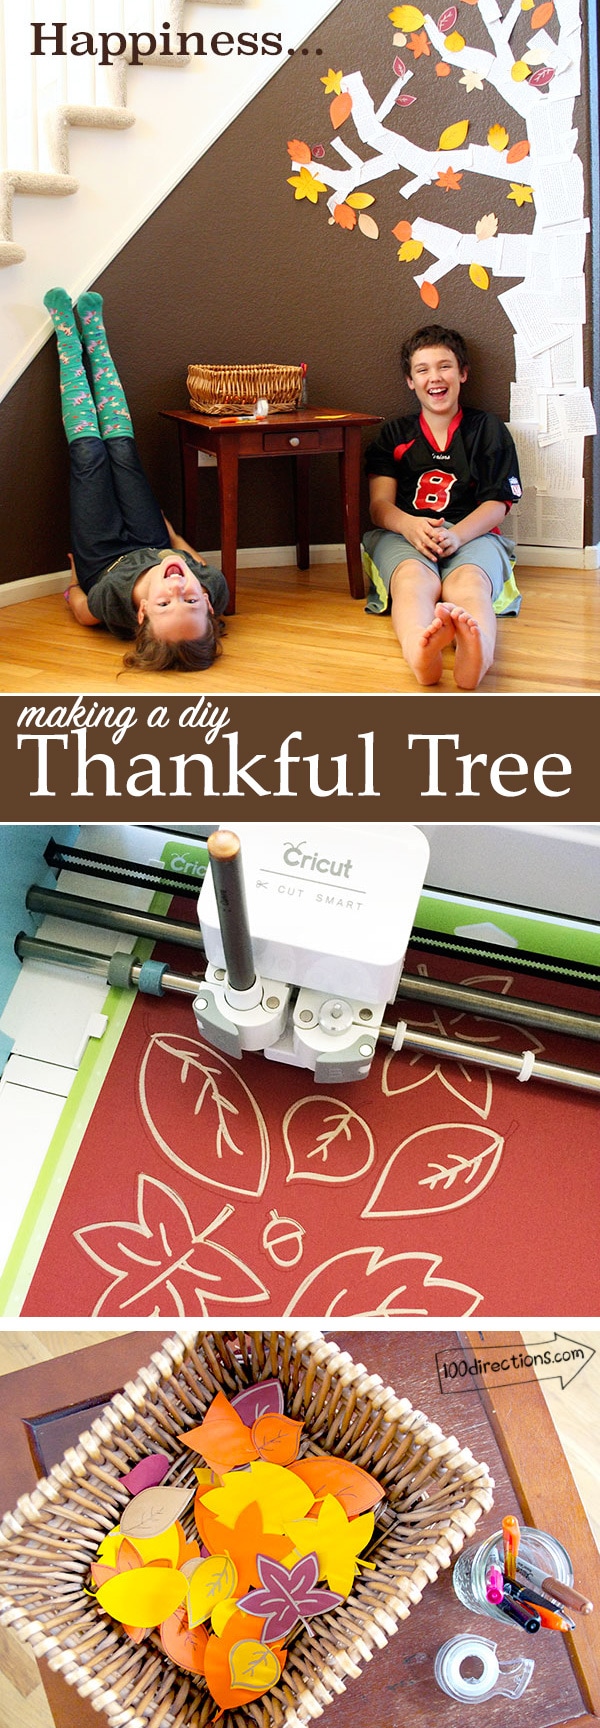
This time I can add fancy cut leaves and cut them in 1/10 the time! I designed some leaves you can use with your own projects. Each leaf includes a pretty draw line so you can cut leaves, draw leaves or both… all with your Cricut machine.
How to Make a Thankful Tree
The best thing about making your own Thankful Tree is it can be anything you like. It can take up an entire wall, or just a small poster or card you set on the table. Fill the entire tree with a rainbow of colored leaves or make each leaf orange and gold. The look is entirely up to you.
I've created pretty leaves to help you along the way. Use the leaf set design with your Cricut machine and you don't have to worry about hand-cutting all those pretty little leaves. Make as many as you'd like and have fun creating your own Thankful Tree!
Note: if you don't have a Cricut Machine, don't worry… you can cut the leaves out with scissors as well. Use the printable as a template or upload the SVG to your Cricut Design Space account.
Materials
- Cricut machine
- Cricut Design Space™ software
- Thankful Tree Make-it-Now project designed by Jen Goode
- 12″ x 12″ StandardGrip Cricut® mat
- Cardstock in fall colors – gold, yellow, red, orange
- Double-sided tape
- Paper for the tree trunk and branches
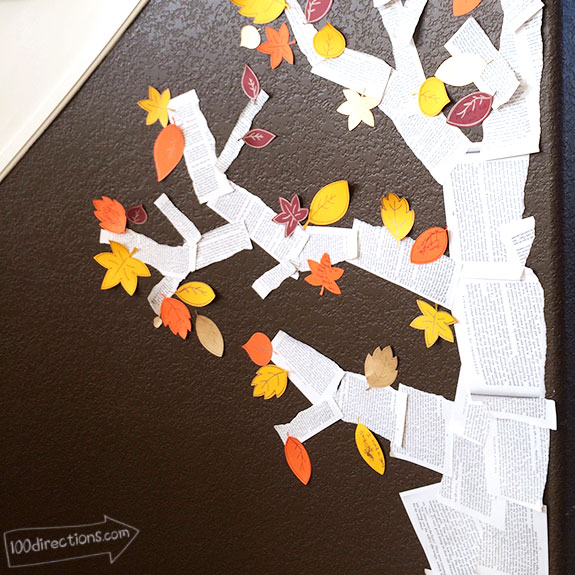
Note: for the tree trunk and branches, because my wall is dark brown, I used a white book page paper. If my walls were white or a neutral color, I might use a brown paper. Use whatever you'd like to create the actual tree shape. Previously, I used newspaper.
You can edit the project file to cut only one or two specific leaf types or you can cut them all like I did. Use a variety of paper colors or use just one, it's completely up to you. I even used some metallic gold cardstock to add a little sparkle to my tree… of course!

Instructions:
- Follow the instructions for in the Cricut Design Space to cut the leaves. You can increase or decrease the leaf size before cutting to fit the size of your tree.
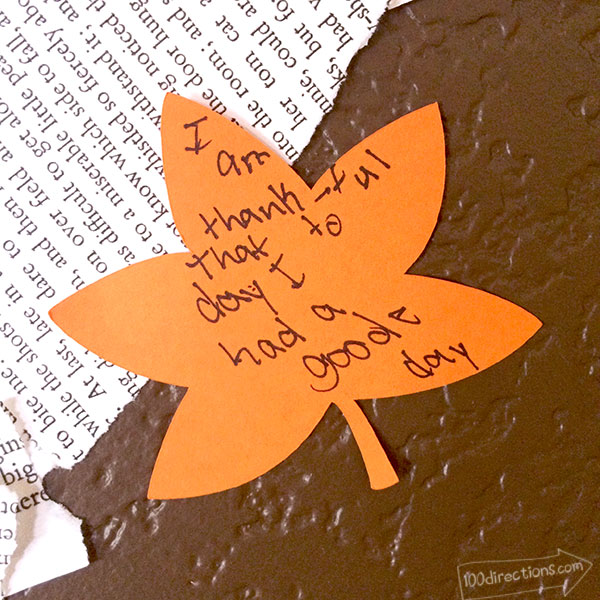
- Skip the drawn-line art on some of the leaves so you have more room for written content on each leaf.
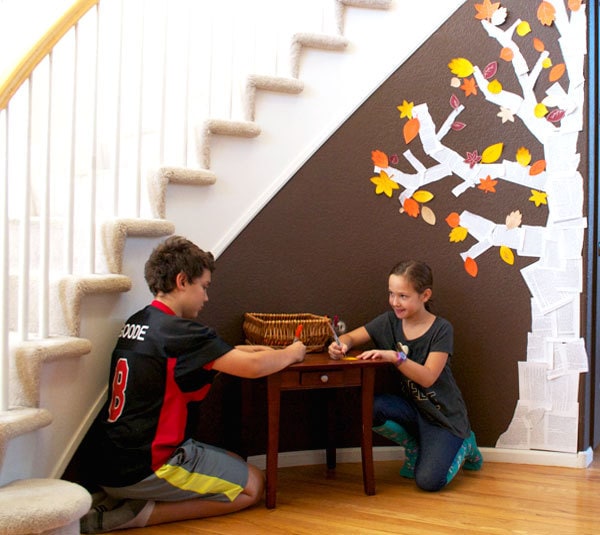
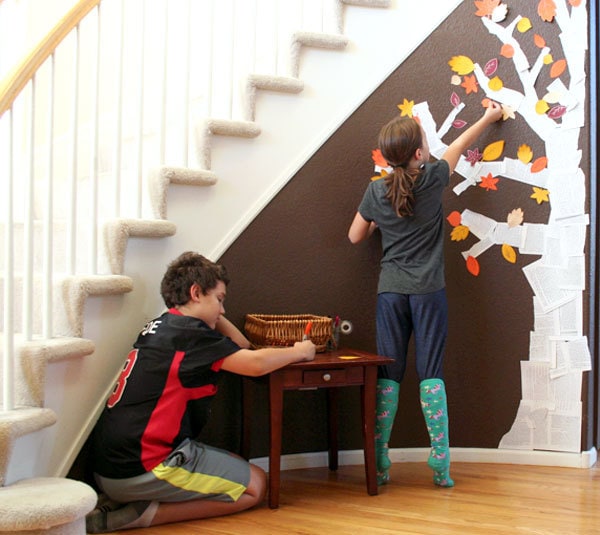
- Build your tree on the wall by taping pieces of paper to the wall in the shape of a trunk and branches.
- Add some of the leaves to the tree so you tree isn't completely bare.
- Write messages of Thanks, little notes to the family and special thoughts on individual leaves and then stick them to the tree to for all to enjoy.
- Share your Thankful Tree with family and friends!
Here's a quick video to show you how we put together our own Thankful tree. We've done it a little differently over the years, but this gives you and idea to start with. Use your Cricut machine to create all kinds of colorful leaves and you'll have yourself a fun family craft everyone will have fun with!
Once you've got all your leaves cut out – start writing your notes and then stick those messages up on the wall to share. It's that simple!
Make your own Thankful Tree!
- Open the Thankful Tree canvas in Cricut Design Space.
(Sign up for a Cricut Access account.) - Download the Fall leaves SVG file I've designed.
- Use the leaves coloring page to cut out leaves by hand.
We like to have our friends, neighbors and guests share notes on our tree too. It makes the entire display a continual work of art that we can enjoy throughout the entire holiday season…. or all year long!
Here's a quick video to show you how we built the tree on our wall:
Make it easy and inviting for people to share their thanks anytime they'd like. Next to your Thankful Tree, Set up a little station that includes a basket of leaves, pens and some double sides tape. Then anytime some thinks of something they'd like to share, or they walk by the tree, they can add something fun or special without hassle.


My kids had SO MUCH FUN helping me with this project. Usually, I get a couple photos and they are outta there. This time they played around for a while and lucky for me, I was able to capture the happiness on film. Here are just a couple of the silly moments.


Now hop on it, I know you want to make your own tree and these Cricut cut leaves will save you TONS of time! I'd love to see what you create. Stop by the 100 Directions Facebook page or tag me on Instagram or twitter with #jengoodeart – Have FUN!
No Cricut machine? If you don't have a Cricut – check out my printable leaf bunting or leaf coloring page to use for your leaves. Or.. better yet, now is a great time to buy your own Cricut – see details below!


I’ve never heard of Cricut! Hmm…but, at any rate, I love, love, love this idea, and as I look for November/Thanksgiving seasonal crafts for my little boys…I am thinking this is so perfect! Thanks for sharing.
I am thankful that you share your creativity! I’m not creative, I have other gifts so I truly appreciate your gifts and am so glad you share them.
Annie, thank you so very much for this note. You just made my day… it’s comments like these that inspire me to create! I’m thankful for YOU.
This is absolutely perfect. My dept. is hosting the first of holiday desserts for our company and one of my co-workers suggested that we cut out leaves and having everyone write what they are thankful for on them.
Love it!! What a great idea to share at work!