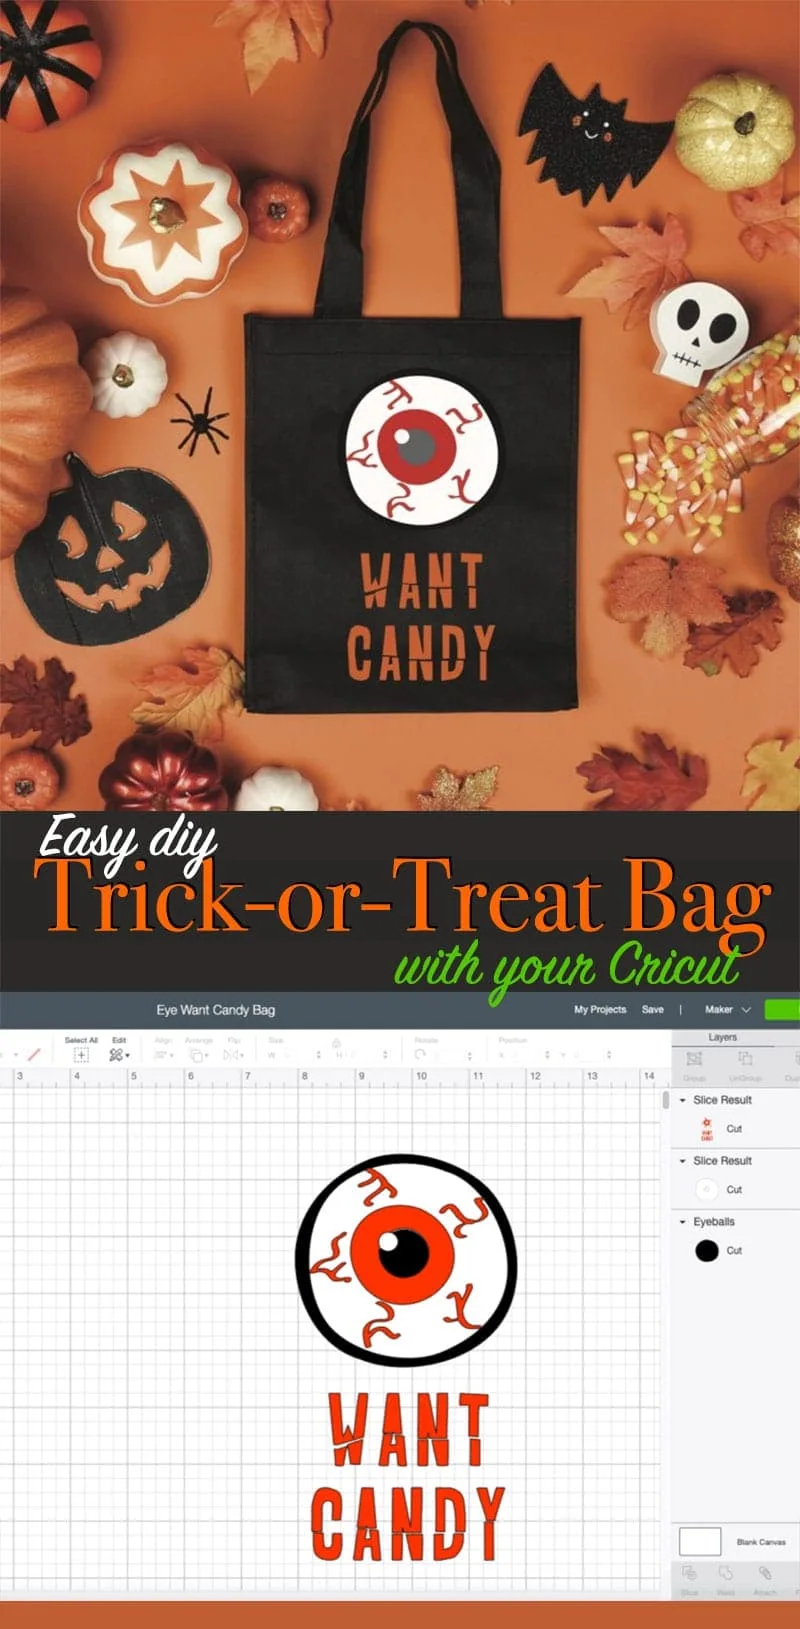
Get out your Cricut and make DIY Trick or Treat Bag in minutes. This easy Halloween craft can be used for trick or treat bags, favor bags, or even small Halloween gift bags. Today my friend, Jessica Roe, is sharing this fun DIY Halloween Cricut project. This is such a fun project for Halloween. You can even pick your favorite Iron On colors to create a totally custom project!
DIY Halloween Trick-or-Treat Bag You Can make With Your Cricut
Create a Halloween bag (or even make a shirt) with your Cricut Maker and designs from Jen Goode – project design by Jessica Roe.
Hi everyone! It’s Jess from Everyday Party Magazine, and I’m so excited to be here today! I’m a Cricut enthusiast, and I love using Jen’s cut designs for party decor, favors, and more!
Make your own Halloween treat bag in Cricut Design Space
My kids still trick or treat a little bit each year, and they know I will make them a new trick or treat bag every year. Some years they want to be totally involved in making their treat bags, other years they leave it up to me! But, when I saw Jen’s eye designs in Cricut Design Space,I knew they would be the perfect addition to a fun Halloween treat bag.
I quickly made a bag for one of the boys and one of their cousins! I’ll add a little candy to their cousins’ bags before I drop them off, but it was such an easy project and my pun loving teen was cracking up when I showed him his bag.
How to make your own trick-or-treat bags in minutes
Follow the below instructions to create your own fun Halloween Treat Bags.
Materials
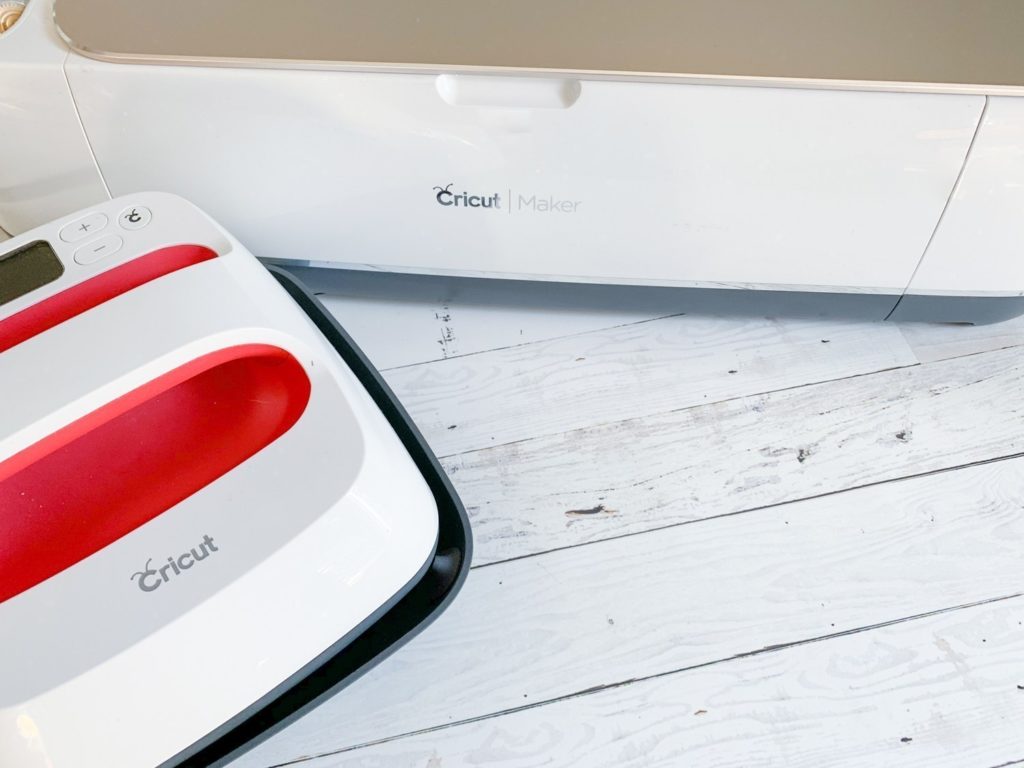
- Cricut Maker cutting machine
- Cricut Design Space account
- Eyeballs cut design by Jen Goode (#M3AA38FA)
- Cricut Fine Point Blade
- Cricut Design Space Access
- Iron On – I used Orange, Black, White, and Grey for my son’s bag.
- EasyPress 2
- Canvas Tote Bag
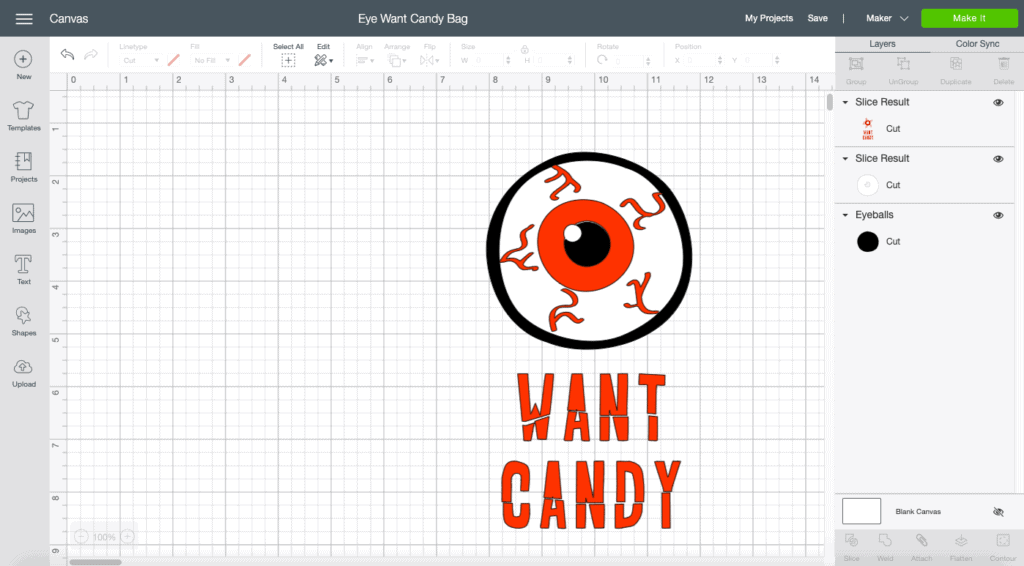
We’ve set up a Cricut Design Space canvas to help you get started with these Halloween Treat Bags. Click here to open up this Halloween project in Cricut Design Space.
Instructions
- Open the Design Space Cut File and size it to fit your Halloween treat bag.
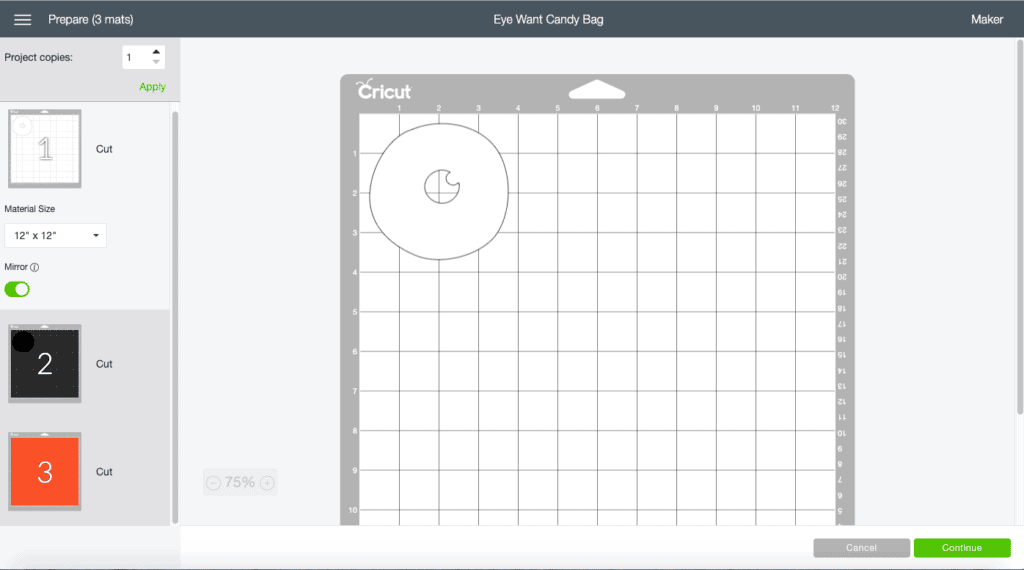
- Place one sheet of Iron-On on a cutting mat. Don’t forget to mirror the cuts, and place the Iron-On on the mat shiny side down.
- Send the project to cut.
- Remove the excess Iron-On.
- Repeat the steps above for each color of Iron-On.
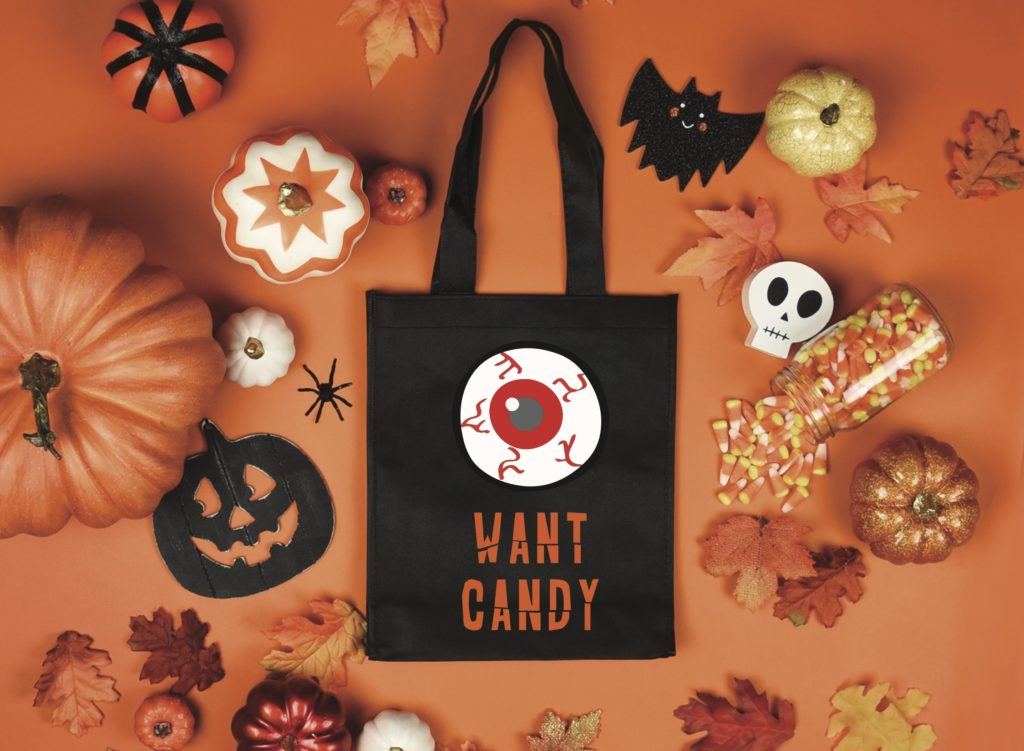
- Press the Iron-On onto the tote bag. I used four colors for my son’s bag, but the small grey piece was difficult, so I edited the design and made it just three colors for my nephew’s bag. However, since I used a black bag, I didn’t have to use black Iron-On for his bag.