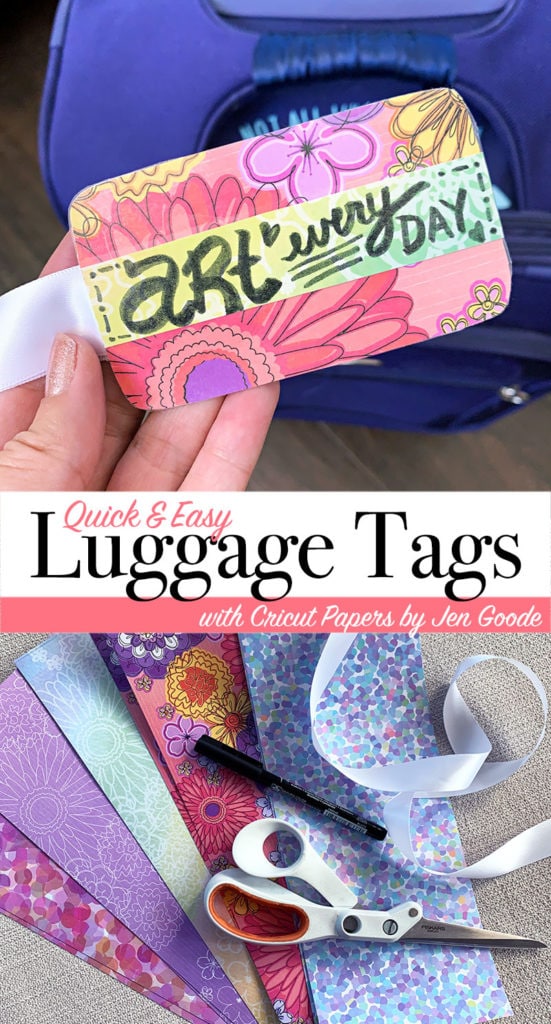
Personalize your luggage with a quick and easy luggage tag you make yourself. You need only a few supplies and about 15 minutes. When you're finished, you'll have a fun accessory to help you spot your bag among the crowd.
It's CRAFTWEEK!
March is National Craft Month. So I've partnered with some of my favorite creative bloggers to share some crafty ideas with you all week long!
With all the travel I've been doing, I thought it would be fun to showcase some travel inspired projects.
This quick craft is just one of the fun DIY ideas I'm sharing for CRAFTWEEK. All week I'll be featuring some fun and easy crafts you can create yourself. Plus you'll find more craft ideas from other bloggers below PLUS each day this week we will be sharing a link to a giveaway.
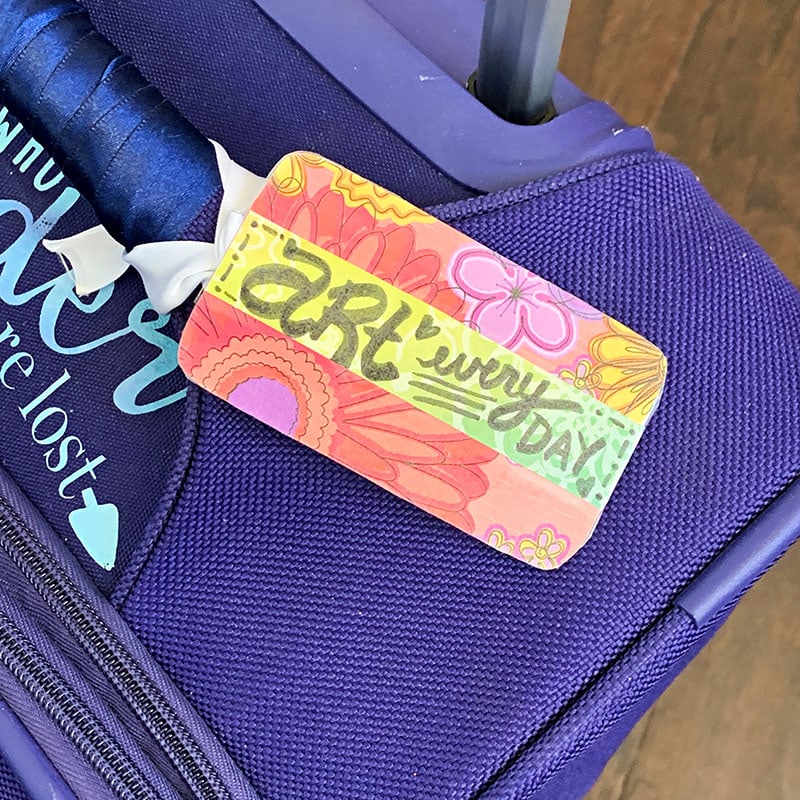
How To Make Your Own Luggage Tags in Minutes
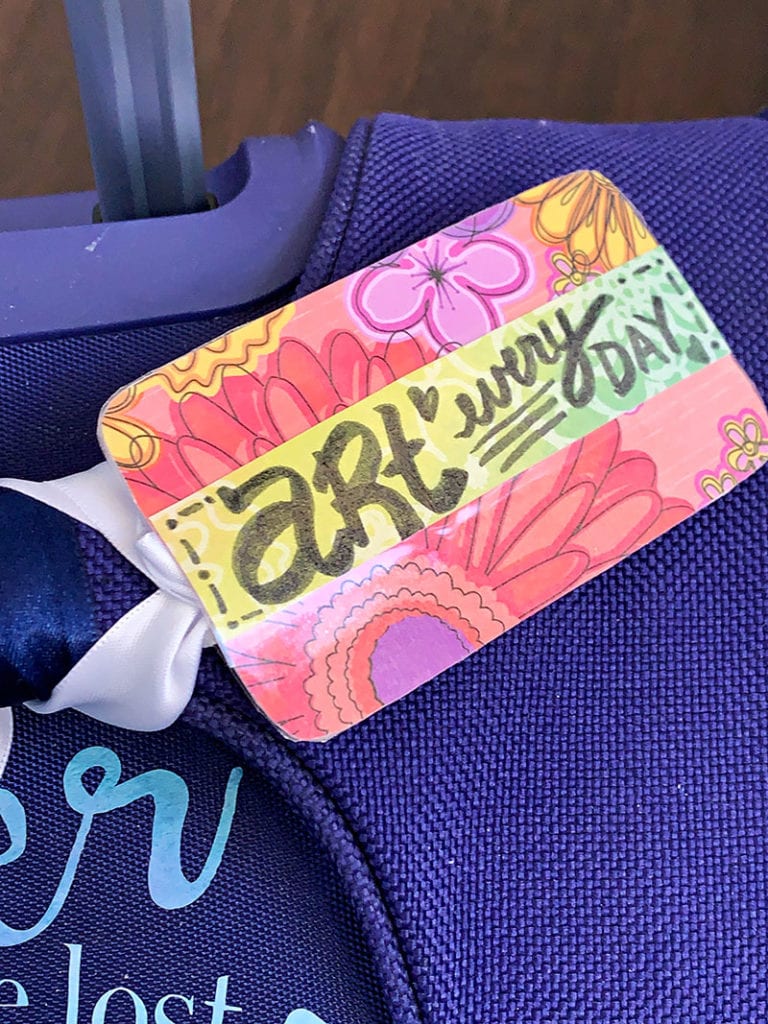
Usually, I tie a big ribbon around the handle of my checked bags. It helps me easily spot each suitcase quickly, especially in crowded or busy baggage claim areas. But, I thought it would be fun to make a little tag that we can personalize however we like.
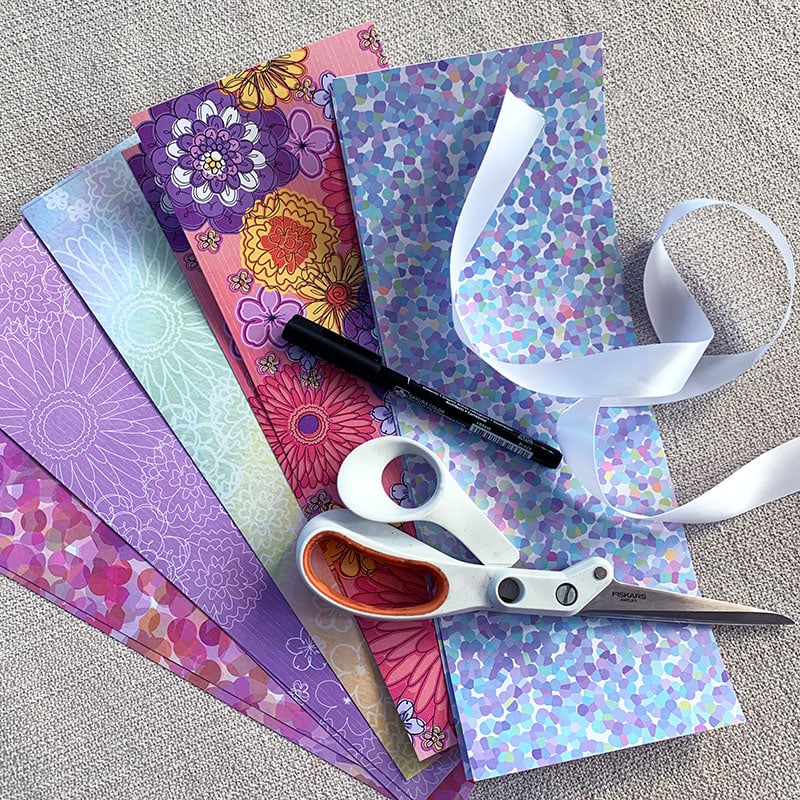
I'll show you the quick steps and then you can make your own bag tags with whatever supplies you have. Today I'm using my new Adhesive back paper I designed for Cricut. You can use your own favorite papers or grab some of mine!

The key to a good luggage tag
- Easy to attach to the bag.
- Stays in place on your bag.
- Unique enough to help your bag stand out from the crowd.
Materials
- Cardstock
- Ribbon
- Markers
- Glue
- Scissors
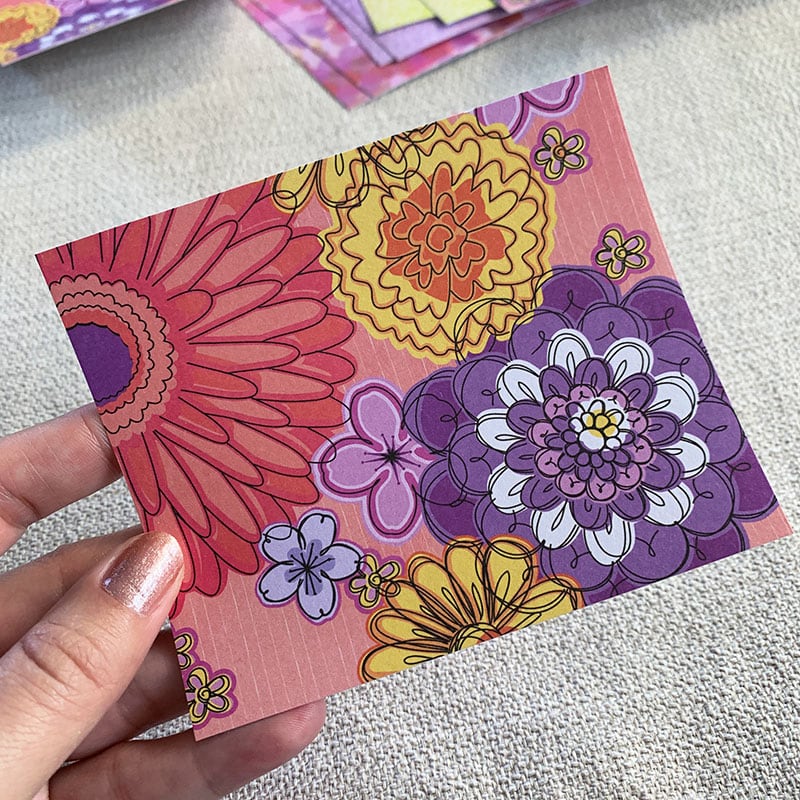
Use your favorite paper patterns to create unique luggage tag designs or create your own art paper.
Instructions
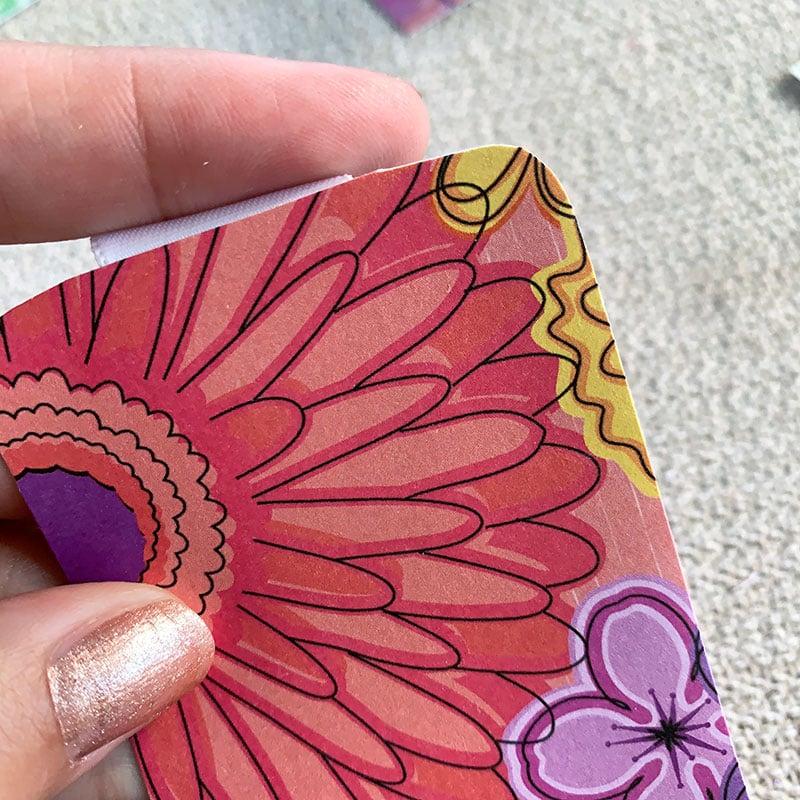
- Cut two pieces of cardstock the same size and shape. This will be the front and back of your tag. I cut mine about 2″ x 3″. About the same size as a business card.
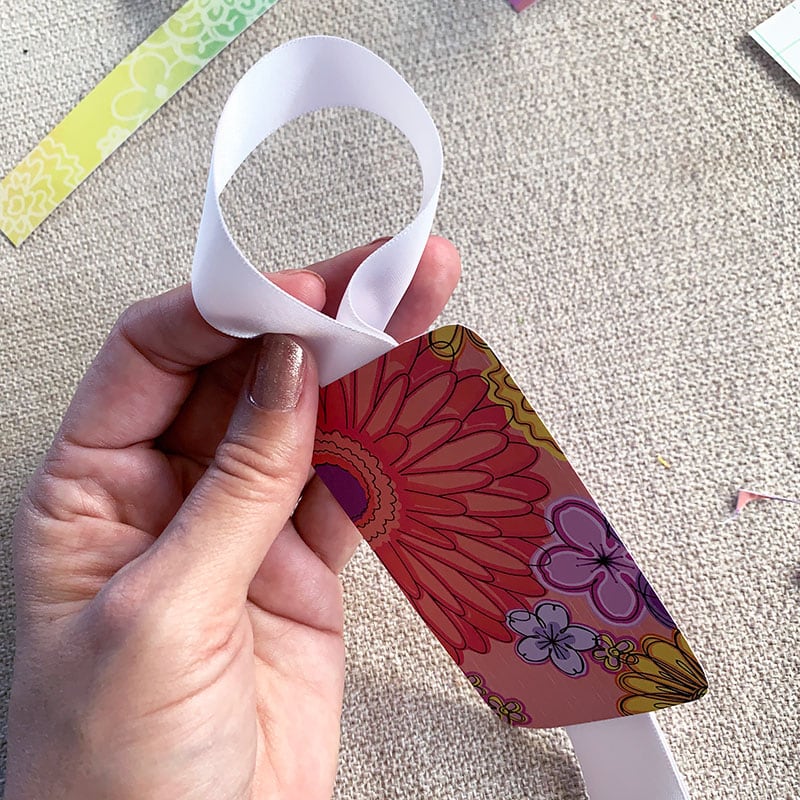
- Cut two pieces of ribbon, about 8 inches long.
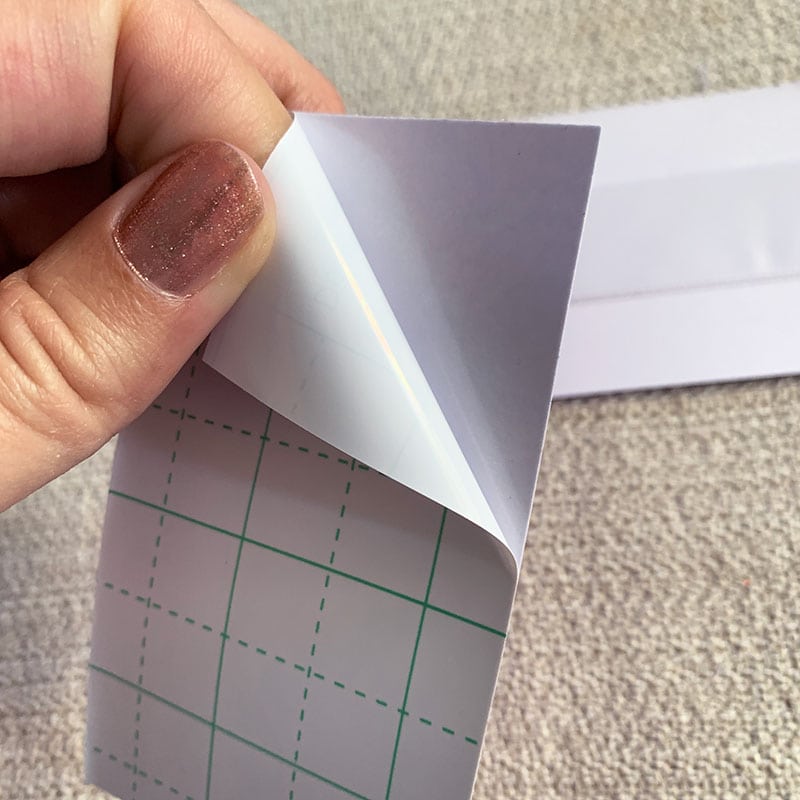
- Layer the paper and ribbon to create a sandwich of materials with the paper on the outside and the ribbon on the inside. Glue the layers together. If you're using adhesive-backed paper, you don't need glue, just lay the ribbon in the center of the paper and then layer the papers together, adhesive sides facing each other.
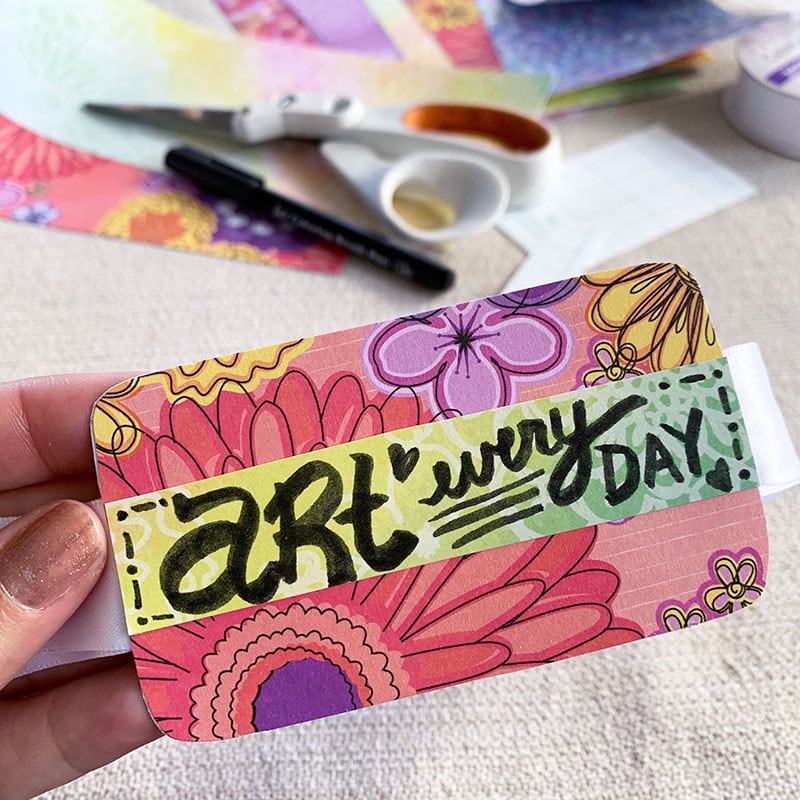
- Add any embellishments or extra decorations to your tag. You can add contact info if you'd like or maybe your favorite quote. I wrote my own words on a second strip of paper and applied it as another paper layer.
- Seal the tag. This is optional but will help it last longer. I applied a layer of clear plastic laminate over mine. You can also use packing tape or even a layer of Mod Podge.
Get creative with your luggage tags. Draw, create a collage, use photo print outs of your favorite places or use pretty printed papers. You can add all kinds of ribbons and extra bling if you'd like. Be careful not to add too many extra pieces, you don't want your tag to get stuck in any of the baggage equipment.