Get out your Cricut and make a DIY St. Patrick's Day Shirt in minutes. Today my friend, Jessica Roe, is sharing this fun DIY Cricut project. This is such a fun project for St. Paddy's Day.
DIY ST. PATRICK’S DAY SHIRT YOU CAN MAKE WITH YOUR CRICUT
Create a festive St. Paddy’s Day with your Cricut Maker and designs from Jen Goode – project design by Jessica Roe
Hi everyone! It’s Jess from Everyday Party Magazine, and I’m so excited to be here today! I’m a Cricut enthusiast, and I love using Jen’s cut designs for party decor, favors, and more!
MAKE YOUR OWN ST. PADDY’S DAY SHIRT IN CRICUT DESIGN SPACE
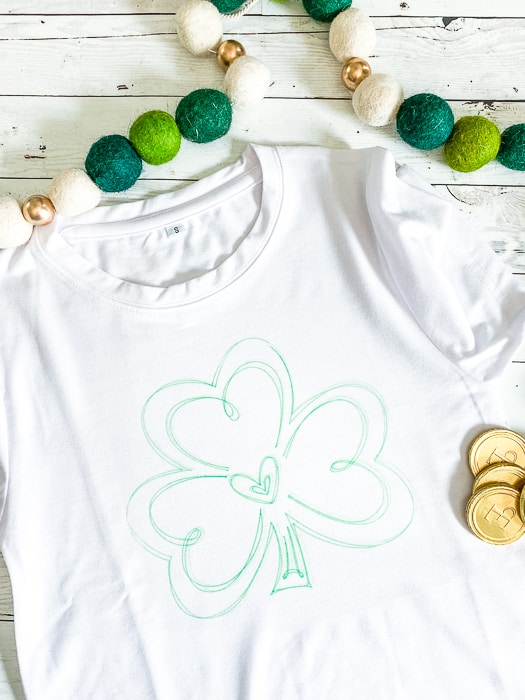
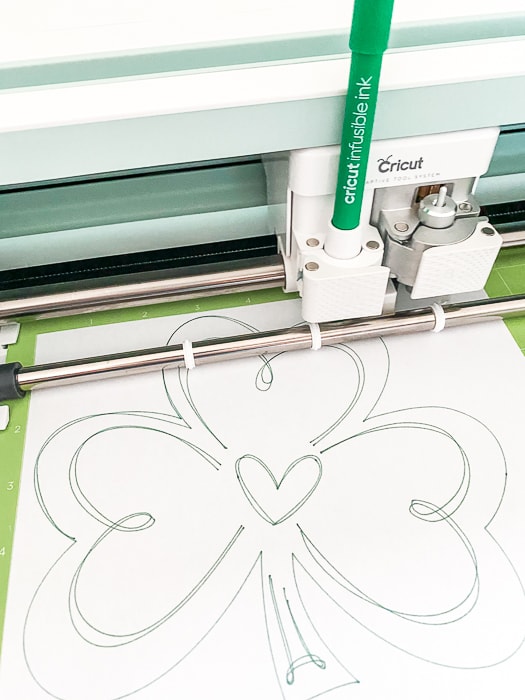
My niece is infatuated with Cricut’s Infusible Ink Markers. I’ve let her draw her own images to make shirts before. But, until we made her this shirt, she hadn’t ever seen the Maker do it’s magic! She is a little upset that we won’t be home for St. Patrick’s Day weekend and her youngest cousin’s birthday this year, so we made her a special shirt to make her feel a little better.
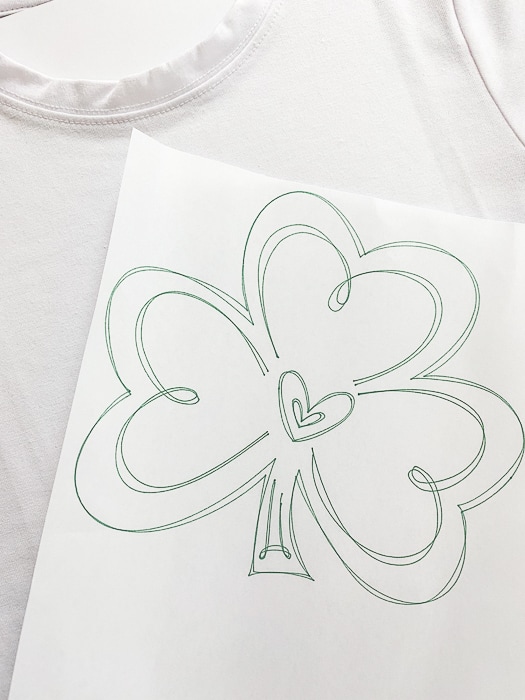
We picked out Jen’s Shamrock with Doodles design for her shirt, and we both LOVE it!
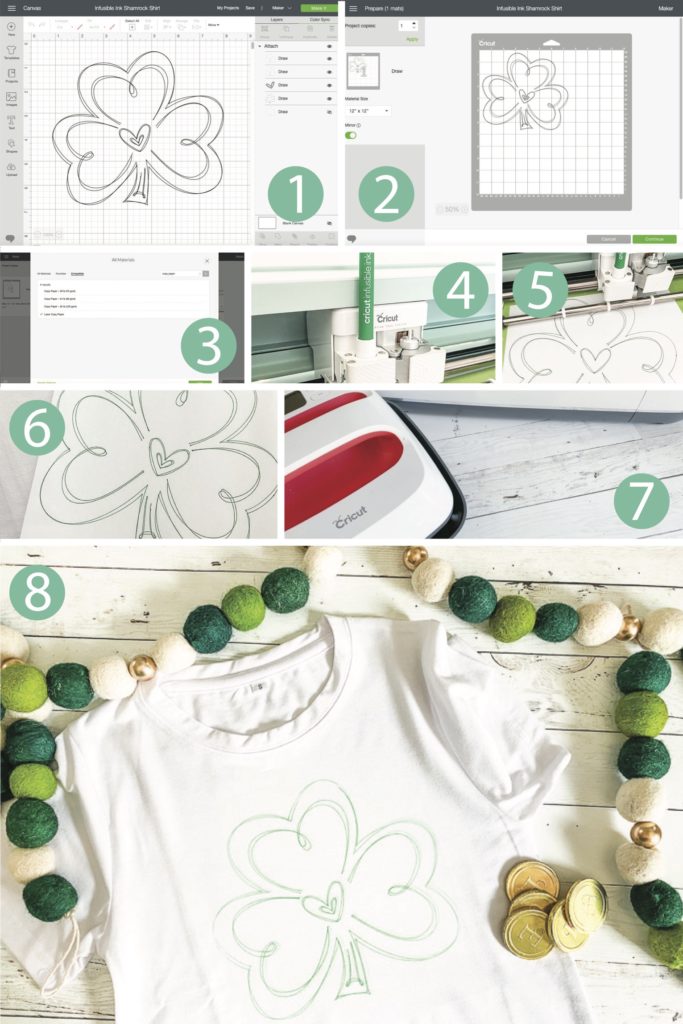
HOW TO MAKE YOUR OWN ST. PATRICK’S DAY SHIRT
Follow the below instructions to create your own fun St. Paddy’s Day shirt. This adorable shirt is perfect for St. Patrick’s Day and beyond. You can choose your favorite colors and personalize your shamrock doodle shirt too!
Materials
- Cricut Maker cutting machine
- Cricut Design Space account
- Shamrock and Doodles cut design by Jen Goode (#MC47751)
- Infusible Ink Pen 0.04 – Green
- Cricut Design Space Access
- Cricut Infusible Ink Shirt
- EasyPress 2
- Card Stock
- Butcher Paper
- Laser Printer Paper
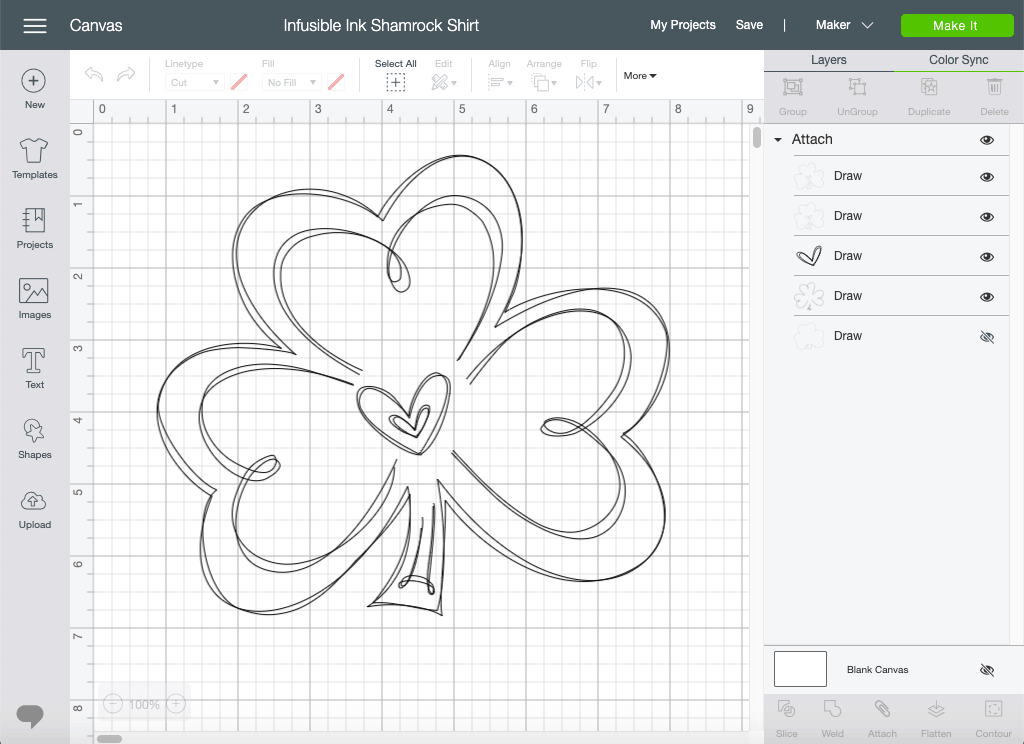
We’ve set up a Cricut Design Space canvas to help you get started with this St. Patrick’s Day Shirt. Click here to open up this St. Patrick's Day Shirt project in Cricut Design Space.

Instructions
- Open the Design Space Cut File and size it to fit your shirt.
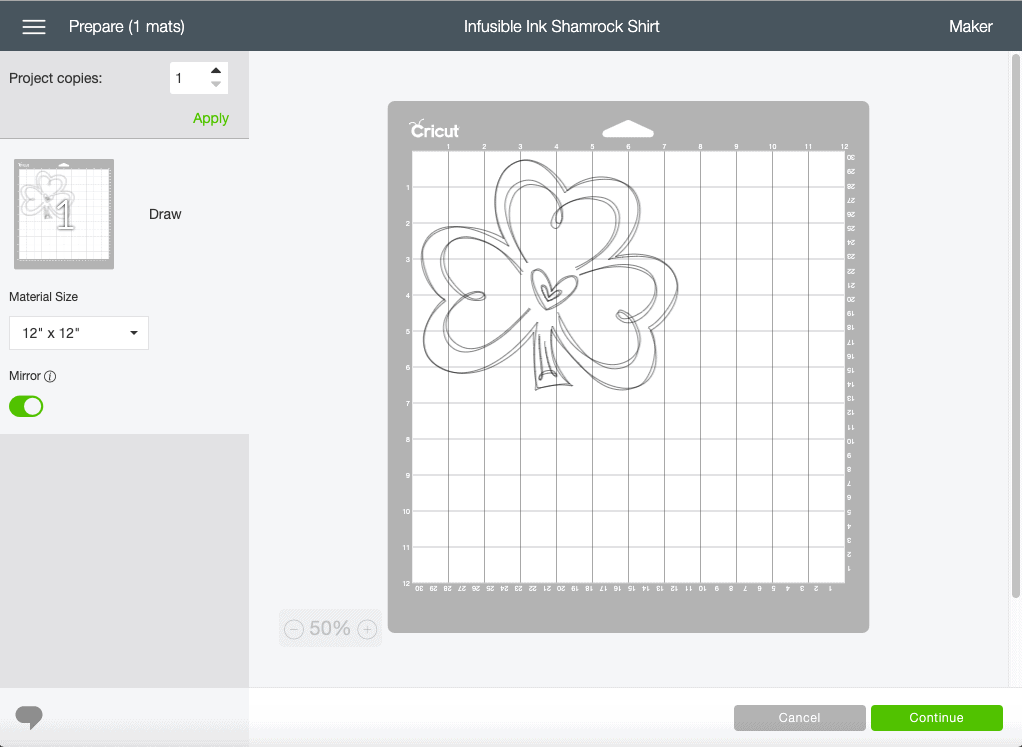
- Send the project to cut (draw). Don’t forget to mirror the image. Place the Laser Printer Paper on a standard grip cutting mat. Be sure to follow the prompts for the Infusible Ink Pen.
- Once the image has been drawn, remove the laser printer paper from the cutting mat.
- Place a sheet of cardstock in the shirt where you want your design to be.
- Place the laser printer paper with the design on the shirt, image side down.
- Cover the laser printer paper with butcher paper.
- Press the image onto the shirt with the EasyPress following Cricut’s recommended heat settings.
- Remove the butcher paper, laser printer paper, and card stock from the shirt, and be pinch proof for St. Paddy’s Day!