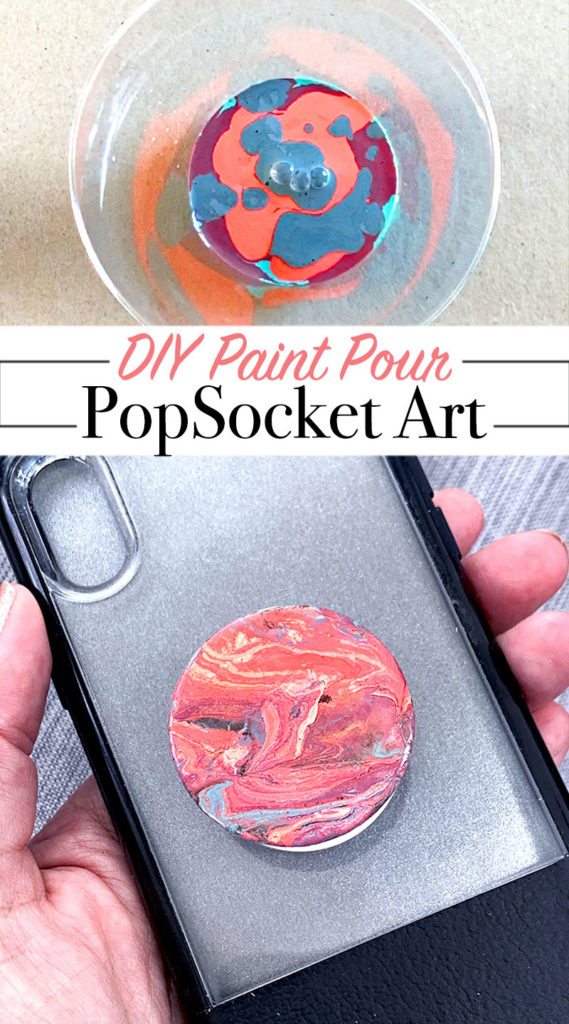
Personalize your own PopSocket with a little paint crafting. Up-cycle this popular phone accessory with your favorite paint colors and make some cool art you can carry around everywhere you go. It's a fun painting craft you can do with your friends or even as a group project.
This is another project featured for this month's CRAFT WEEK. The theme today is Paint and our sponsor is DecoArt.
It's CRAFTWEEK!
March is National Craft Month. So I've partnered with some of my favorite creative bloggers to share some crafty ideas with you all week long!
With all the travel I've been doing, I thought it would be fun to showcase some travel inspired projects.
This quick craft is just one of the fun DIY ideas I'm sharing for CRAFTWEEK. All week I'll be featuring some fun and easy crafts you can create yourself. Plus you'll find more craft ideas from other bloggers below PLUS each day this week we will be sharing a link to a giveaway.
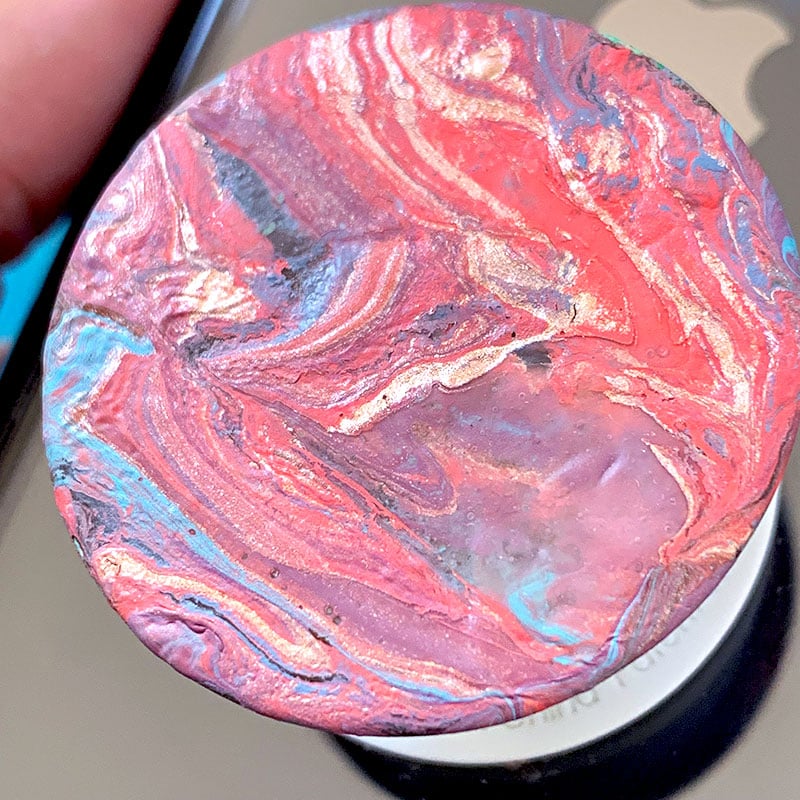
Make Your Own Paint Poured PopSockets
I don't go anywhere without a PopSocket stuck to the back of my phone case. They are perfect for on-the-go photos and with all the events I attend, I'm always getting PopSockets in my conference bag swag. So today I'll show you how you can easily personalize your own PopSockets with a quick paint pour.
Materials
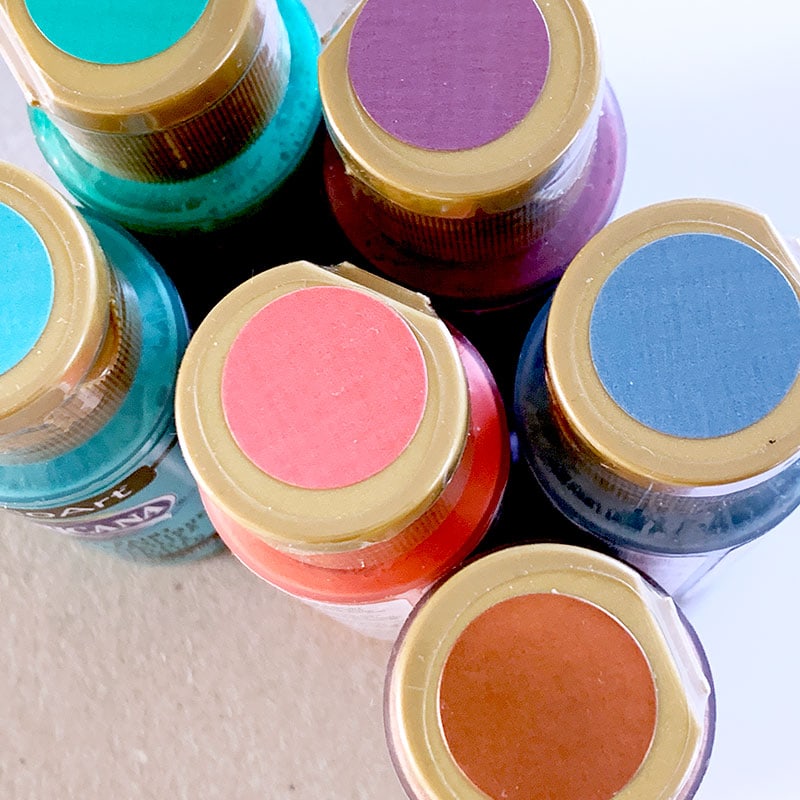
- Variety of craft paint
- Plastic/disposable cup
- Paper to cover your work space
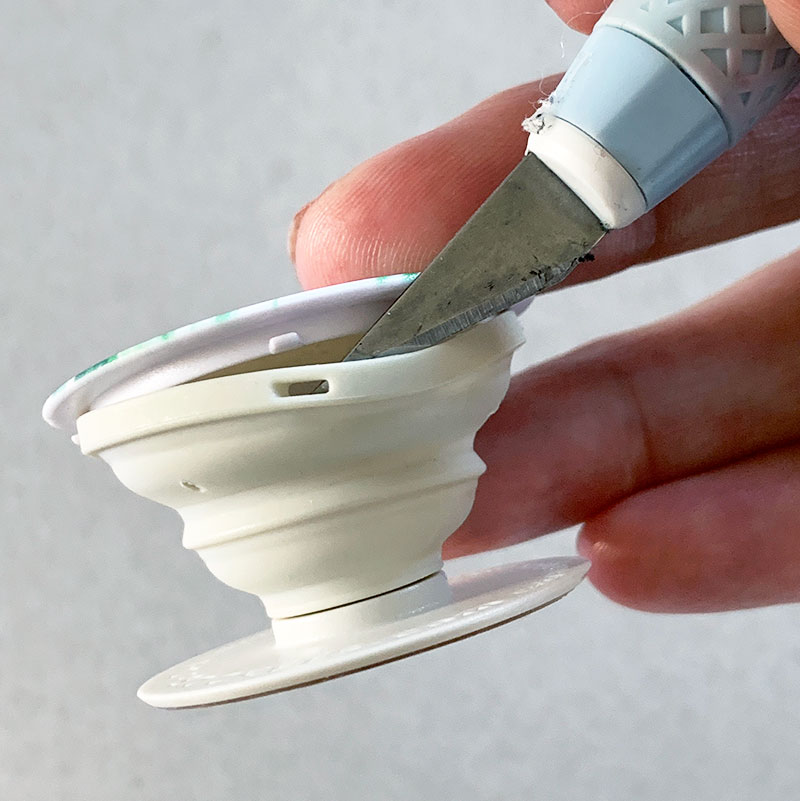
- Small craft blade
Instructions
- Remove the top piece (disc) of your PopSocket. I just used a craft knife and carefully wedged the top piece off of the base.
- Clean and dry the disc. If there is already a design, painting a base coat can be helpful. Let this layer of paint dry.
- Place disc on a piece of cardboard or paper. This helps if you need to tilt your project to move paint around.
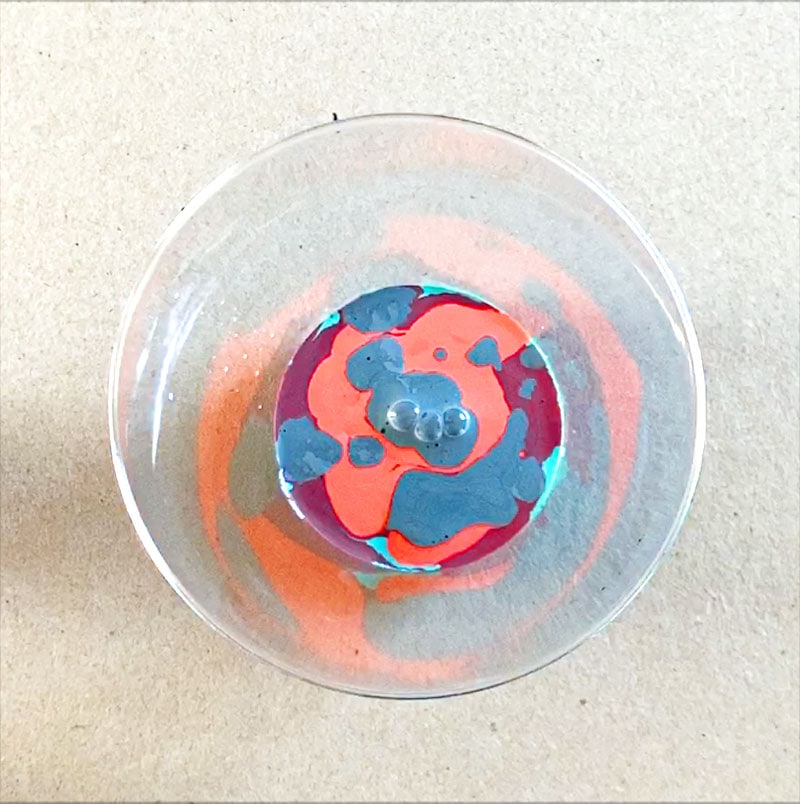
- Pour different colors of paint into your cup. DO NOT STIR.
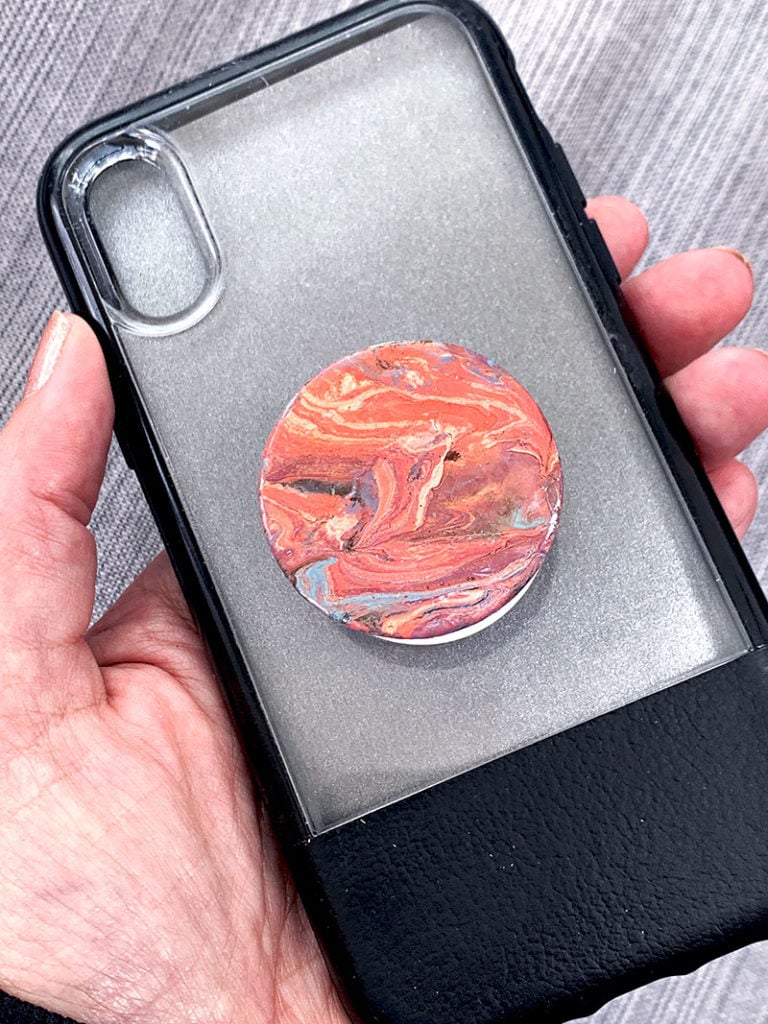
- Slowly pour the cup of paint onto your PopSocket disc. Tilt the disc to allow paint to move around and cover the entire piece. Set aside and allow to dry.
- Optionally, seal the disc with a clear coat sealer.
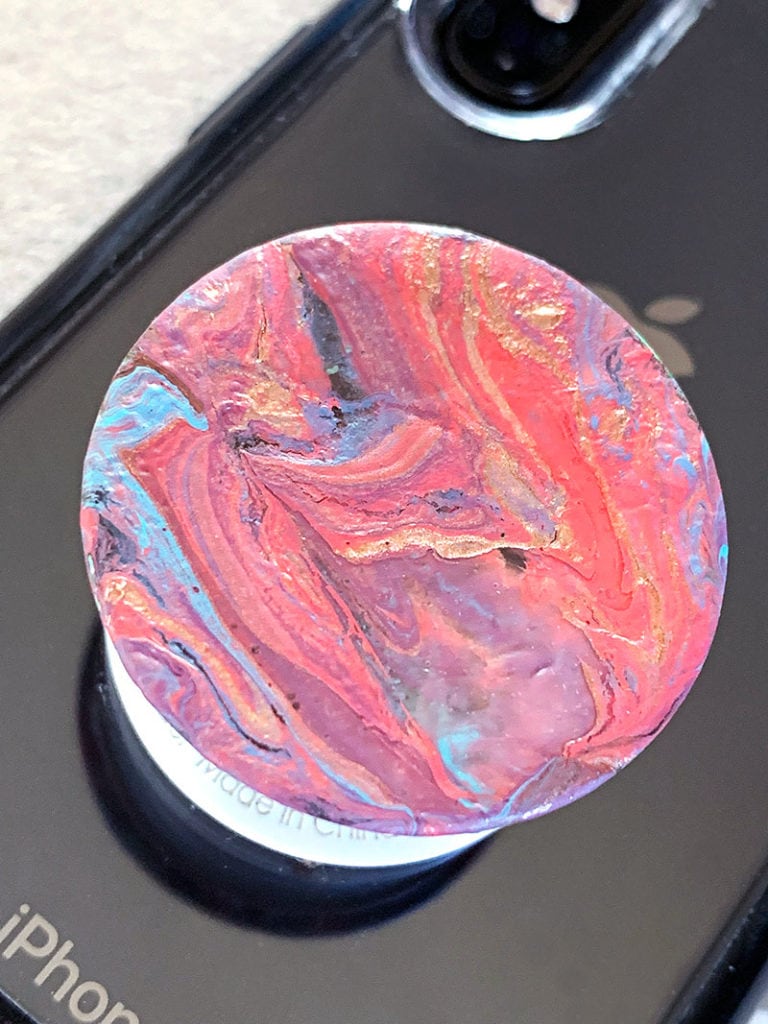
Tips: Many paint companies now offer a “paint pouring medium” or even pre-mixed paints specific to pouring. I used basic acrylic craft paint from DecoArt and a clear sealer for this project.
Play around with your different paint options. You don't need a ton of paint for paint pouring, so testing before you commit is a simple process.
More Painted PopSockets
If you don't want to try paint pouring, you can simply paint your PopSockets. Just paint with an acrylic craft paint (multi-surface paints are great) and then seal the piece once the paint has dried.
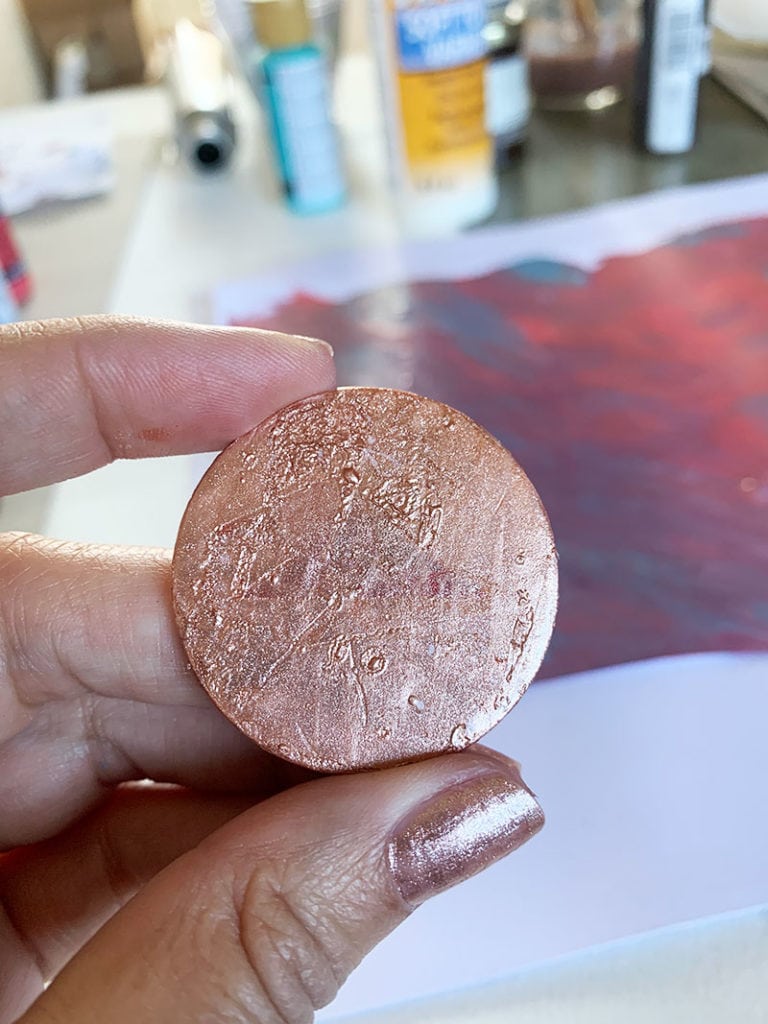
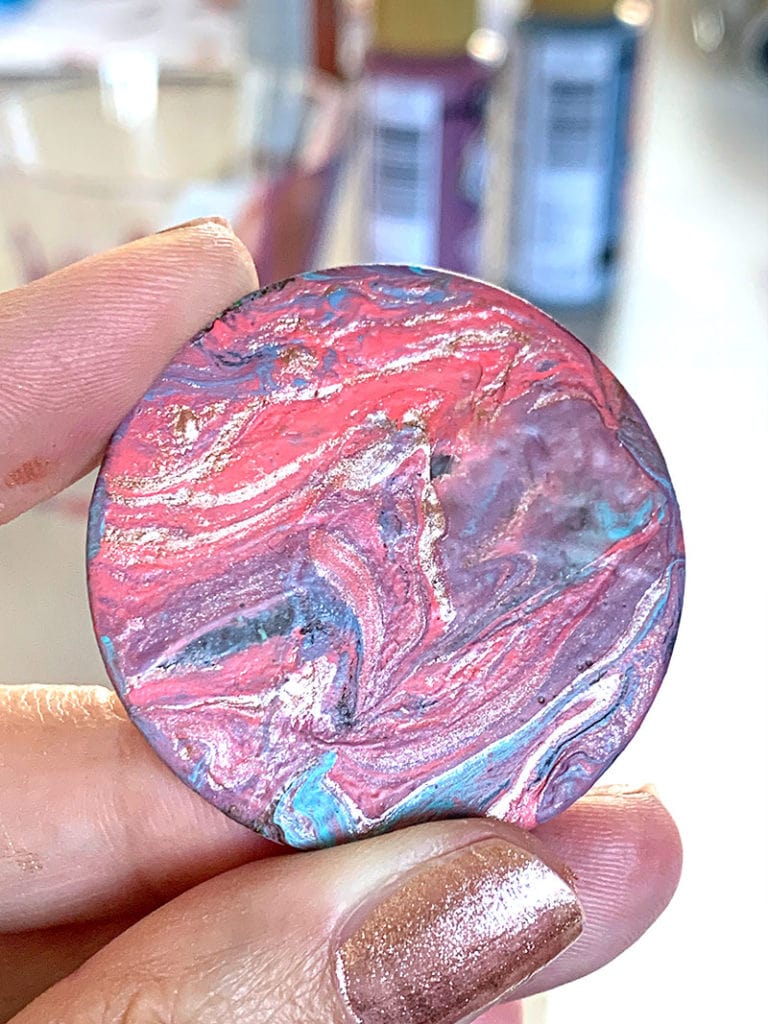
I painted this PopSocket with a copper metallic paint. Then, before it was completely dried, I used a heat emboss tool to make the paint bubble a little. Once the paint had dried, the bubbles became wrinkles to create this cool copper foil look. Again, I sealed the piece with a clear sealer.
Another idea to personalize your PopSockets
How about using a permanent vinyl or sticker paper. If you don't want to paint directly on your PopSocket, you can paint on a sticker material, let it dry and then apply the personalized sticker you've created. Easy, right!?