We've learned how to convert cut designs to draw with the Cricut. Now let's talk about using weld to edit designs to draw with your Cricut. You can edit designs in Design Space to create a variety of images that you can then draw, print or cut. Today I'll show you how to use the weld tool in combination with the pen to draw and write with your Cricut. This is lesson 6 in my How to Draw with your Cricut series.
Using Weld to Edit Designs to Draw with Your Cricut
Take one design and edit the pieces using the weld tool to create different versions of the same design. Or use the weld tool to combine multiple images to make a new design.
Today we will talk about:
- Using Contour to edit designs
- Using the Weld tool to combine images
When I draw with my Cricut, I like to use the same image to create multiple pieces. You can layer the same image to create multiple looks and using weld will create even more design variations.
Using Contour to edit designs
To get started, choose and image that can be edited. Some images are all-in-one print-then-cut designs that don't allow for any editing. These won't work for a drawing design. So make sure to pick a cut design that you can work with. Then, ungroup all the layers and see what you have to work with. Select one layer/image component and see if the contour button is an option for you. Play with hiding and displaying various parts of the image you are working with to see what you end up with.
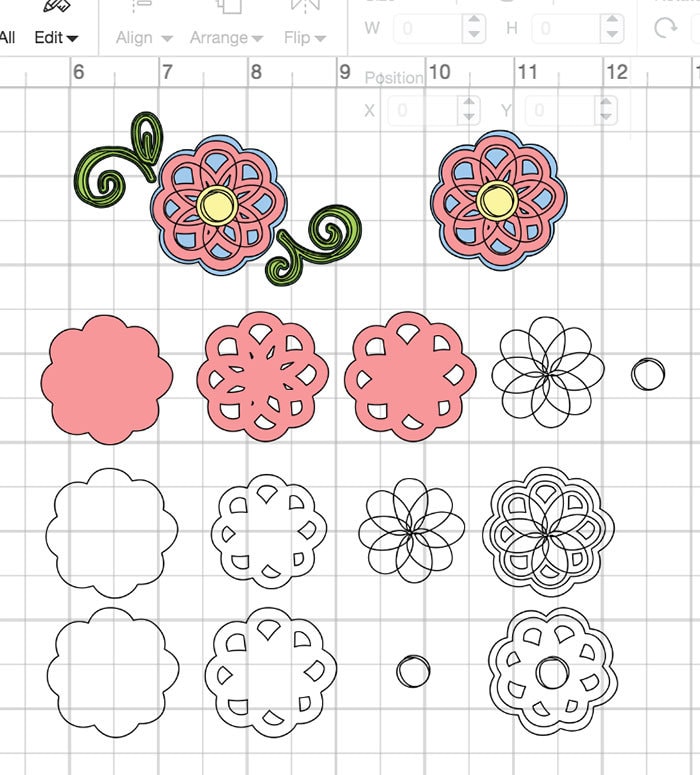
In this example, I've used the same flower, showing and hiding different pieces to create two different flower designs. Rotate designs, combine them and layer them and see how many looks you can get.
Remember… drawing always needs to be attached.
Drawing with a Cricut always requires the draw/write line be attached to the cut shape you'd like it to be created with. Unless you are drawing on one piece of un-cut paper, you're going to need to attach the draw to a cut.
Using the Weld tool to combine images
One thing I like to do is use a design to create a draw line and a larger cut shape to encompass the draw line. So for this example, I can use the same flower to create a larger flower that will cut around the flower drawing.
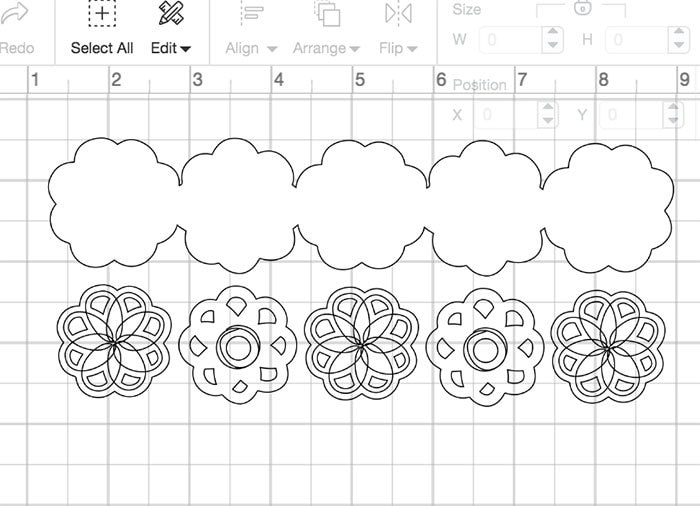
For a more advanced look, I've created a multi-flower band. I then created a cut shape with one flower, enlarged and then duplicated and welded to create a cut shape around the entire band. Look at the process below.
- Start with a single flower design. Remove the swirls and leaves. you'll end up with a center circle with draw line, a top flower with draw line and a bottom outline cut shape. Ungroup and detach all these layers. Remove the yellow center circle layer. What you have left is the outline cut, the inner flower cut, a drawn flower and a center circle doodle. Convert the cut flower shape to draw.
- Duplicate the 1st flower set and separate the layers. Edit the cut layer using Contour to create a second flower version. Rotate the set so the entire 3 layer set is aligned together.
- Duplicate the flower again and create just an outer cut line. You may need to either use contour or weld to create the single cut line.
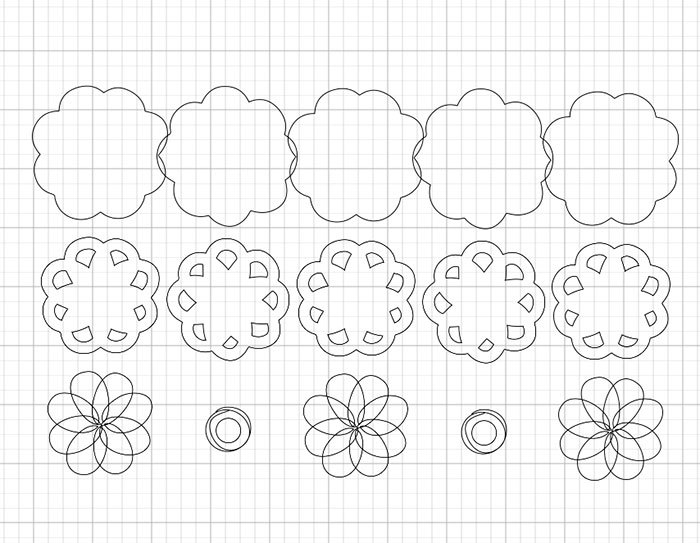
- Now line the drawn flowers in a row. Overlap and rotate just a little to create an interesting design.
- Using the cut outline, make sure this design is slightly bigger than the draw line so it will cut around the drawn design. Now duplicate, rotate and overlap this cut line as needed to create a row that outlines the drawing design. Select all the cut line flowers and click on weld. You should end up with a single cut shape that outlines the entire drawn multi-flower design.
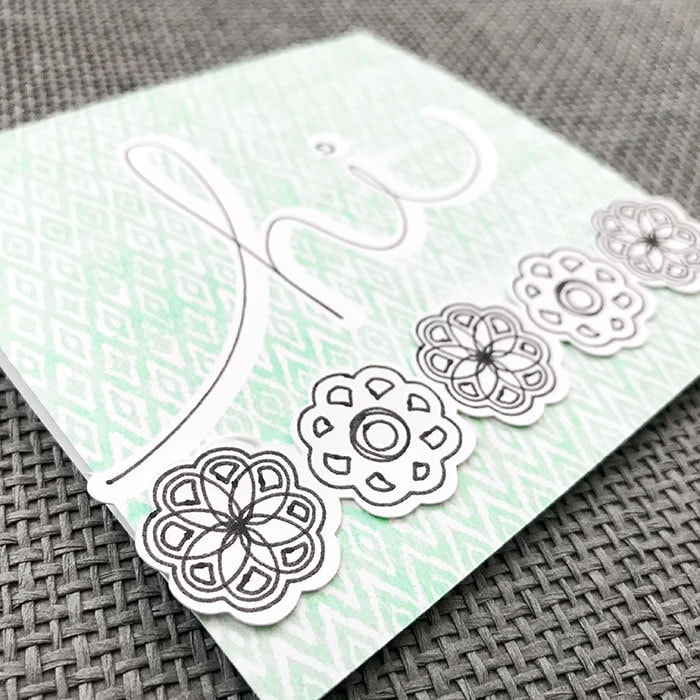
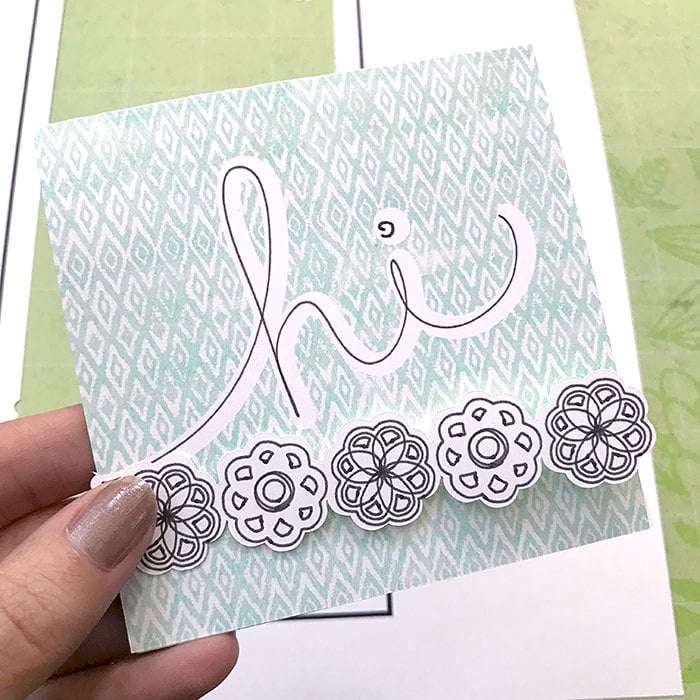
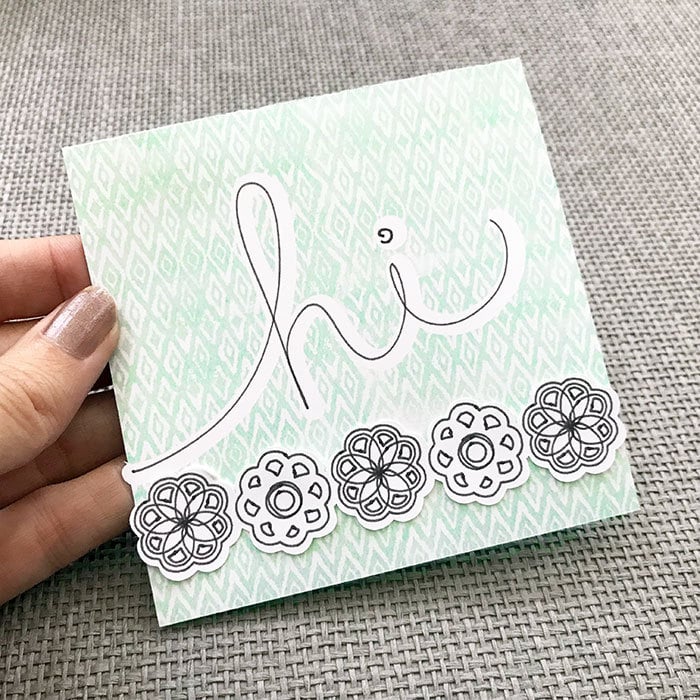
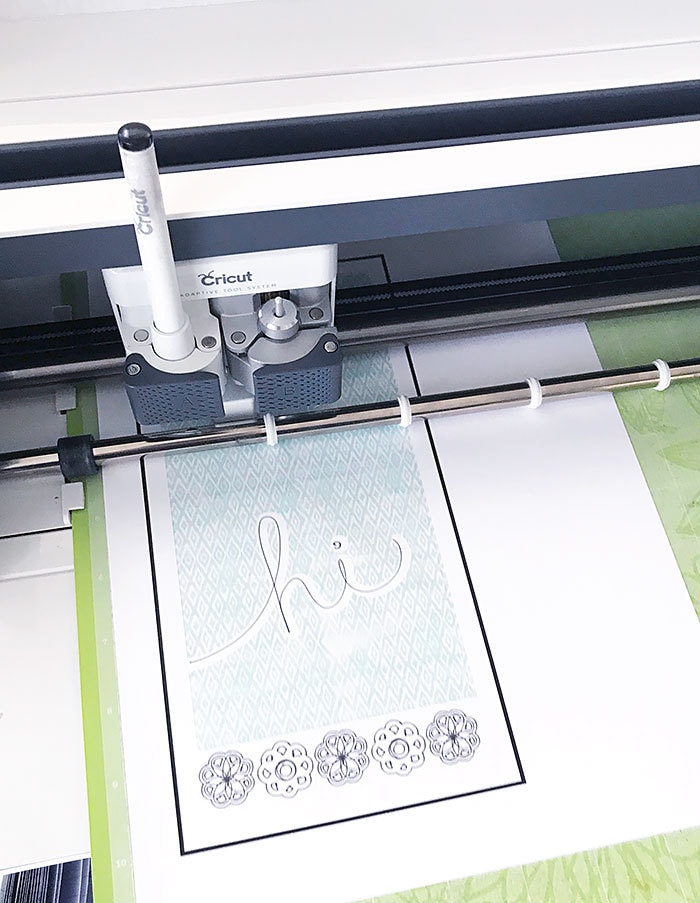
To make this project complete, I added a card that the flower border could accent. The card is made up of a basic card shape with a printed pattern and then a “hi” shape and draw line are flattened and attached to the printed pattern. If you wanted a single design for the whole card, you could also flatten the flower border to the card and print-then-cut the entire design.
Create this project – you can make this same card project in Cricut Design Space to practice your drawing and writing skills.
Learn more about drawing and writing with your Cricut with my How to Draw with your Cricut series.


