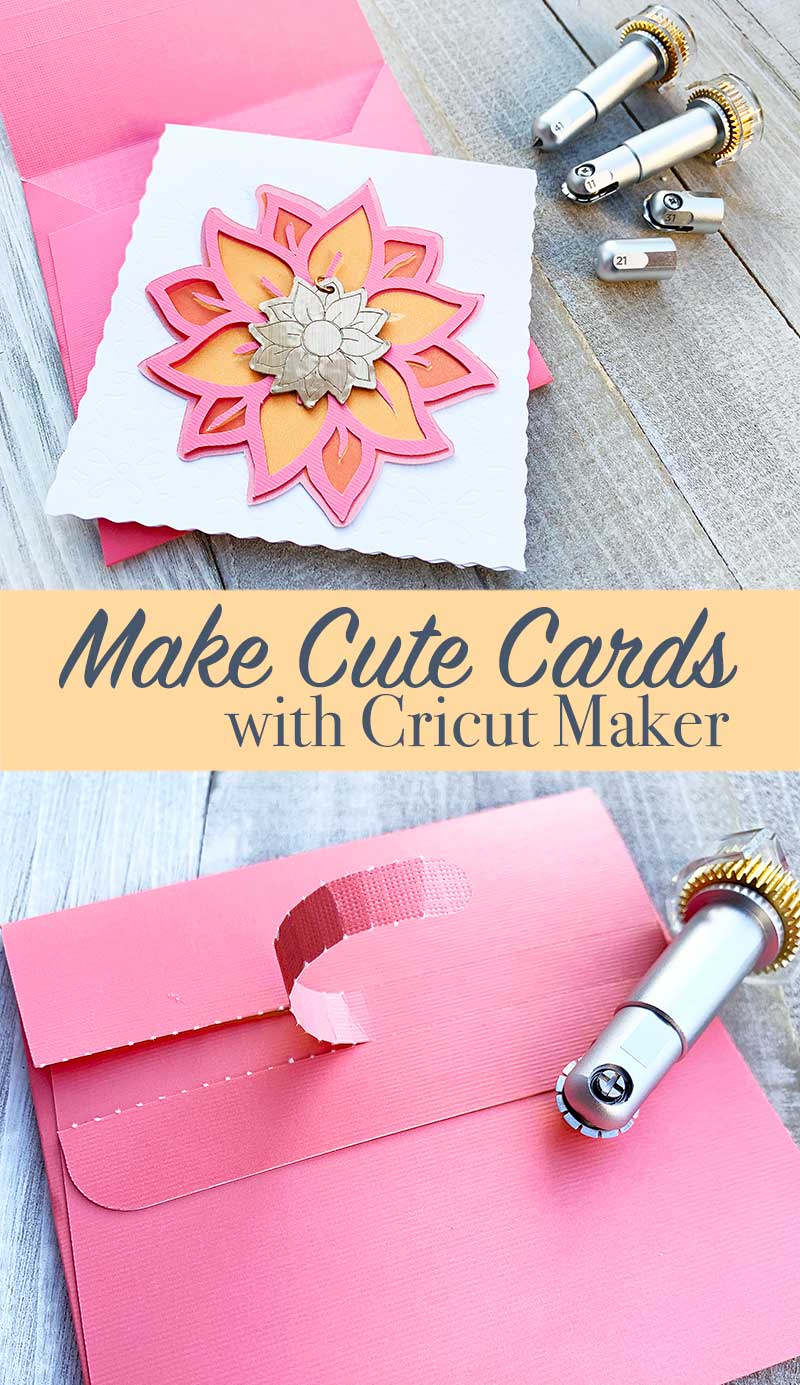
You can create all kinds of custom cards, keepsakes, gifts and decor with the Cricut Maker cutting machine and the QuickSwap Tools. Think of all the fun Cricut projects you can make!
The adaptive tool system allows you to easily change out the tools you need so you can quickly create beautiful, personalized projects. Today I'm featuring 4 of these tools to create a pretty note card and a keepsake pendant.
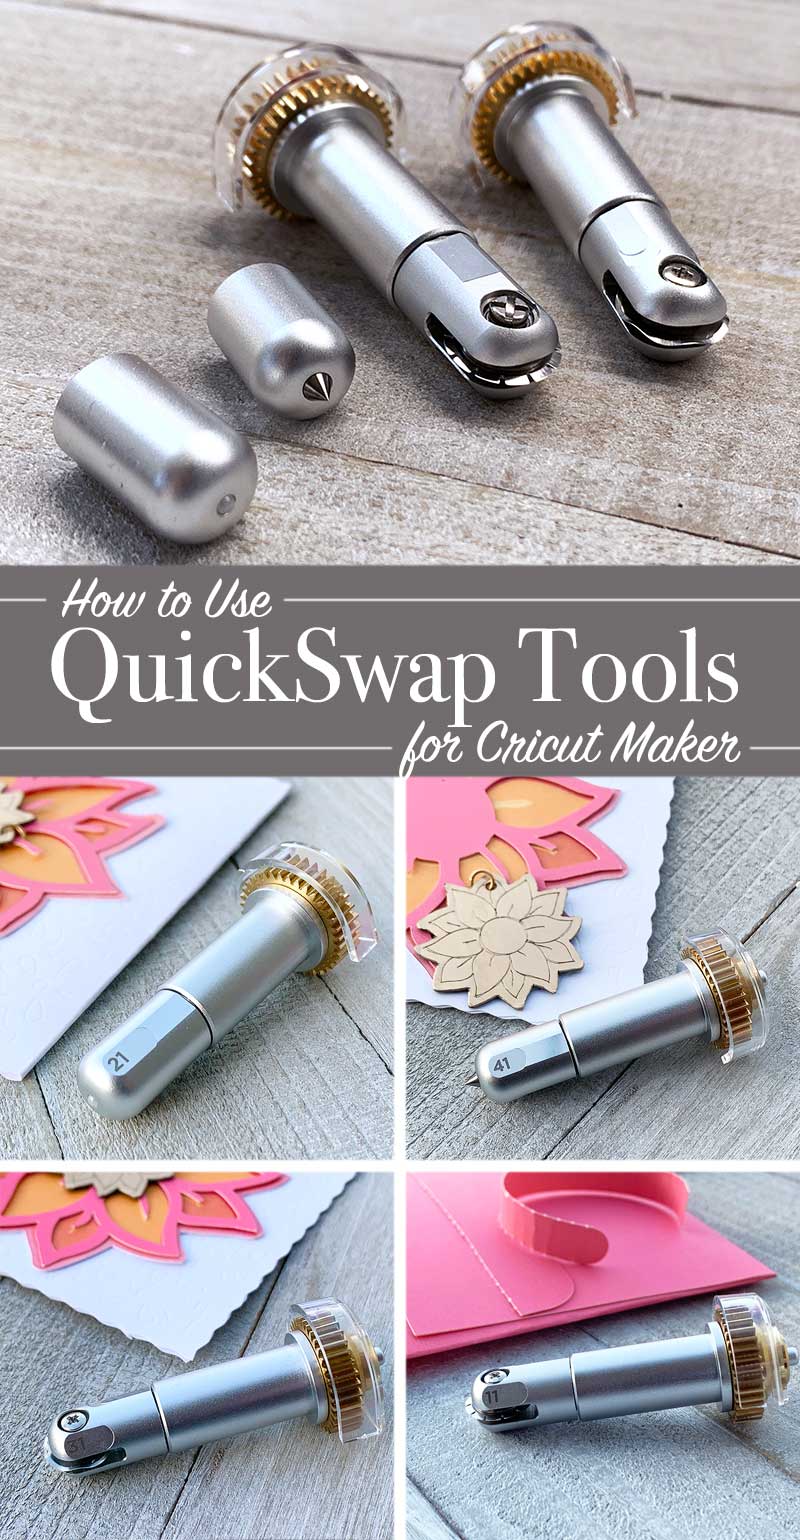
Using the Cricut QuickSwap Tools
These 4 tools are designed to work with a variety of materials from standard cardstock to aluminum and basswood. You can buy each QuickSwap tip with a housing, or buy just one housing and use the tips interchangeably.
Learn More and Shop: Cricut Quick Swap Tool Collection
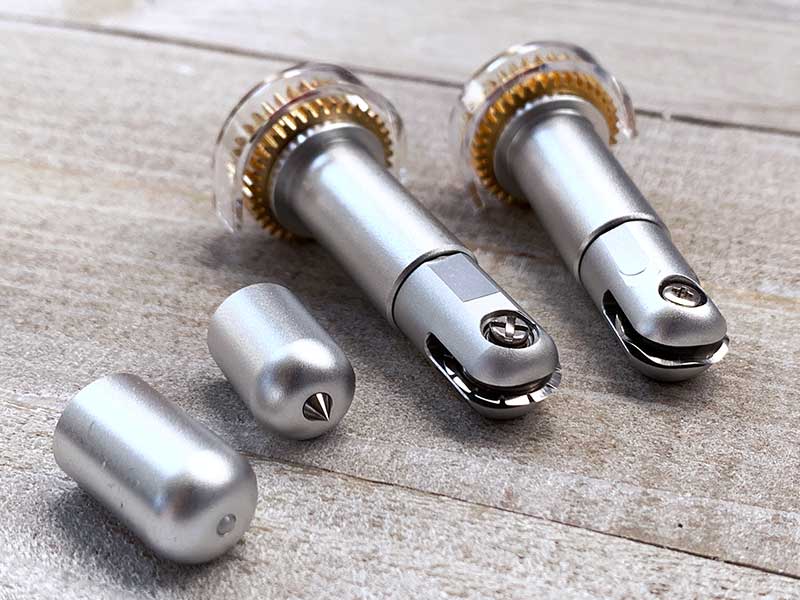
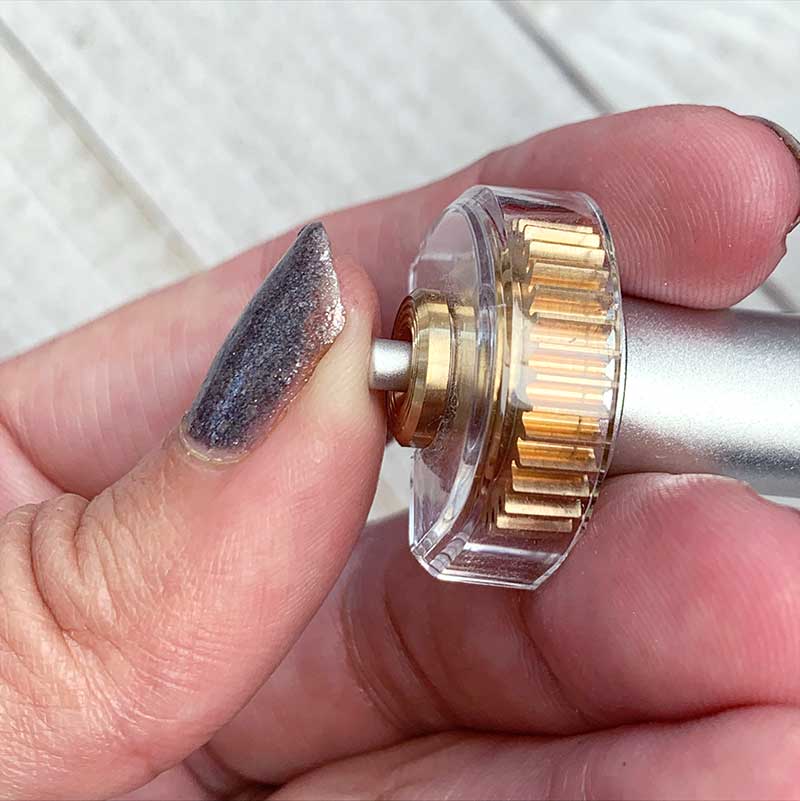
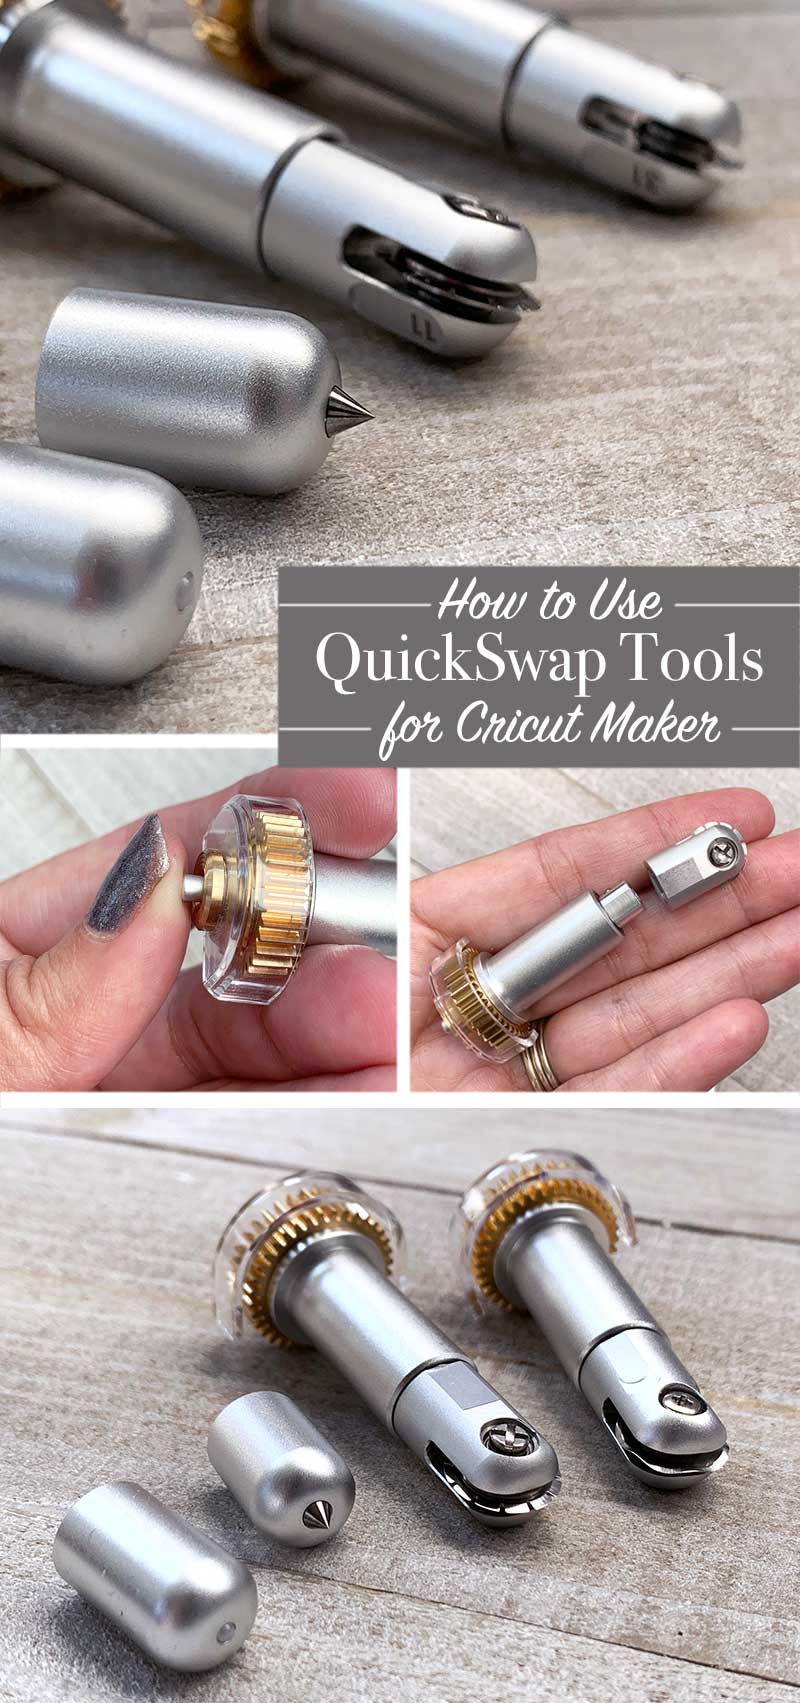
Press the button at the top of the housing to release the tool tip.
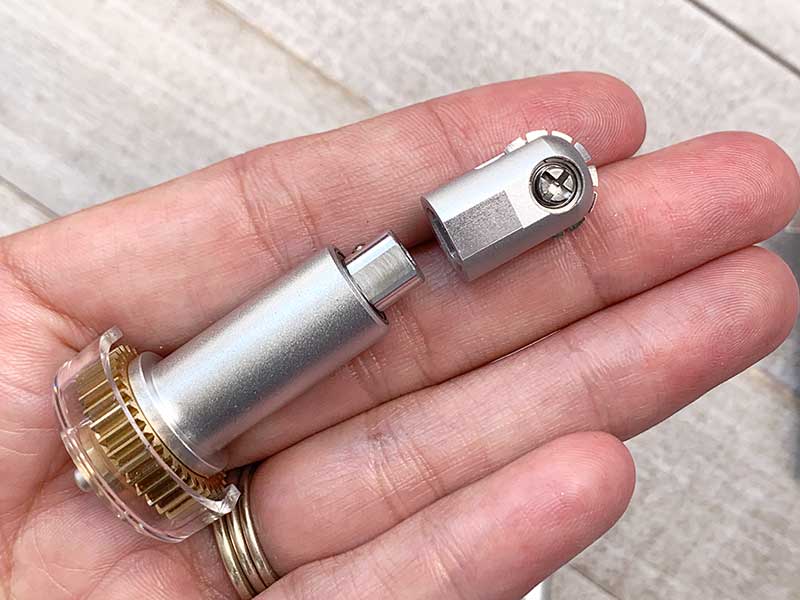
Each QuickSwap tip easily removes or attaches to the housing.
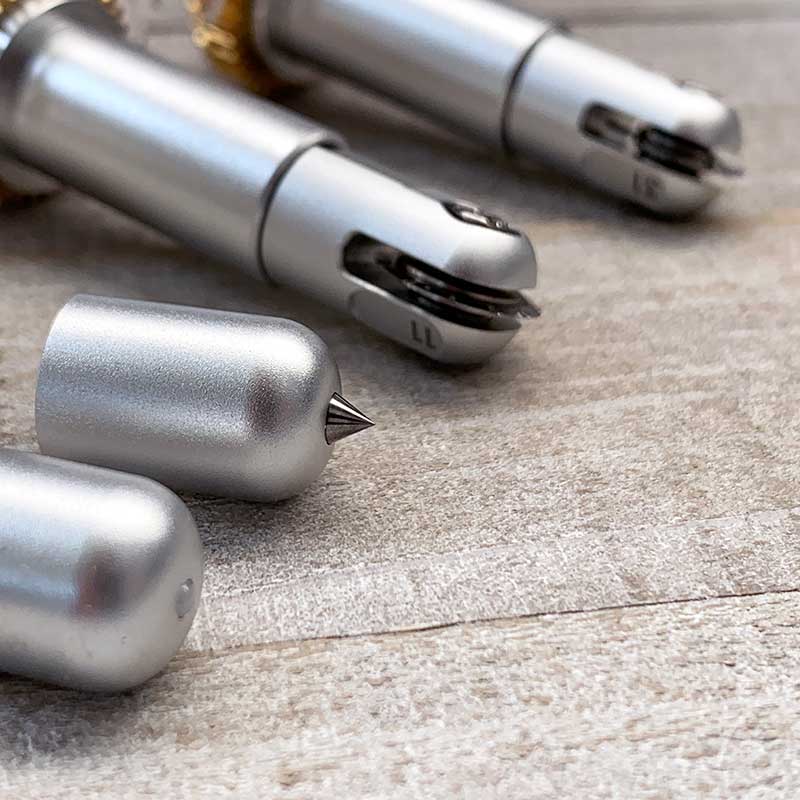
You can currently choose from 6 different tips, 4 of which I am featuring today.
Debossing, engraving, perforating and wavy cut. There is also a single and double scoring wheel that are available in the QuickSwap design.
Take a look at the features of each of the Cricut QuickSwap tools below.
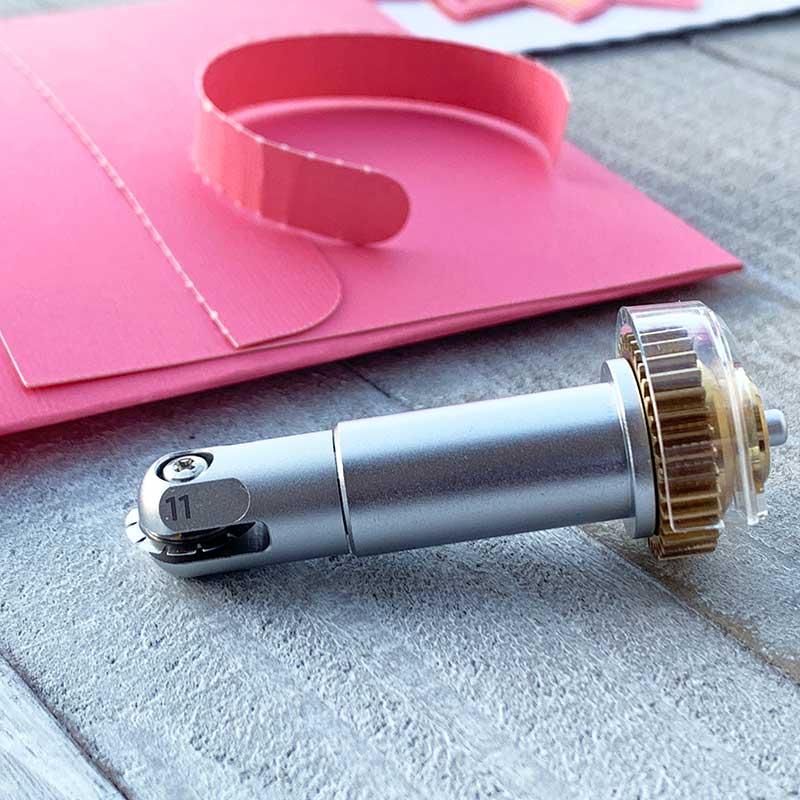
Basic Perforation Blade
Create finely perforated lines for any design:
Get the perfect tear quickly and effortlessly with precise perforation cuts for a wide variety of projects.

Wavy Blade
Go crazy with Wavy Blade:
Get a decorative edge in half the time than a drag blade with a gentle wave cut for a wide variety of projects.
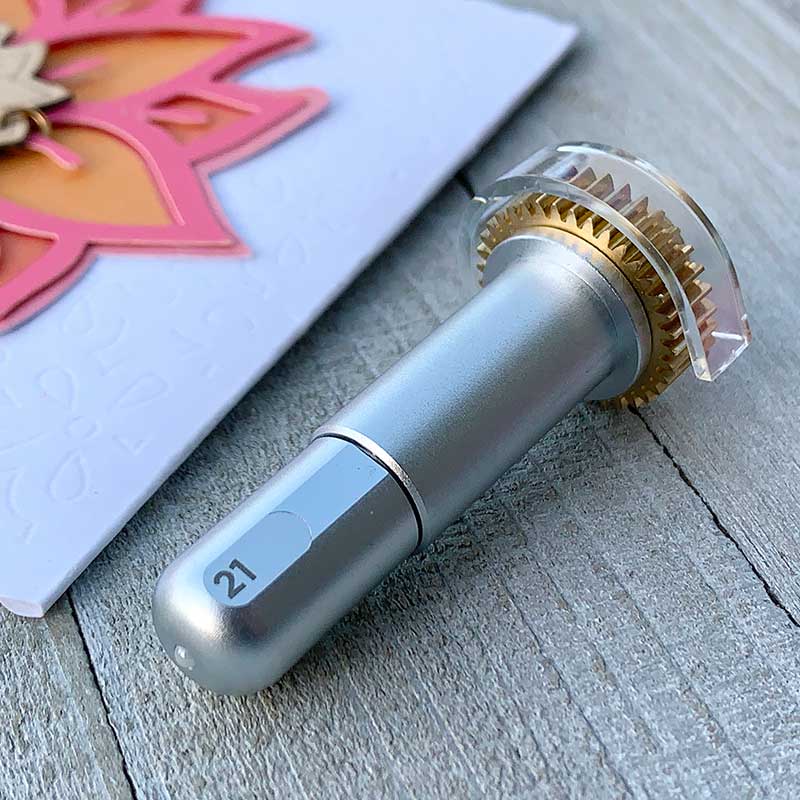
Fine Debossing Tip
Add elegance with pro-level debossing:
Add professional polish and elevated elegance to paper crafts by creating crisp, detailed debossed designs.
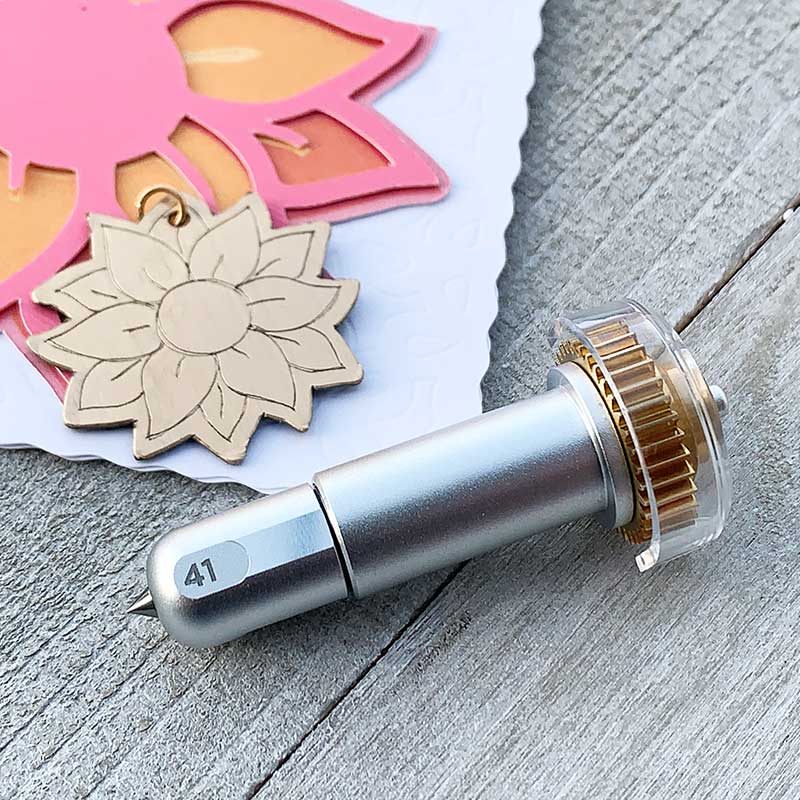
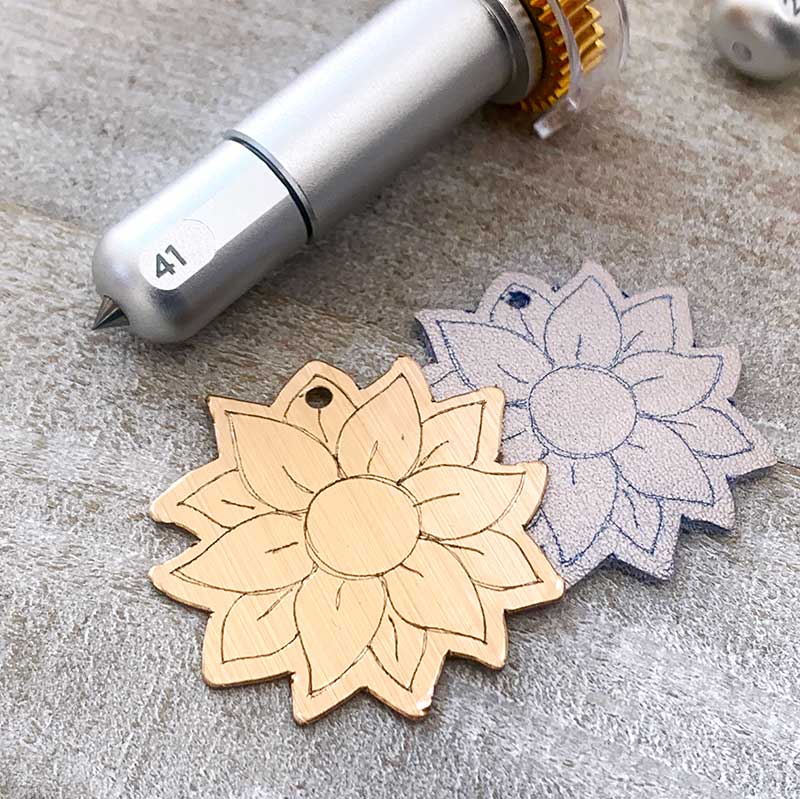
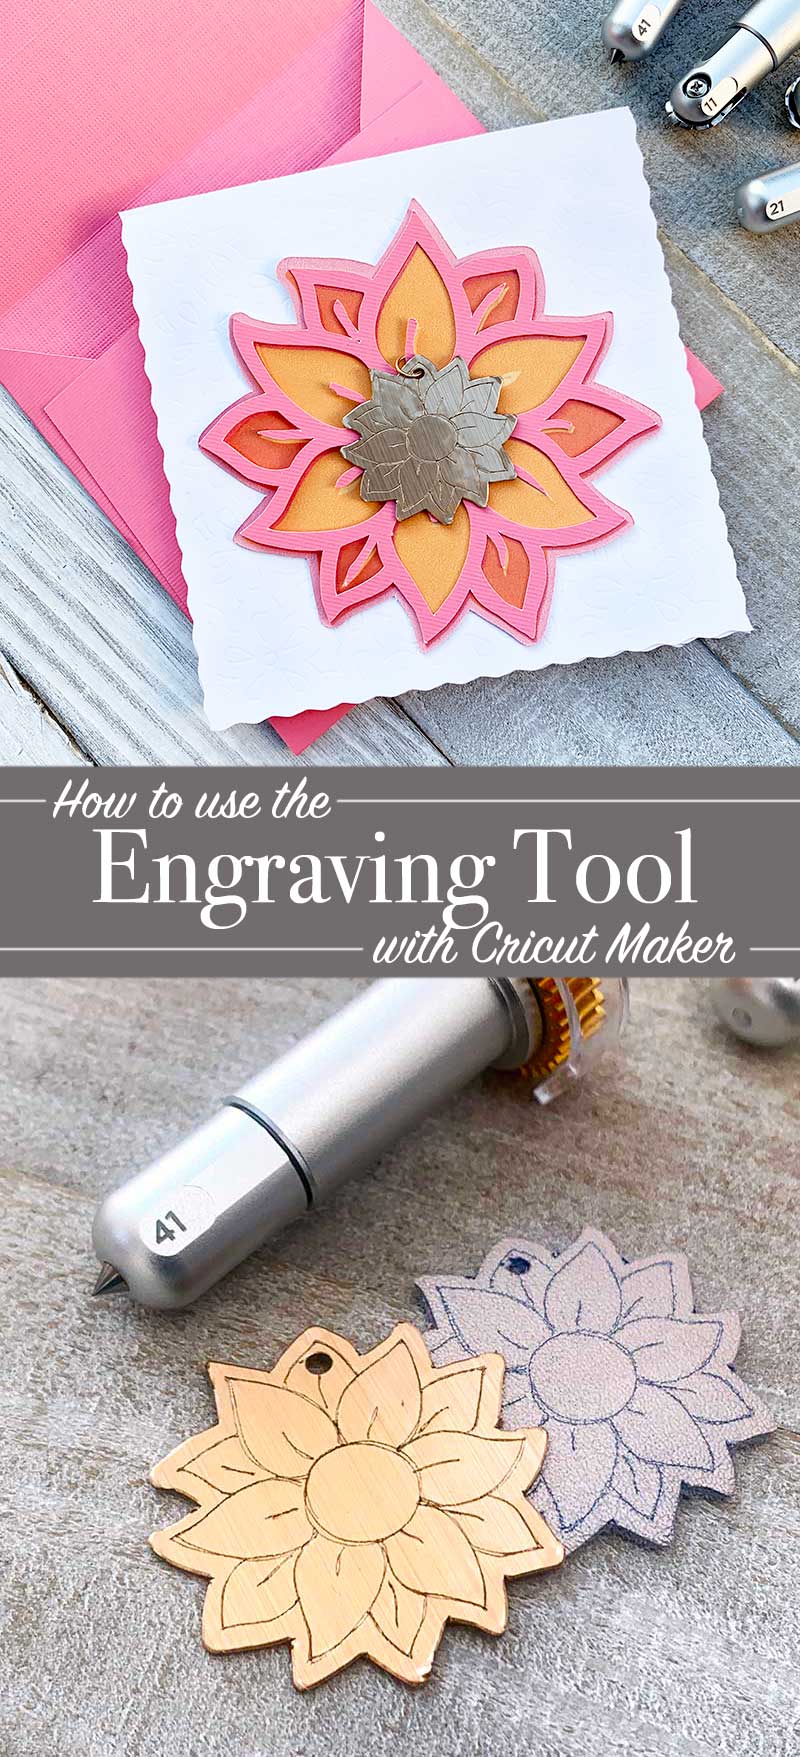
Engraving Tip
Turn any project into a keepsake:
For an eye-catching effect, engrave Cricut Metal Sheets or anodized aluminum to reveal the silver beneath.
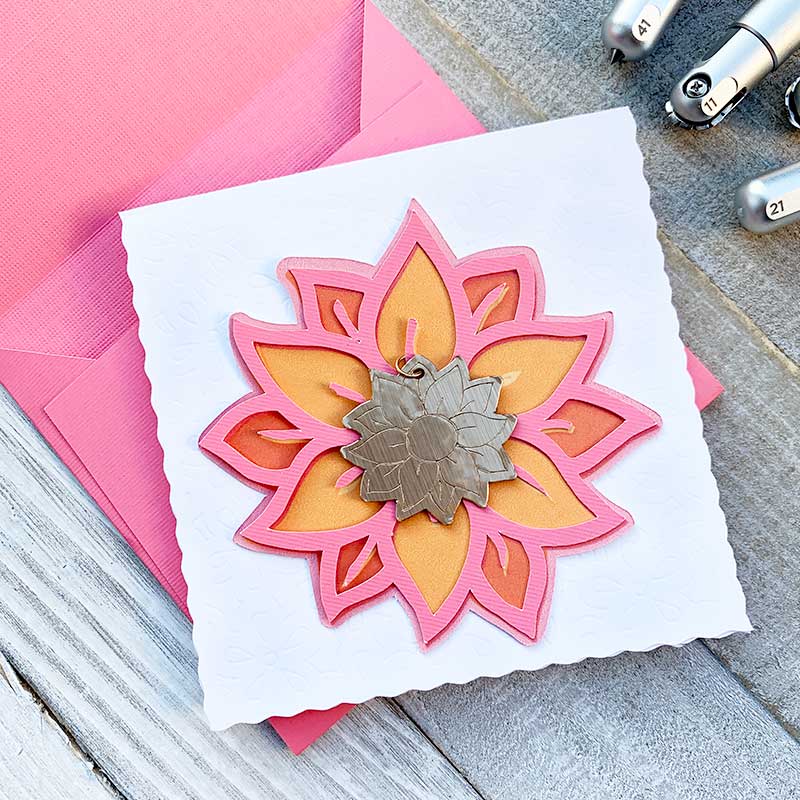
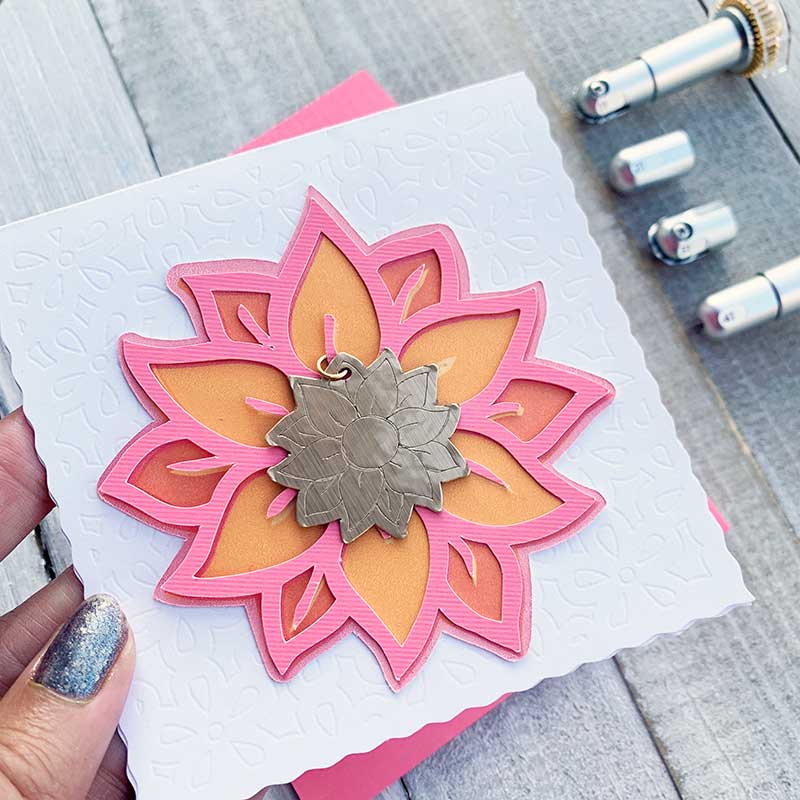
Now that you've read what each tip can so, let's make a project to try these tools out. We'll make a decorative note card and simple keepsake. I've set up a Cricut canvas to help you get started.
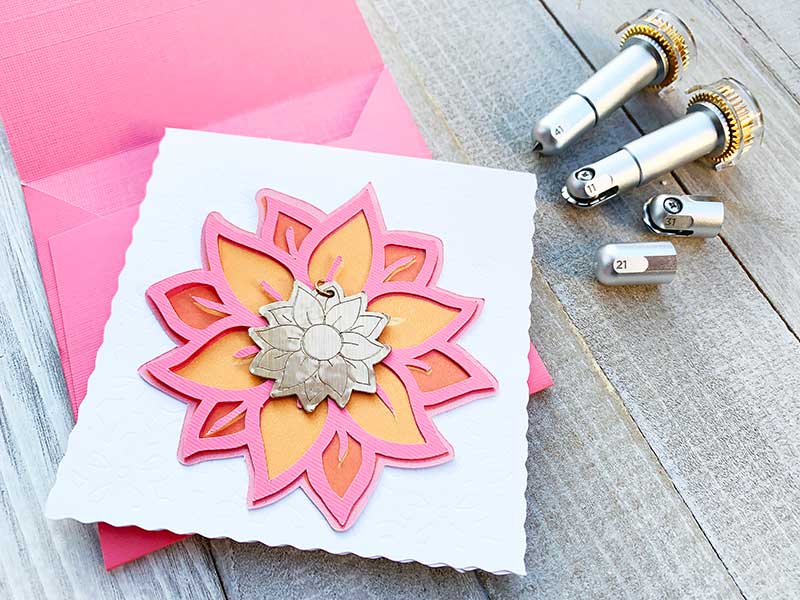
Make a Decorative Notecard and Simple Keepsake with Cricut QuickSwap tools
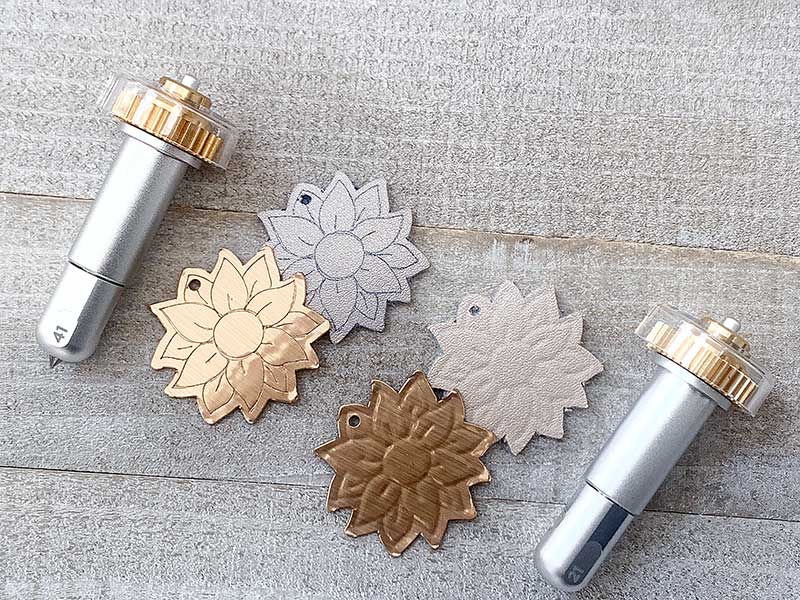
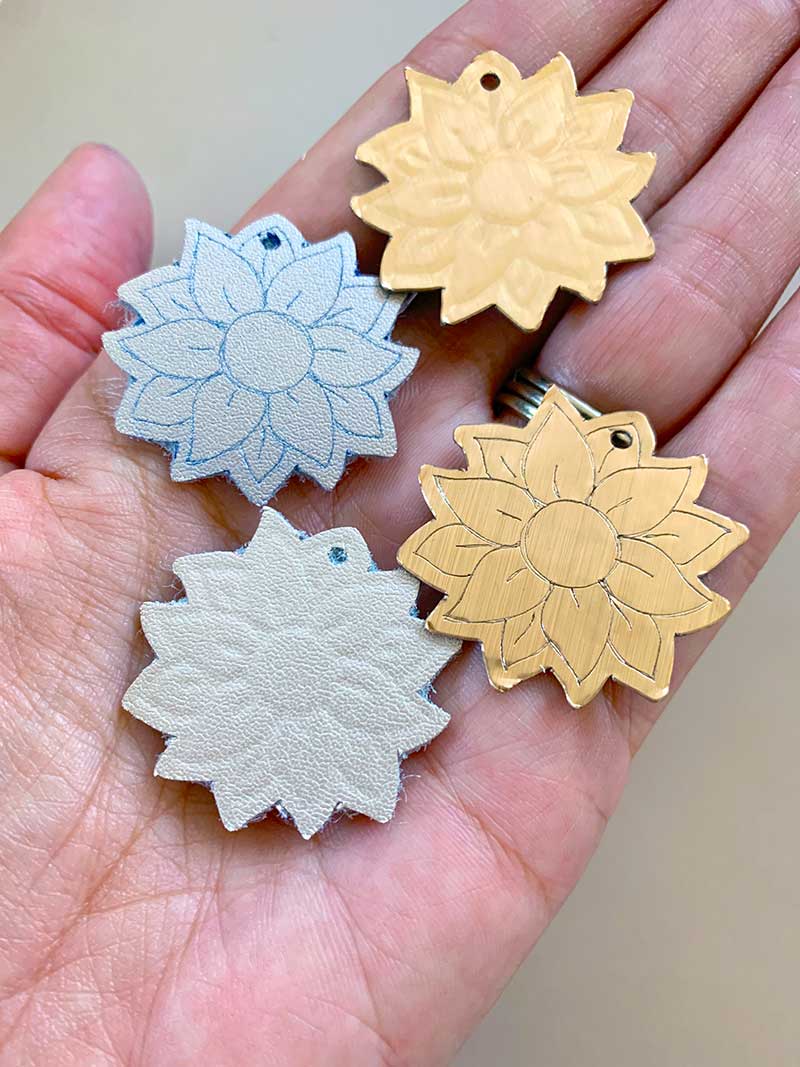
You can change the materials you use to make your own card and keepsake. I played a bit with leather, the engraving tool creates a really cool look when used with leather. Ultimately I opted for a thick cardstock and adhesive foil for my keepsake project. This isn't as durable as other materials, but a good sealant or a layer of Mod Podge would be helpful to finish off this piece.
Materials
- Cricut Maker cutting machine and Cricut Design Space Access account
- QuickSwap blades: Debossing, engraving, perforating and wavy cut
Shop: Cricut Quick Swap Tool Collection - Cardstock in a variety of colors (I used white and pink)
- Adhesive foil in gold
- Printer (to create the printed design)
- Adhesive
- Jewelry loop (optional)
- Note about tools. If you don't have all the QuickSwap tools, you can change how the specific design is created in your Design Space account.
Get started with the Design Space canvas I've set up for you!
Instructions
- Add a piece of adhesive foil to a piece of cardstock. You don't need anything too big, I used a piece about 2″ wide by about 6″ long. This is what we'll use to create the keepsake piece.
- Go to the Design Space Canvas and follow the onscreen instructions to create each of the pieces.
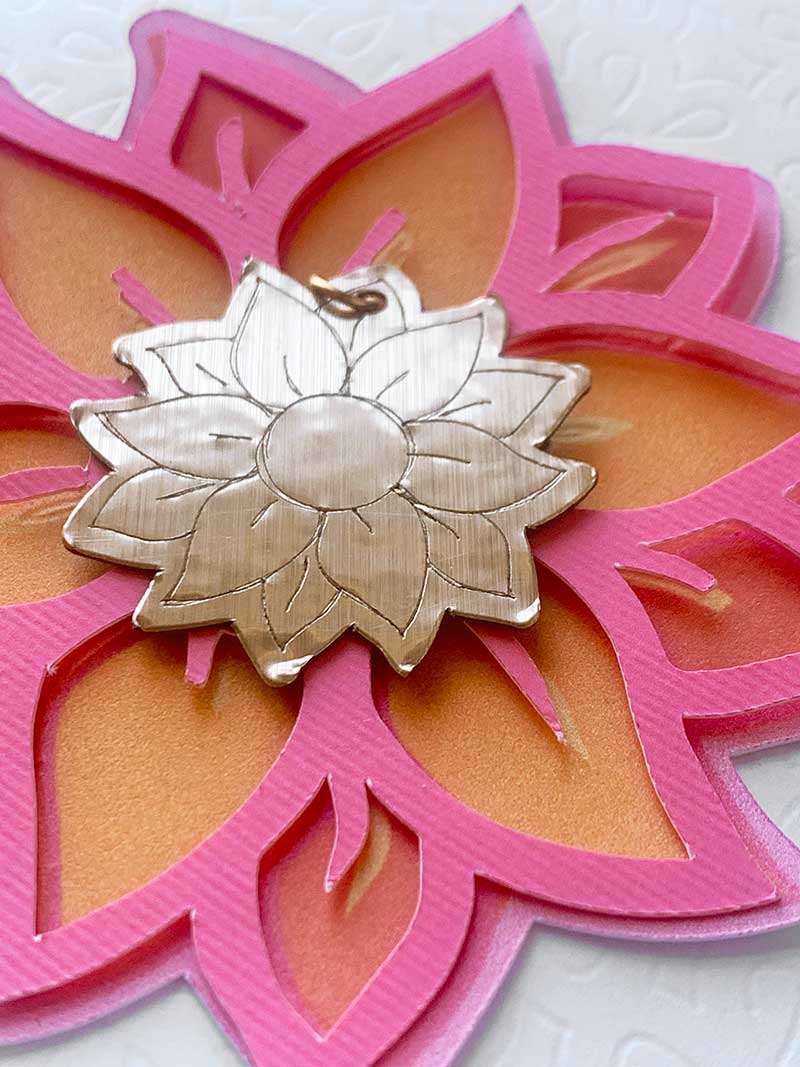
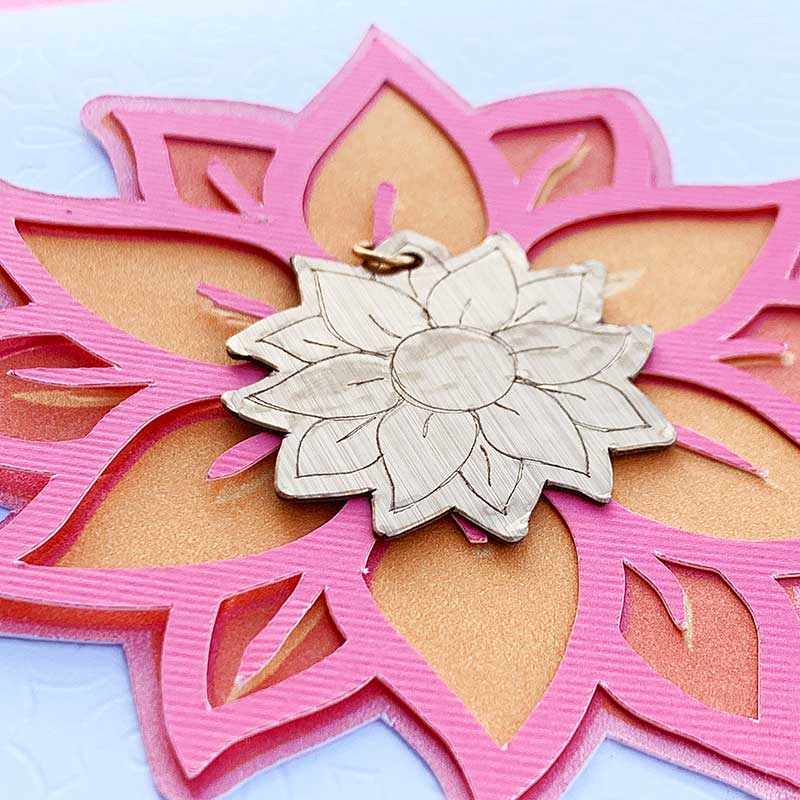
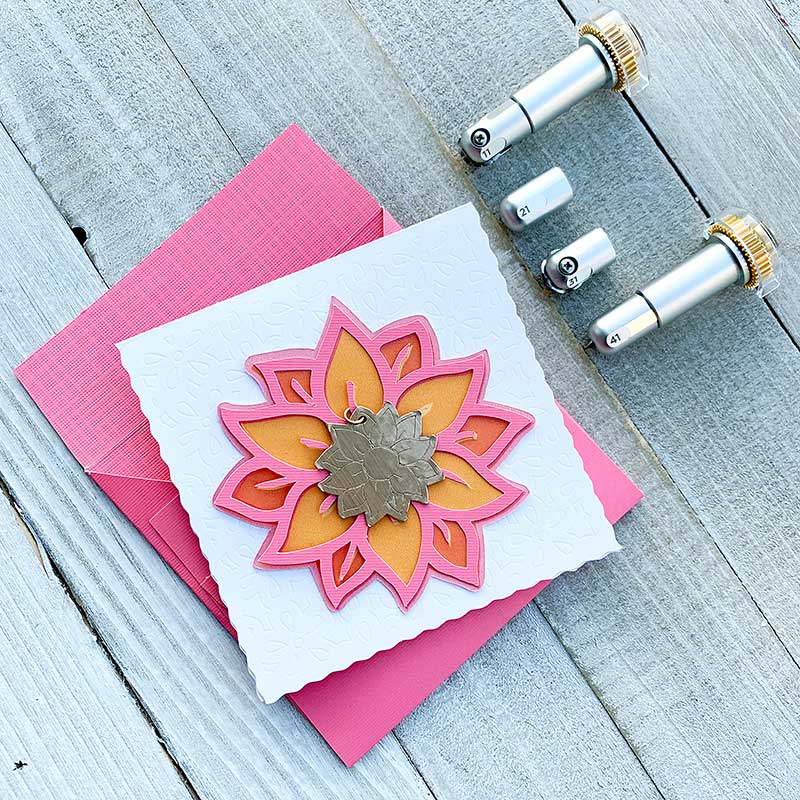
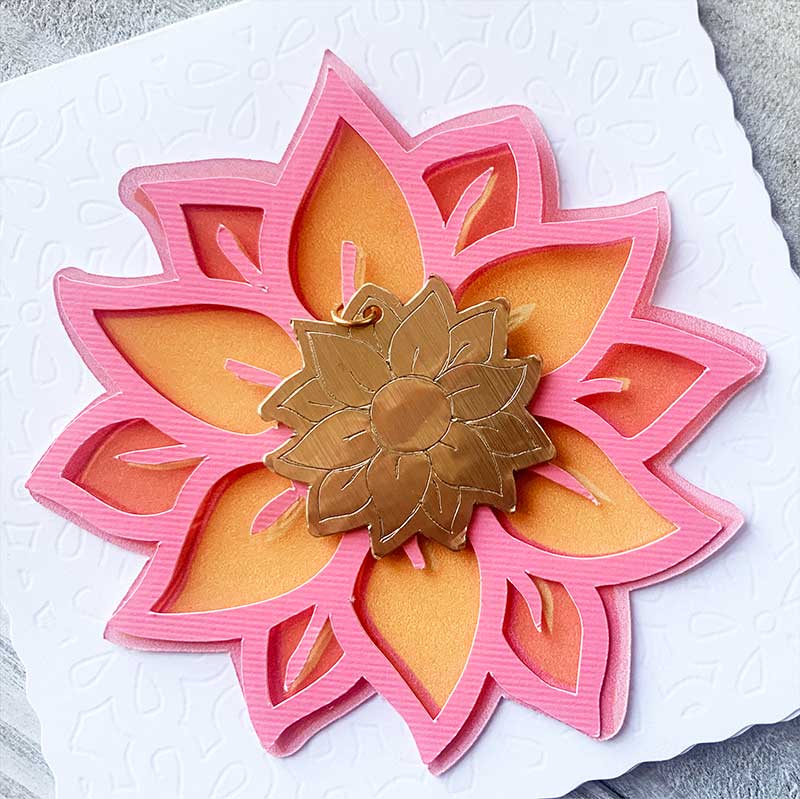
- Layer the flower pieces and using adhesive, adhere together.
- Add a jewelry loop to the top of the keepsake and then attach the keepsake to the front of the card.
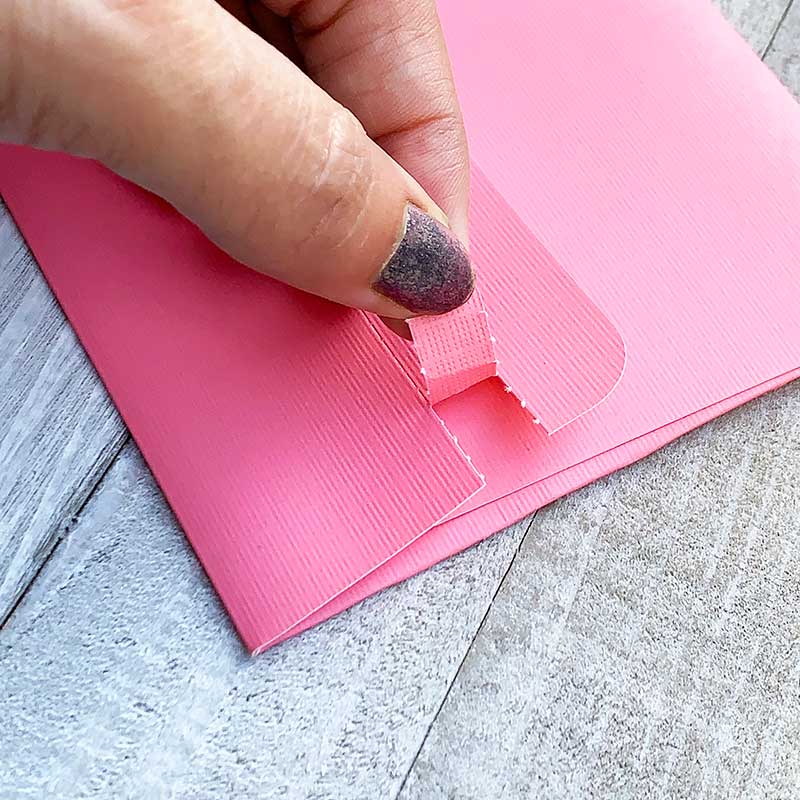
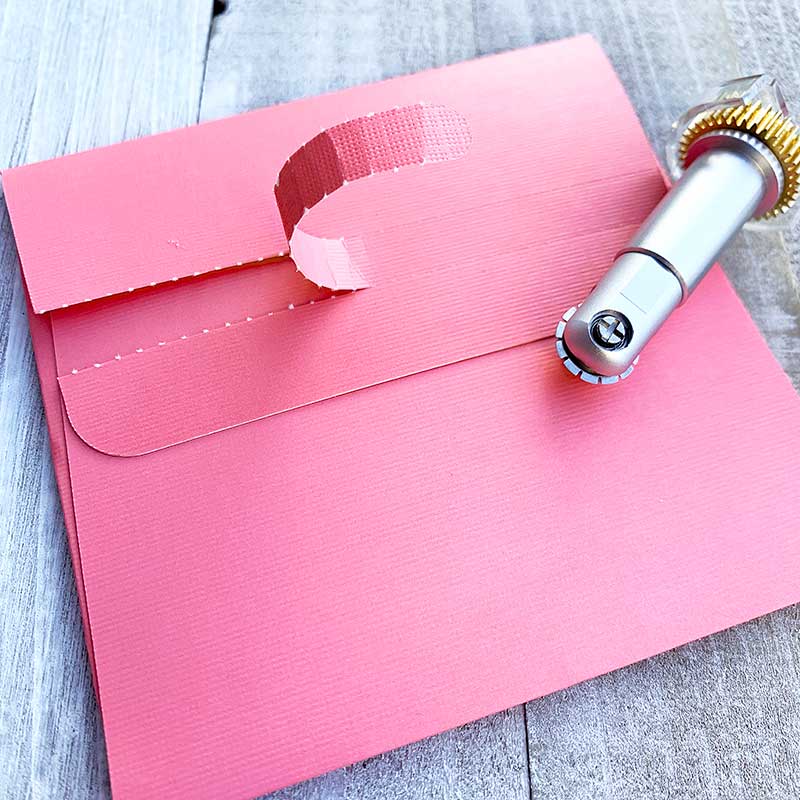
- Fold the envelope along the score lines, adhere the sides in place. After you finish with your card, writing a message and whatever else you'd like to do, place in the envelope. Adhere the envelope closed, making sure to only use adhesive on the bottom portion of the perforated flap.
You can personalize this project even more by adding names or special messages to the card. Or, create a layered keepsake by creating multiple engraved pieces and attaching them together.
Have fun with this project, play with the tools. Mix and match the different tip features to create a truly unique piece!
More about the Cricut Adaptive Tool System
When Cricut launched Maker 2 years ago, Cricut made a promise, when the Maker was launched 2 years ago, to continue to develop and offer more tools and materials. The team wanted to offer a system that could grow with creators as they master new crafts. The adaptive tool system was designed to be used only with Maker. With this system, a combination of three major technologies give Maker professional class cutting versatility and performance:
- 10 times (4 kg) or more cutting force than the Explore line
- Sophisticated steering system to actively control the direction of the blade at all times
- Intuitive system to ensure the correct blade is available before the machine starts cutting, and if not, the software tells you to change it.
These new tools allow creators to utilize even more techniques, further expanding Maker’s capabilities and YOUR creative possibilities!.
What will YOU make with your QuickSwap tools?
More Project Ideas:
- Use the perforation wheel to create tear-off tickets, coupons, help wanted or product stubs. Add fun interactive activities to printables such as paper dolls and crafts.
- Make keepsakes and embellish a number of jewelry pieces with the engraving tool.
- The Debossing tip is perfect for adding extra accents to all kinds of materials. Try it on cardstock, leather, craft aluminum and more.
- The wavy tip is perfect for adding a little extra fun to any cut line. Perfect for scrapbooking and cardmaking. This fancy cut will level up any project.
I'd love to hear what projects you are making! Share the fun on my facebook page or tag me on social media #jgoodedesigns.


