Get out your Cricut and make DIY Play Doh Mat in minutes. This easy Holiday Craft can be used for so many activities too. Today my friend, Jessica Roe, is sharing this fun DIY Cricut project. This is such a cute project for kids of all ages. You can even pick your favorite cardstock colors to match your holiday decor!

DIY Playdoh Mat You Can Make With Your Cricut
Create a fantastic holiday activity mat with your Cricut Maker and designs from Jen Goode – project design by Jessica Roe.
Hi everyone! It’s Jess from Everyday Party Magazine, and I’m so excited to be here today! I’m a Cricut enthusiast, and I love using Jen’s cut designs for party decor, favors, and more!
Make Your Own Holiday Play Doh mat in Cricut Design Space
My mom and sister are both pre-school teachers at a small private school. They always welcome new activities for their little ones, and as soon as I saw Jen’s darling Gingerbread Man cut file, I knew it would be a perfect sensory and fine motor skill development tool.
How to make a gingerbread man play mat
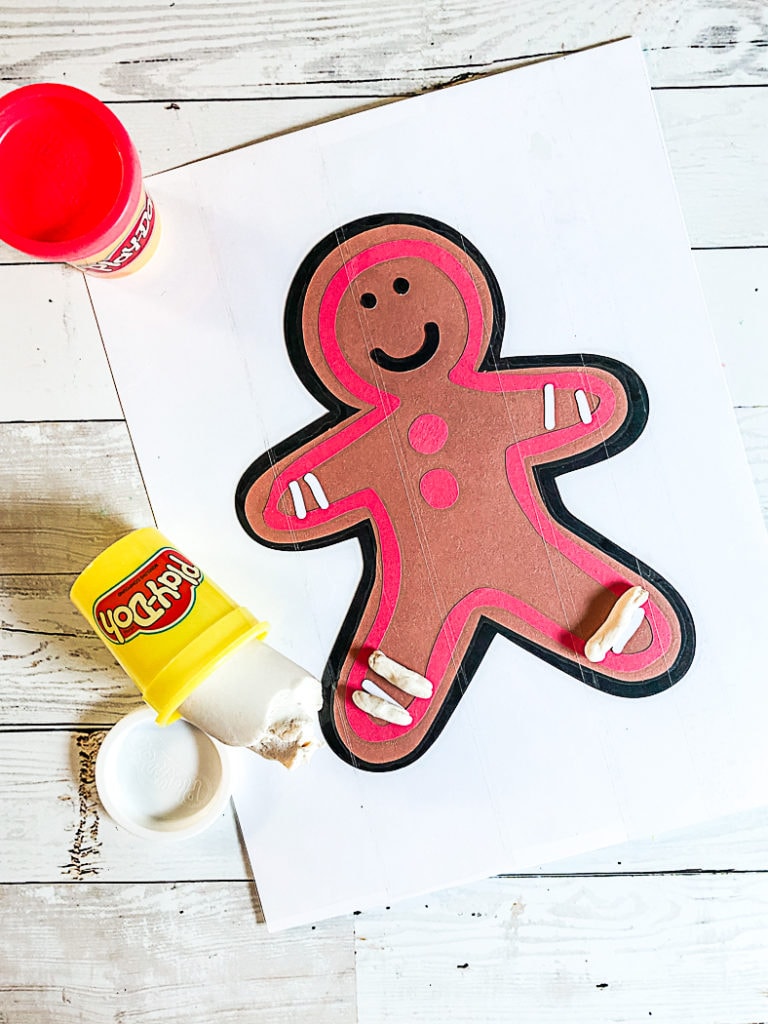
Follow the below instructions to create your own fun Holiday Play Doh mat. This cute little gingerbread man is perfect for mess free sensory play this holiday season.
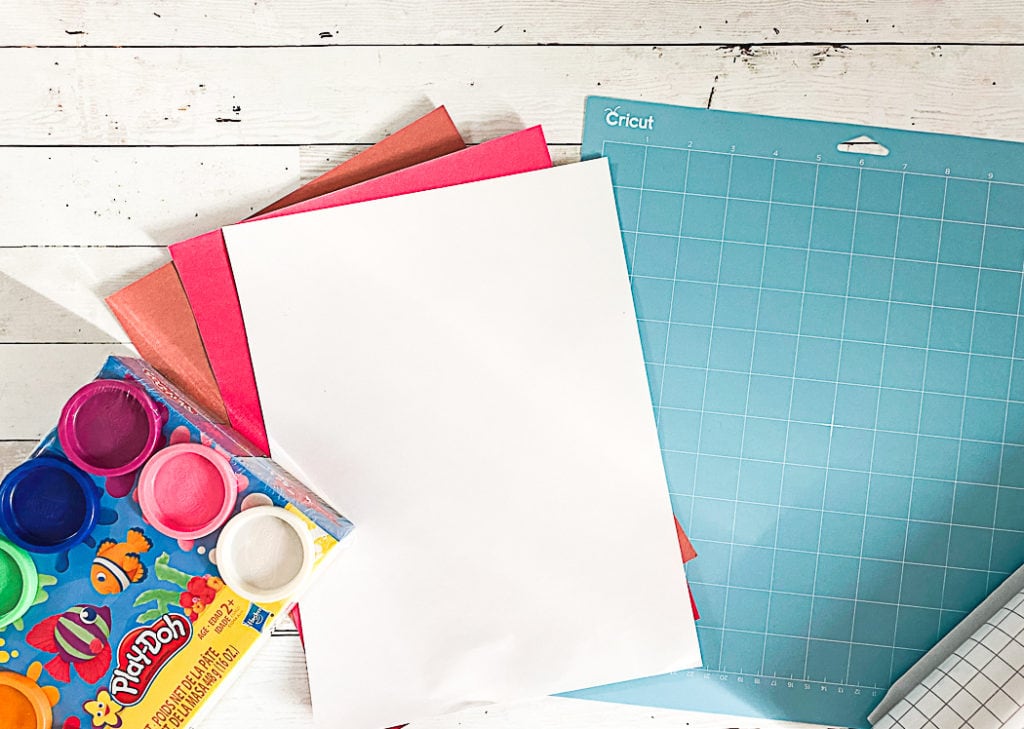
Materials
- Cricut Maker cutting machine
- Cricut Design Space account
- Gingerbread Man cut design by Jen Goode (#M1886C6C)
- Dark Brown, Light Brown, Red, and two sheets of White Cardstock
- Cricut Fine Point Blade
- Cricut Design Space Access
- Clear Contact Paper or Packing Tape
- Play-Doh
- Scissors
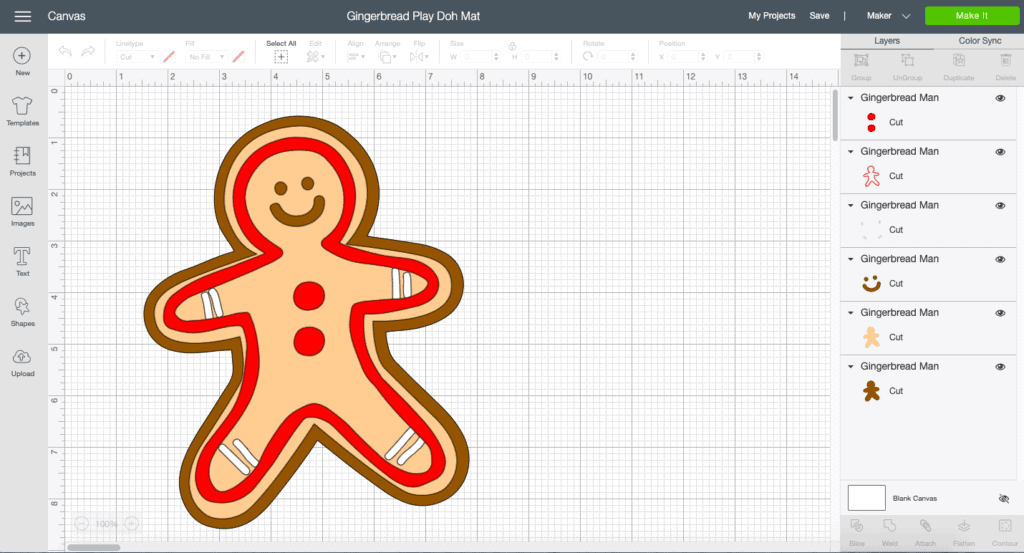
We’ve set up a Cricut Design Space canvas to help you get started with this adorable gingerbread play doh mat. Click here to open up this holiday project in Cricut Design Space.
Instructions
- Open the Design Space Cut File and size it to fit your needs. I wanted this one to fit on a standard piece of card stock, so I have the largest piece set at 10”
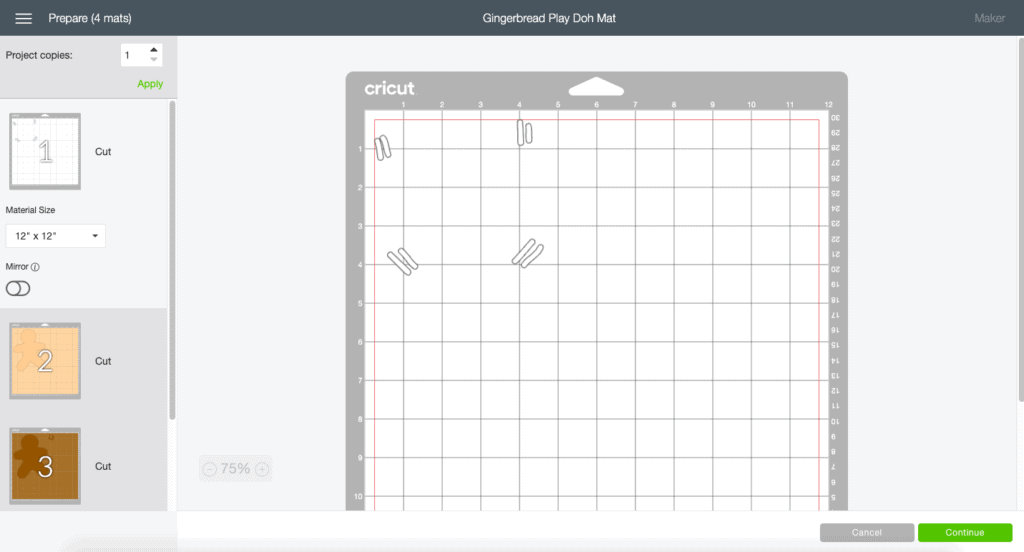
- Place the cardstock on a cutting mat.
- Send the project to cut.
- Remove the excess paper.
- Remove the tags from the cutting mat. *Keep the tags from curling by removing the mat from the tags. The mats are very pliable.
- Repeat for each color.
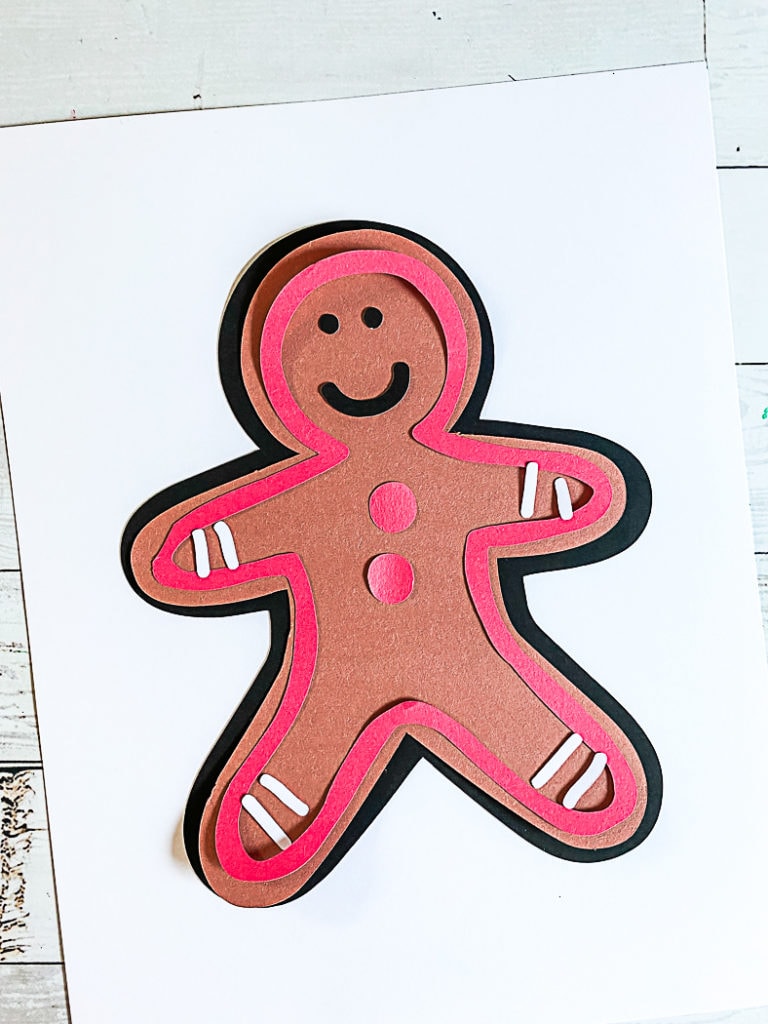
- Place each layer of the gingerbread man on a sheet of heavy weight cardstock.
- Carefully cover the entire image and piece of cardstock with contact paper or packing tape.