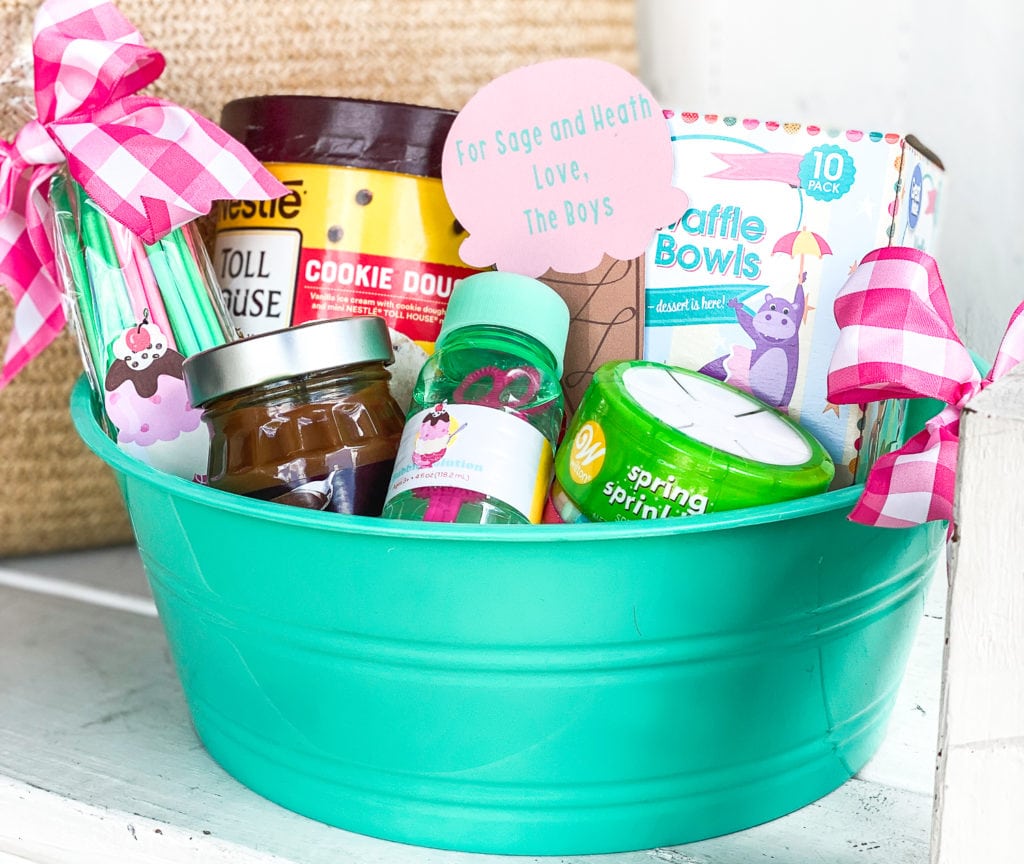
Get out your Cricut and make a sweet treat for your neighbor in minutes. This easy gift idea can be used for so many occasions. Today my friend, Jessica Roe, is sharing this fun DIY Cricut project. This is such a fun project. You can even pick your favorite ribbon colors to make your gift basket match your recipient’s home decor!
DIY Ice Cream Favor Tags with Your Cricut
Create a fantastic ice cream bucket favor tag with your Cricut Maker and designs from Jen Goode – project design by Jessica Roe.
Hi everyone! It’s Jess from Everyday Party Magazine, and I’m so excited to be here today! I’m a Cricut enthusiast, and I love using Jen’s cut designs for party decor, favors, and more!
Make Your Own Ice Cream Bucket Tags in Cricut Design Space
We always host several parties throughout the Summer. But, this year is a little different, so I thought I would share how we are celebrating this summer! This fun gift can be as affordable or extravagant as you would like it to be. And, anyone that gets this little treat is sure to be thrilled!
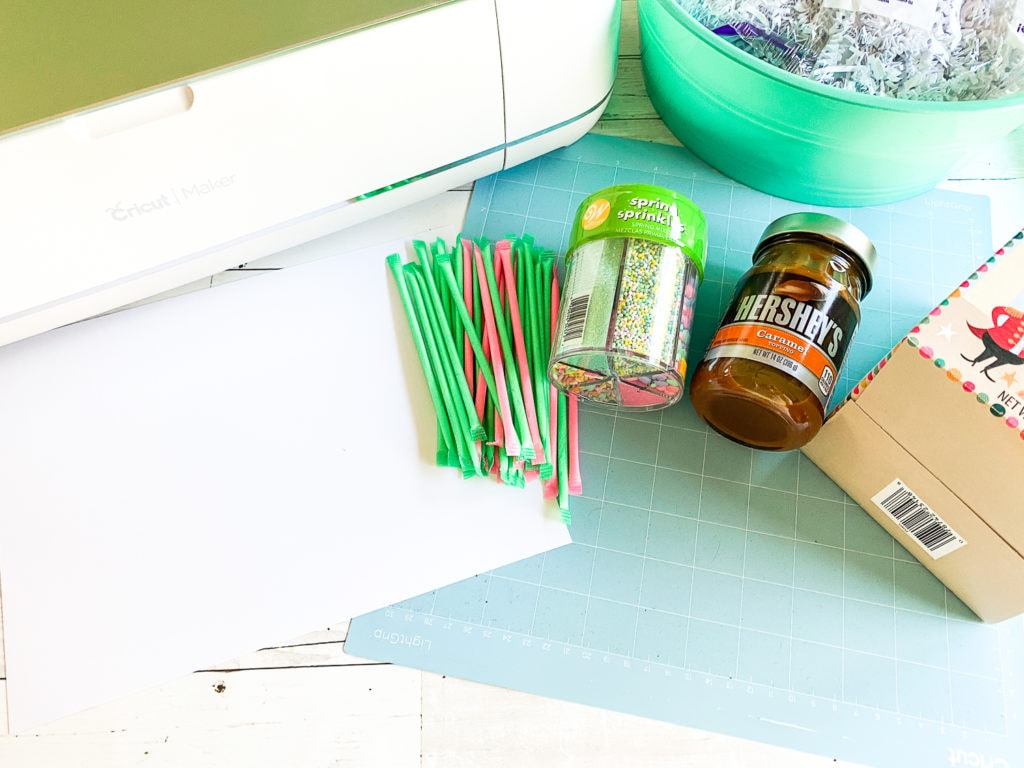
I quickly made a few buckets for our friends and family. I gathered a lot of my supplies for the bucket at the dollar store. Then, I grabbed some ice cream and treats from our local grocery store.
How to Make Your Ice Cream Bucket Tags
Follow the below instructions to create your own sweet ice cream treats. These cute cardstock tags are the perfect tags for all kinds of goodies.
Materials
- Cricut Maker cutting machine
- Cricut Design Space account
- Ice Cream Sundae cut design by Jen Goode (#M68C64F)
- Triple Scoop Sugar Cone cut design by Jen Goode (#M68C657)
- Cricut Fine Point Blade
- Cricut Design Space Access
- Cardstock Paper
- Ribbon
- Printer
- Ice Cream Treats
- Bucket or Box
- Adhesive tape or glue
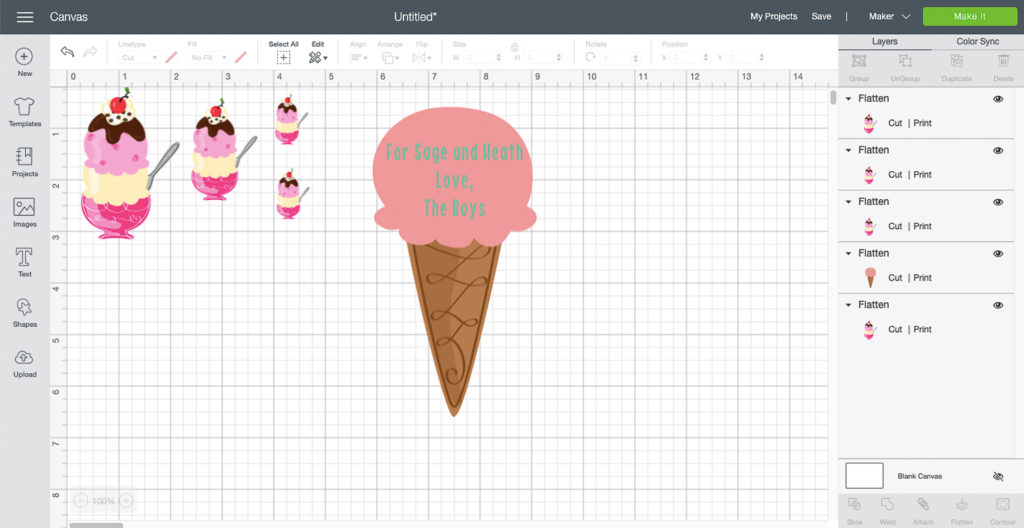
We’ve set up a Cricut Design Space canvas to help you get started with these sweet gift tags. Click here to open up this ice cream project in Cricut Design Space.

Instructions
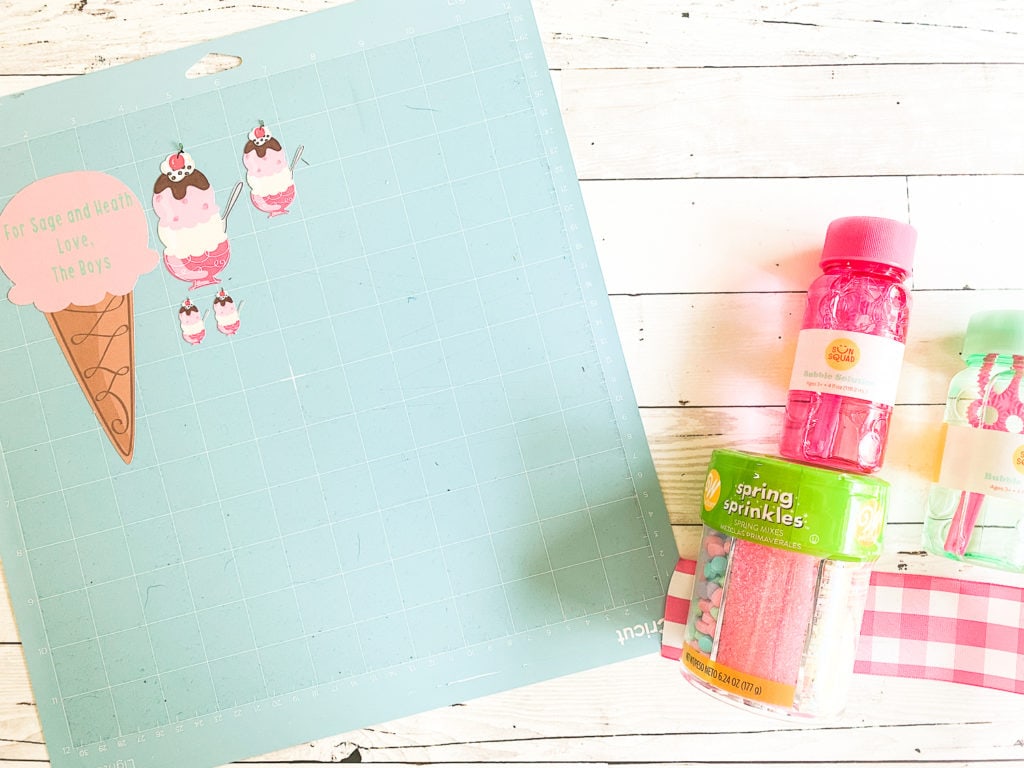
- Open the Design Space Cut File and size it to fit your Ice Cream Treats. I made a large Sugar Cone tag to put on the ice cream cone bowl box, and smaller ice cream sundaes to put on the bag of candy, bottles of bubbles, and on the container of sprinkles.
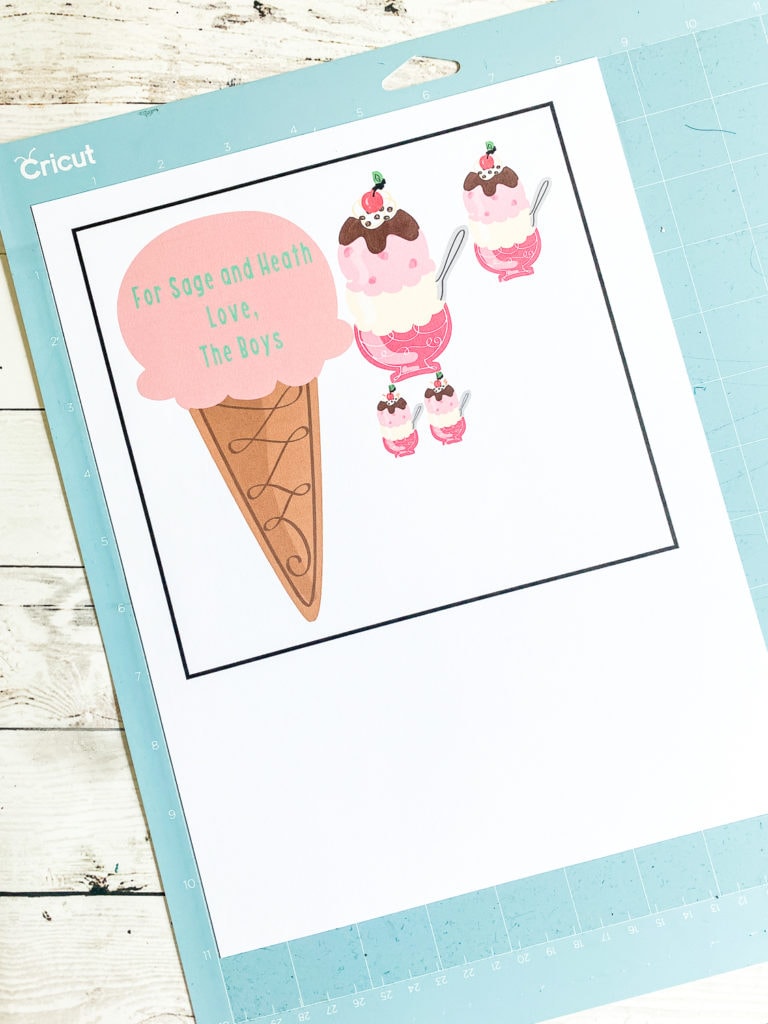
- Send the projects to print.
- Place the printed sheet of cardstock on a cutting mat.
- Send the project to cut.
- Remove the excess paper.
- Remove the tags from the cutting mat. *Keep the tags from curling by removing the mat from the tags. The mats are very pliable.
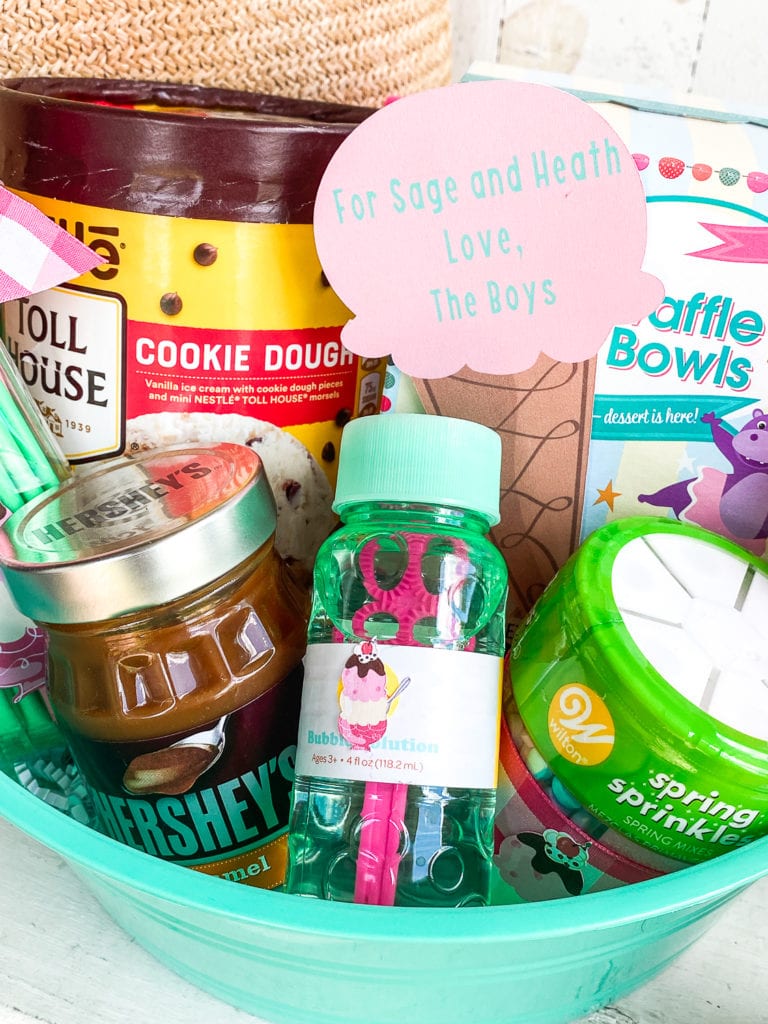
- Use adhesive to attach the tags to the treats.
- Fill the bucket with Ice Cream and other fun treats.
- Drop off at your neighbors' homes.