Cricut has a new product that I think you're going to love. Iron on vinyl. Oh yes, you can use your Cricut to cut this material and then you can iron it on to any fabric to create awesome decor and wearable art! It's high quality brightly colored and easy to use.
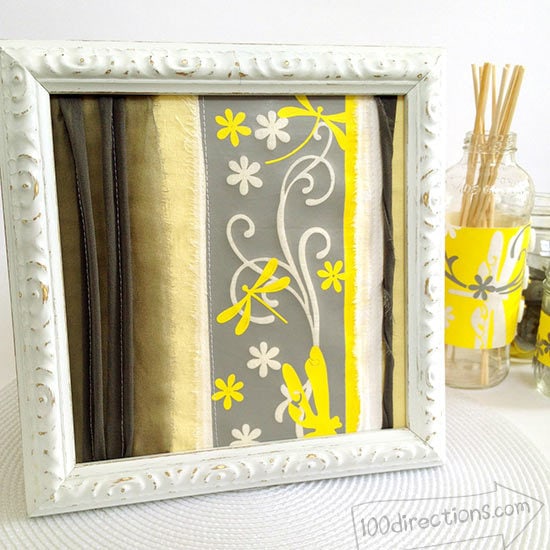
I am participating in a challenge this week to find different ways to use this material, so I decided wall decor collage with fabric and art was a great way to go. I was sent yellow, prink and gray but opted to only use the yellow and grey in this project. I'll use the pink in my next crafty Cricut adventure.
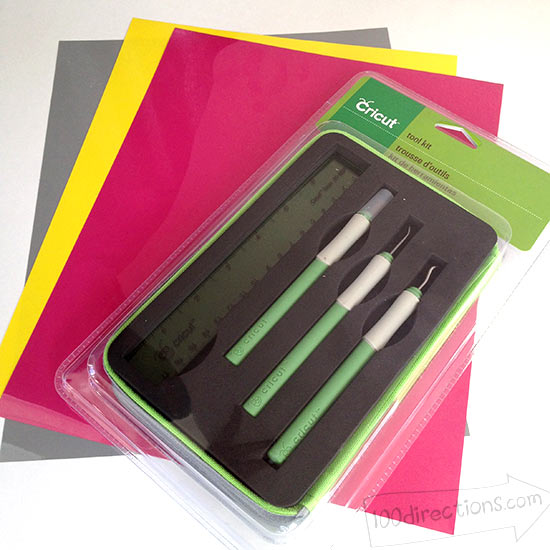
The vinyl cuts really easily with the Cricut (of course it does!) and it's just as easy to apply. I tried a couple different fabrics and even layered the vinyl on top of itself. It adheres quickly and stays put without stretching and losing it's crisp look. If you get the tool kit, it helps a ton when you are removing the material from it's film layer -more info in a minute. For the next 10 days you can find all kinds of creative inspiration using this new product. Just hop over to the Cricut Facebook page to see what else is going on.

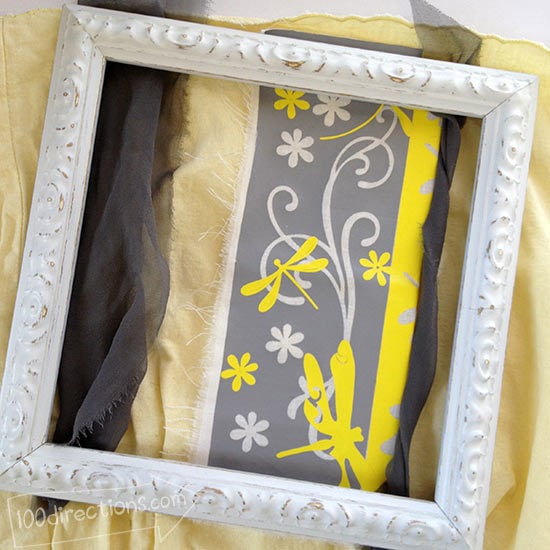
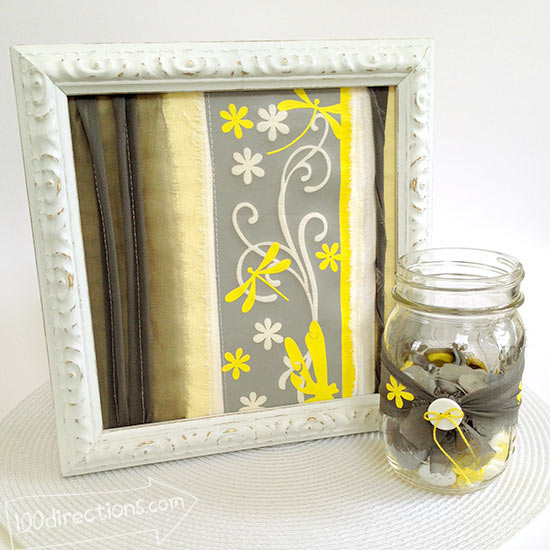
The final look of my vinyl art is not what I originally intended. I was ironing everything in place and had not cut the separate pieces out. Instead I was just carefully applying the iron where I needed it while moving my vinyl around the fabric where I wanted it. My husband came in the room and started talking to me as I was in the middle of ironing and I accidentally ironed one of the dragonflies down – ooops! So, I improvised and decided that's exactly where I wanted the dragonfly to go… I bet you can't even tell which one is wrong. It's not wrong now!
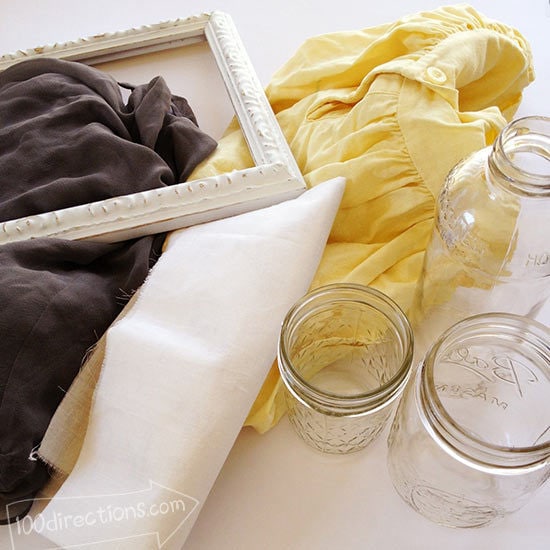
Materials you need to make this wall art:
- Cricut Iron on vinyl in yellow and gray
- Various fabrics in yellow, white and gray.
Tools you need:
- Cricut machine with Cricut Craft Room account (and computer)
- Sewing machine or needle and thread
- Iron
- Parchment paper
- Scissors
Cricut Craft Room cutting designs I used:
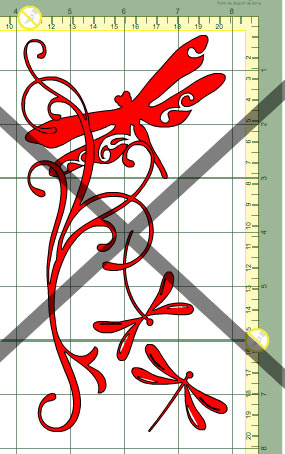
- 2 Dragonflies – Spring Seasonal
- Large dragonfly – Home decor
- Swirl art – Ultimate Creative Sampler
- Small flowers – Accent Essentials
Preparation:
I'm going to assume you already know how to use your Cricut machine and have a Cricut Craft Room account.
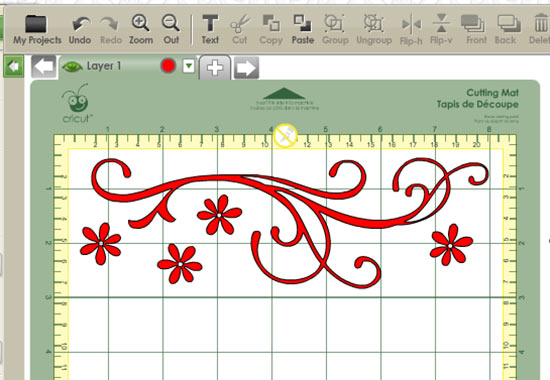
- Create your design using the Cricut Craft Room software.
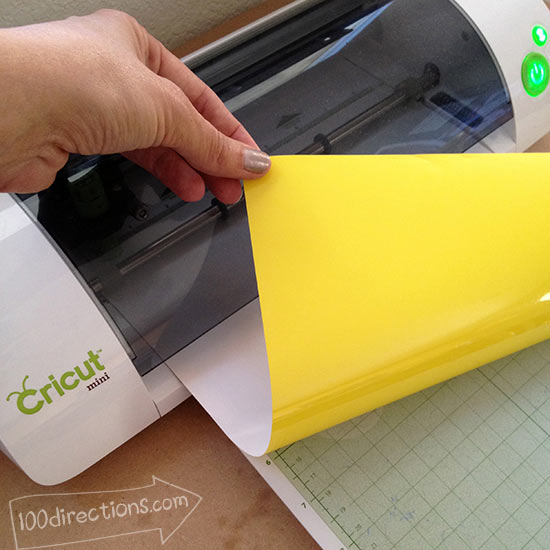
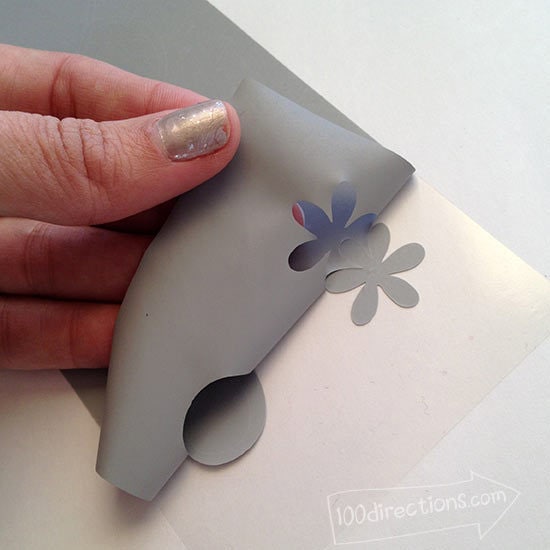
- Place the Iron on material on your cutting mat, shiney side down. You do not want to cut through the shiney side completely. That shiney material is the “film” and is what the vinyl is attached to.
- Cut the design pieces using a “kiss cut”. This method of cutting should result in a crisp cut through the vinyl but leaving the film in tact.
- Don't worry if you do cut all the way through – you can still iron you vinyl in place on your fabric, you just need to do it piece by piece.
Note: not all vinyl colors have a white side like shown in my photos. The pink is actually pink on both sides. So just make sure you look carefully to determine the shiney side vs the matte side. The matte side is the side that is placed on the fabric, the shiney side is the film that will be removed after you iron.
Make your home decor with the Circut Iron on vinyl:
- Lay out the designs to cut in your Cricut Craft Room account.
- Cut gray designs, then cut yellow designs.
- Using scissors, cut designs apart so you don't accidentally iron on pieces in the wrong place.
- Remove negative space for each design. Be card not to tear this excess vinyl, you'll actually be able to use it for more creative fun.
- Place a piece of parchment paper on your ironing board or ironing workspace. Put fabric in place. Lay out the gray design pieces, shiney side UP (away from the fabric) on your fabric, cover with parchment paper and iron in place as directed by product packaging.
- Remove Cricut Iron on plastic liner. Place yellow design elements, cover with parchment paper and iron in place.
- Repeat the process until you've create your full design.
- Layout your Cricut Iron on design with your additional fabric pieces before you sew everything together to make sure you like how it is all coming together.
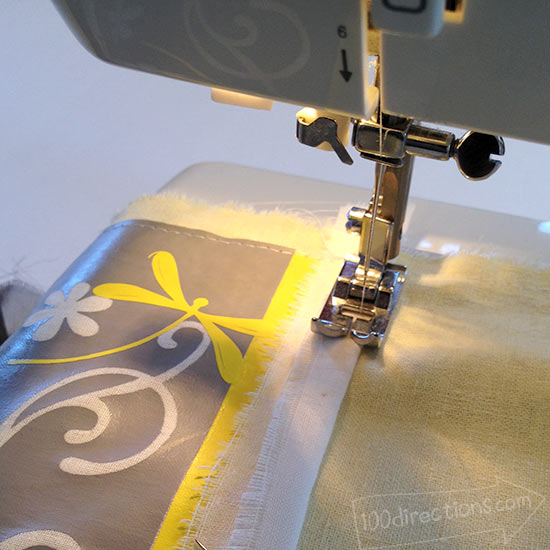
- Sew all fabrics in place. Trim as necessary.
- Frame as desired.
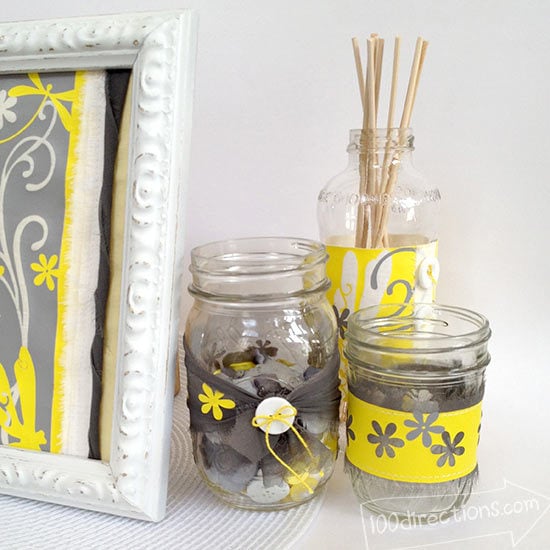
Extra creative fun: use the scraps and remaining pieces of Iron on material to create wraps for mason jar vases. Just iron on the vinyl pieces to scraps of fabric, wrap around the jars and adhere in place using fabric glue. (I like Beacon's 3-in-1 glue, it's awesome).
Tips:
- I use the Cricut mini and found that I got the best cutting results by setting the pressure to 1, the depth to 3 and speed to 3.
- The product instructions say to use a soft cloth or towel, but I prefer parchment paper because you can slightly see through it… so you can see what you are working on.
- When sewing on additional fabrics, rough stitching can add some character and interest. Test your stitching before working on your final piece and then have fun! You can stitch over the vinyl to add extra detail. Scrunch the fabric as you go to create different looks.

I'd love to hear what you make with your Cricut Iron On Vinyl!
Disclaimer: I received product samples to try for this demonstration. The project and opinions are 100% my own.


Thanks for sharing your gorgeous collage decor at Project Inspired – pinned to our group party pinboard – hope to see you at tomorrow nights party too!
Thank you so much!
Jen, I love the colors you chose for this project.. the dragonflies are so pretty, too. (Thanks for sharing at Project Inspire{d} this week!)
Thank you so much Shannon!
Great project. I am trying to find out how big are the rolls before purchasing.
Hi Maria, thank you! The Iron on film comes in 8.5×11 sheets – I don’t know if they will be offering rolls later or not.
so fun! my daughter is a big fan of dragonflies, I should do something like this for her
Thank you 😀 The Cricut Craft Room has a really great selection of dragonfly designs to choose from, some even more ornate… love ’em!
I love the mixed media in the frame.
I love all the texture in your design. It turned out beautiful!
Love your projects! The design is fabulous! I’ll have to try the iron on vinyl when it becomes available.
So pretty. That vinyl looks fun!
Thank you! It’s really easy to use and irons on so well!
Jen I love this – so cute! Just love the flowers and dragonflies.
Thank you so much!