Please note: This page contains affiliate links. If you purchase from a partnership site, I may earn a commission.

Make a Paper Star Ornament

Written by: | Published: December 03, 2021 | Updated: February 20, 2022

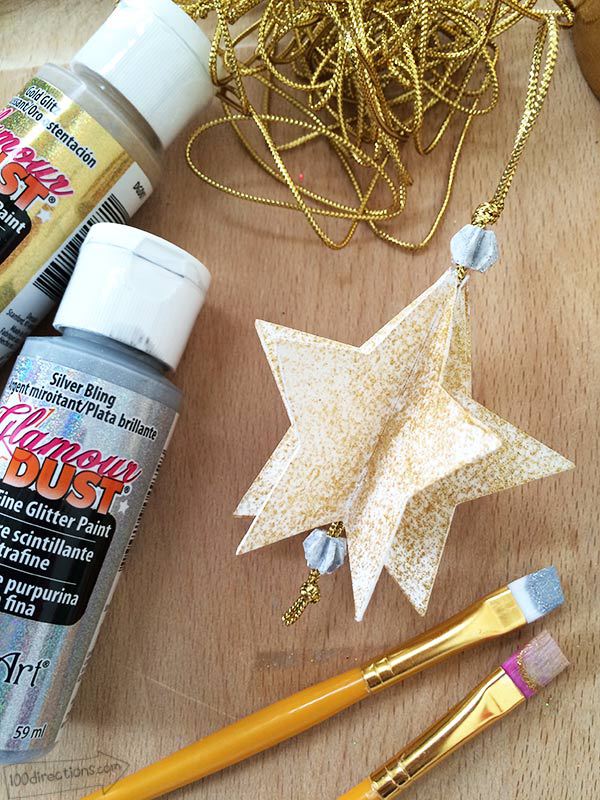
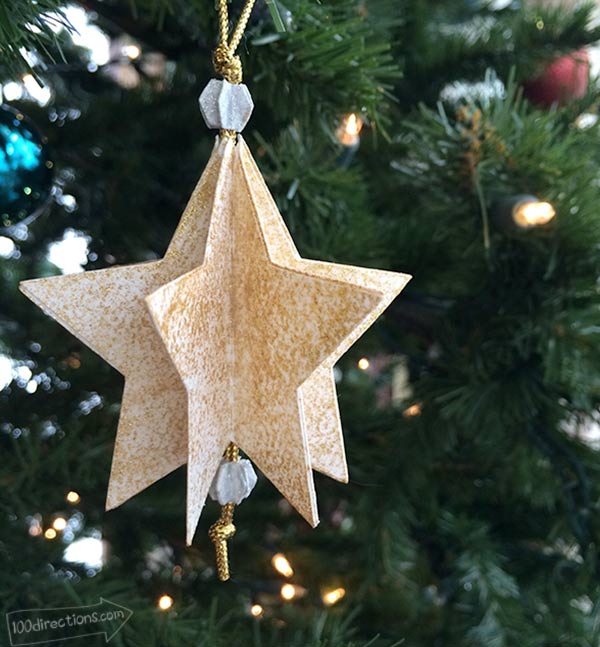
Make pretty paper star ornaments in just minutes. This is an easy paper craft using your cutting machine and a free SVG file I’ve created. Create these ornaments from your favorite patterned papers, cardstock or color paper. I like to use a thick, textured, white cardstock and add my own color using paints and glitter.

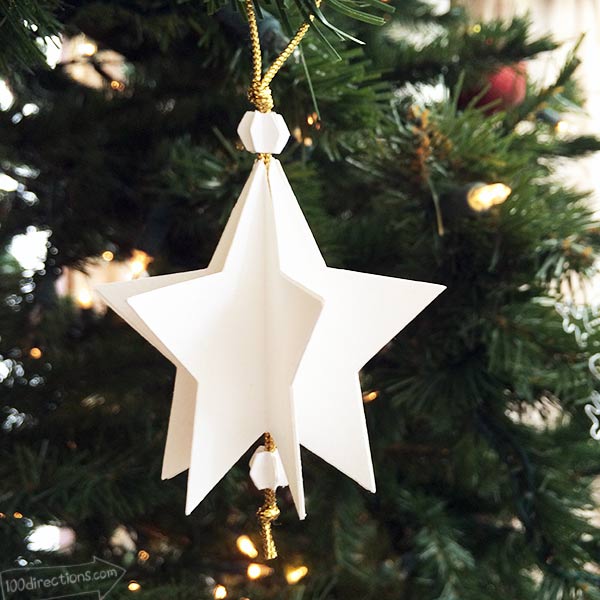
Embellish or paint the ornaments when you are finished assembling them, or leave them as is. This SVG file comes with the star design and the mini beads so all you need is the twine to hang them.

Paper Star Ornament made with Cricut Explore - designed by Jen Goode
Paper Star Ornament made with Cricut Explore – designed by Jen Goode

Make Easy Paper Star Ornaments
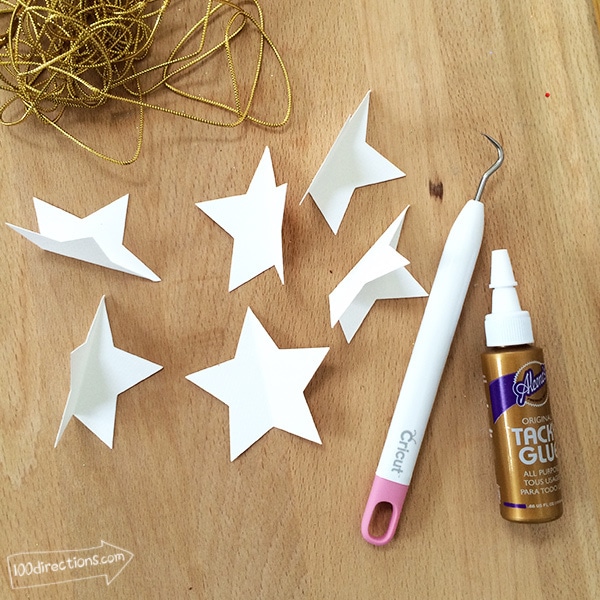
Materials you need:

  • Cutting Machine
  • Star ornament SVG file (download below)
  • Twine, yarn or thin cord
  • Glue
  • Scissors
  • Things to embellish with such as glitter or paint
Cut paper stars and other supplies to make a paper star ornament
Make these stars as small ornaments or gift tags - or you can make them larger
Make these stars as small ornaments or gift tags – or you can make them larger
download this art by Jen Goode
Get this Free File
Star Ornament kit by Jen Goode

Star Ornament kit by Jen Goode

Icon 1.50 KB | 392 Downloads
Copyright © Jen Goode, JGoode Designs. For Personal Use Only. Contact for commercial use inquires.


How to assemble paper stars

Putting these paper stars together just takes a few simple steps. You’ll want to make sure you have clean hands and nimble fingers to attach these star edges together. I had painted earlier in the day when I first made one of these stars.. I ended up with little blue specks from my blue finger tips! I know, common sense… I like blue paint I guess.

  1. These steps can be adapted to your own cutting machine set up, I’ll walk you through how I made these with my Cricut and Design Space.
  2. Download the SVG file below and upload it to your Design Space account. Load the design into a new canvas in Design Space.
  3. Set all the fold lines to be scored and attach the lines to the item they are scoring. I also attached everything together so it would be easier to move around in the cutting preview screen.
  4. Cut 6 sets of the design. I actually set up 12 copies on a single 8.5″x11″ sheet of paper, that’s about the max to cut if your stars are approximately 2.5″ wide.
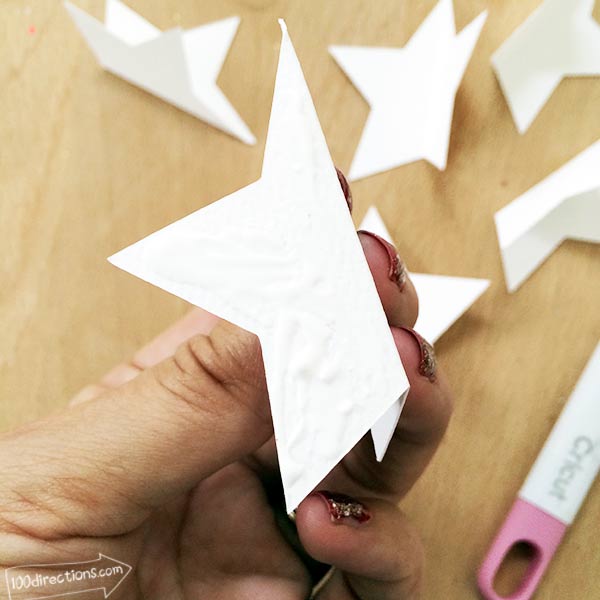
  5. Once you have all the items cut, remove them from your cutting mat. Fold along all score lines.
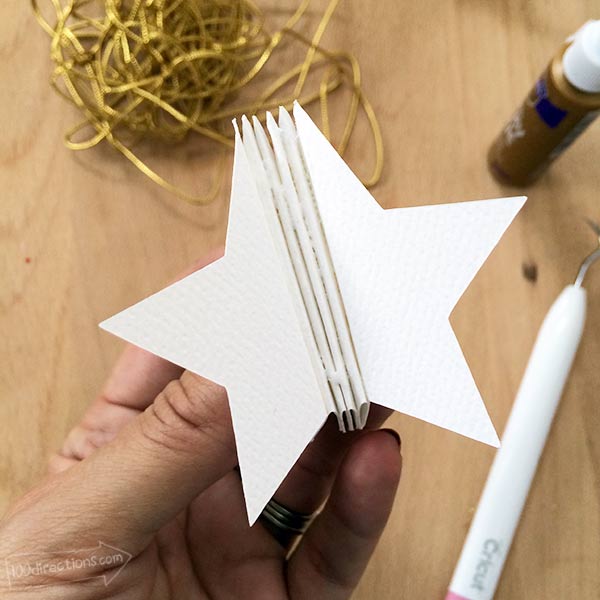
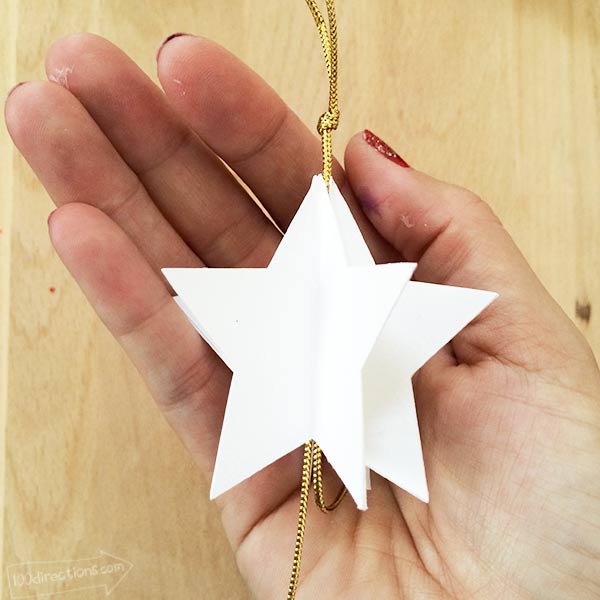
  6. Apply glue to one side of a star. Press and hold another star to the glue so the edges of both stars line up. Repeat this process until all but one (1) pair of sides is glued together.
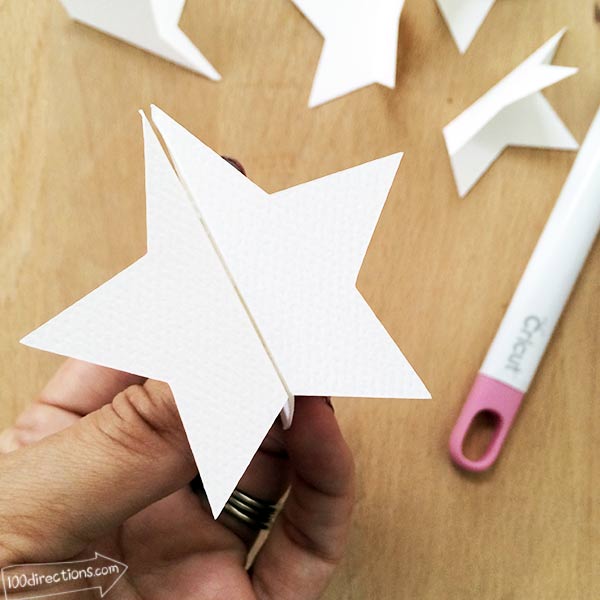
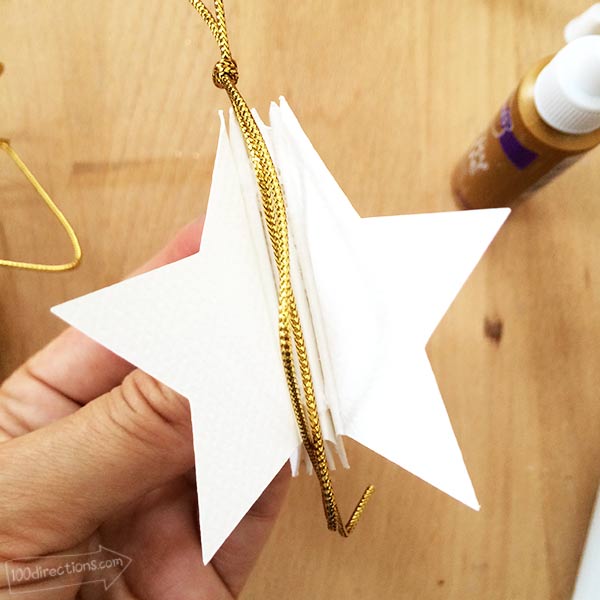
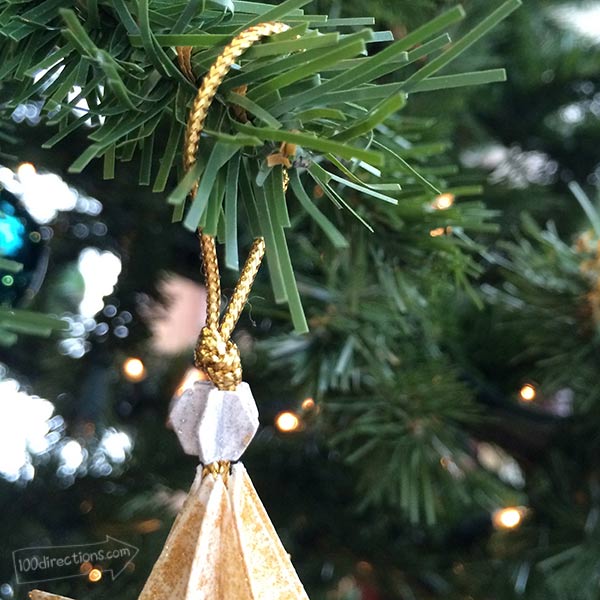
  7. Cut a 12″ piece of twine and fold in half. Tie a knot about 2″ from the fold (this is your top) and another knot about 2″ from the bottom. Place twine in the center of the star. Glue last star sides together, moving the twine into the center of the entire piece.
  8. Repeat the process of glueing paper edges together to make the mini beads for the top and the bottom of the star. This can get tricky if you have bigger fingers, you can apply the beads first and then the star if it’s easier to maneuver.

TIP: use your fingernails to press the corners of the paper edges together. Press and hold for 10-30 seconds to ensure your corners are nice and sealed.

Apply glue to one side of folded star
Press and hold star sides together
Continue to glue star sides together
Add twine loop to center of star pieces
Add top and bottom paper beads and paint with glitter
make mini paper beads with folded hexagons
Paint mini beads with glitter paint
Leave the ornaments white, embellish or use patterned paper

« previous post

next post »

Jen Goode Headshot

Jen is Passionate about Creativity. She is the owner and "doodle in charge" of JGoode Designs, a Denver based design studio. She is an illustrator, mixed media artist and creative lifestyle blogger. Jen has been a creative professional since 1998 but says she's been an artist since she was old enough to eat glue.

Connect:
Facebook iconTwitter iconPinterest IconInstagram IconFeed Icon
Join the FREE Creative Club!

Get tutorials, free file downloads and project ideas right in your email.

Featured on:
Brands Jen at 100 Directions has partnered with.
100 Directions is full of tutorials and project ideas to inpsire trying something new and sharing creativity in every direction.
I work with a variety of companies to share ideas and insight about products, services and all kinds of fun, creative things to do.
I stand behind my recommendations and hope you love the things I share as much as I love sharing them with you!


Privacy Policy and Disclosures | Work with me


100 Directions is a JGoode Designs property. Copyright © 2011-2024 Jen Goode. All Rights Reserved.

100directions.com is a JGoode Designs property. Owned and operated by Jen Goode.