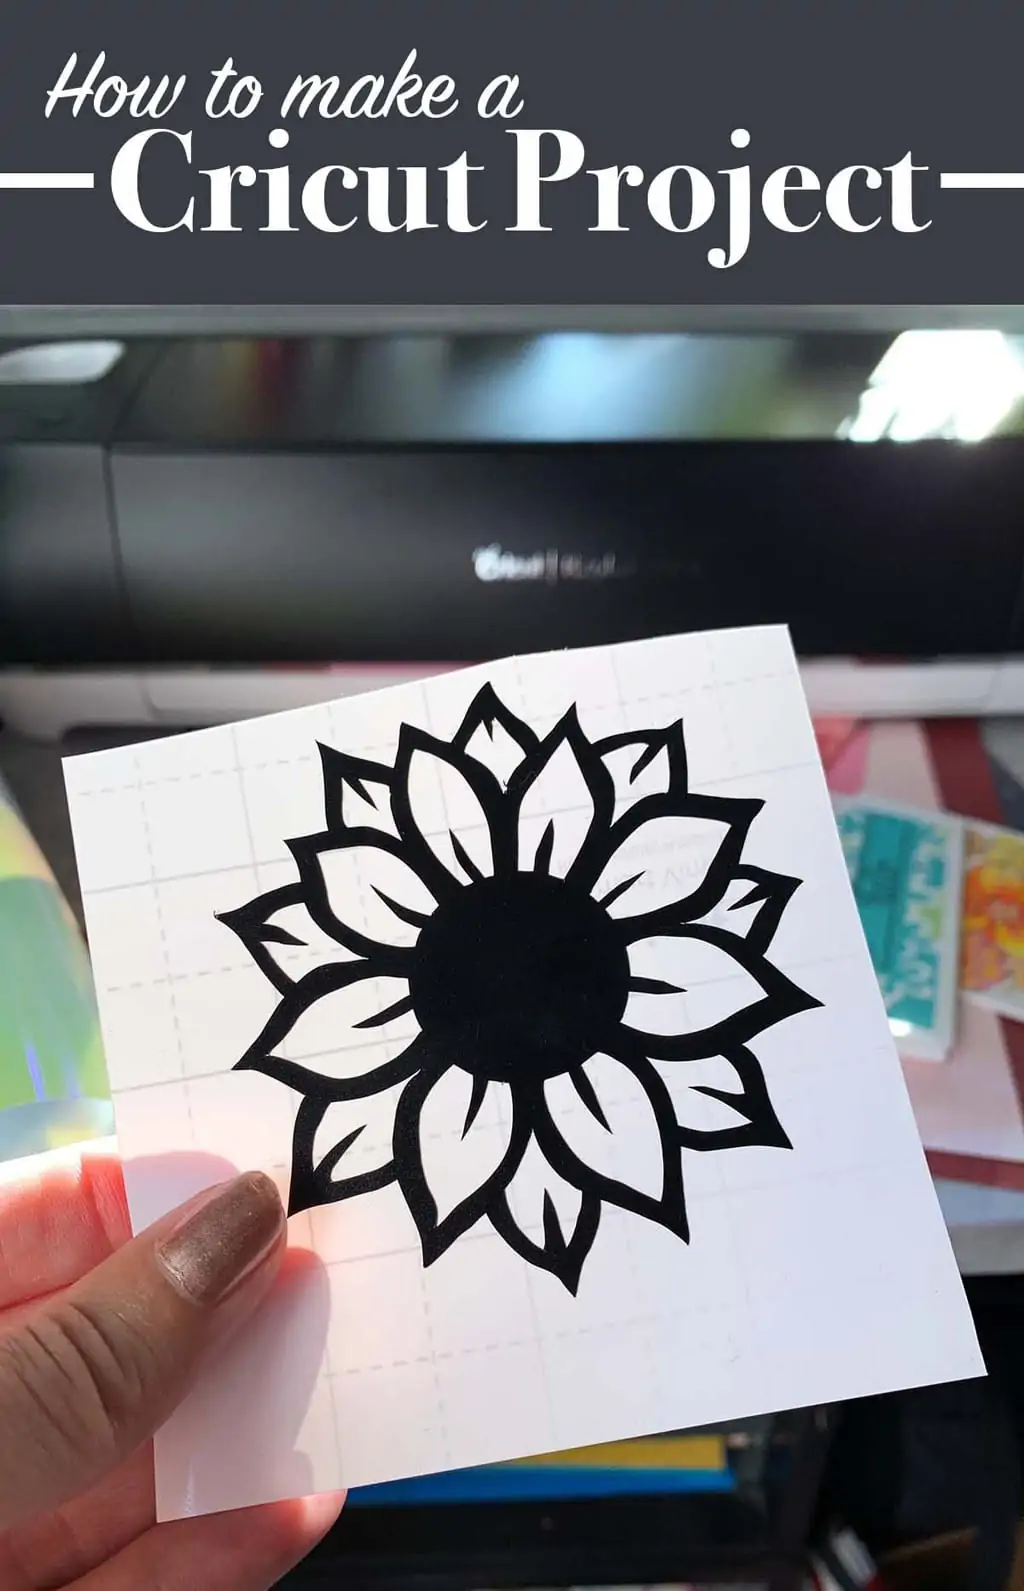
Learn the steps you need to make a Cricut project. Now matter which machine you use, the same basic steps are required for each project you create. Grab your machine we’re about to get making, there's so many fantastic Cricut Projects waiting for you.
If you haven’t opened the box yet, now’s the time! Here I'll share the how-to to help get you started.
A Note to Cricut beginners: Before we get started, I need to tell you, I'm so excited for you. There are so many great things you can create with your Cricut! I know there is a ton of information out there and an overwhelming amount of project ideas to choose from. You don't have to make it all in the first day.
You will be able to make something beautiful within minutes of opening your Cricut box. There's a starter project with a few materials to help get you started. Also, before you ever buy a machine, you can signup with Cricut Design Space, browse the images and even play with the software if you'd like. So just start. You may not get it right the first time, but you might. So just start!
Start with these 5 steps first, no matter what you want to make or what machine you have. Every project is a little different. From the materials to the techniques you need, you'll be able to explore a wide range of crafty projects.
Don't worry about how to use all the options in Cricut Design Space, all the different tools or settings for all the different materials. Start with the basics. The rest will come, I promise!
5 Steps You Need To Know to Make Any Cricut Project
There are 5 steps every Cricut project requires. Learning each of these steps will set you off in the right direction no matter which Cricut Machine you have. Start here and you'll be able to easily find answers to questions, learn new techniques improve your Cricut project creation time and again.
- Decide the kind of project you want to make.
- Choose which materials you want to use.
- Pick the images and fonts to create a design layout.
- Create the projects pieces using your Cricut machine.
- Assemble it all and add final accents.
Every Cricut project needs:
Every Cricut project does require a few things. You'll need a Cricut machine, of course. You'll also need a Cricut Design Space account and something to cut.
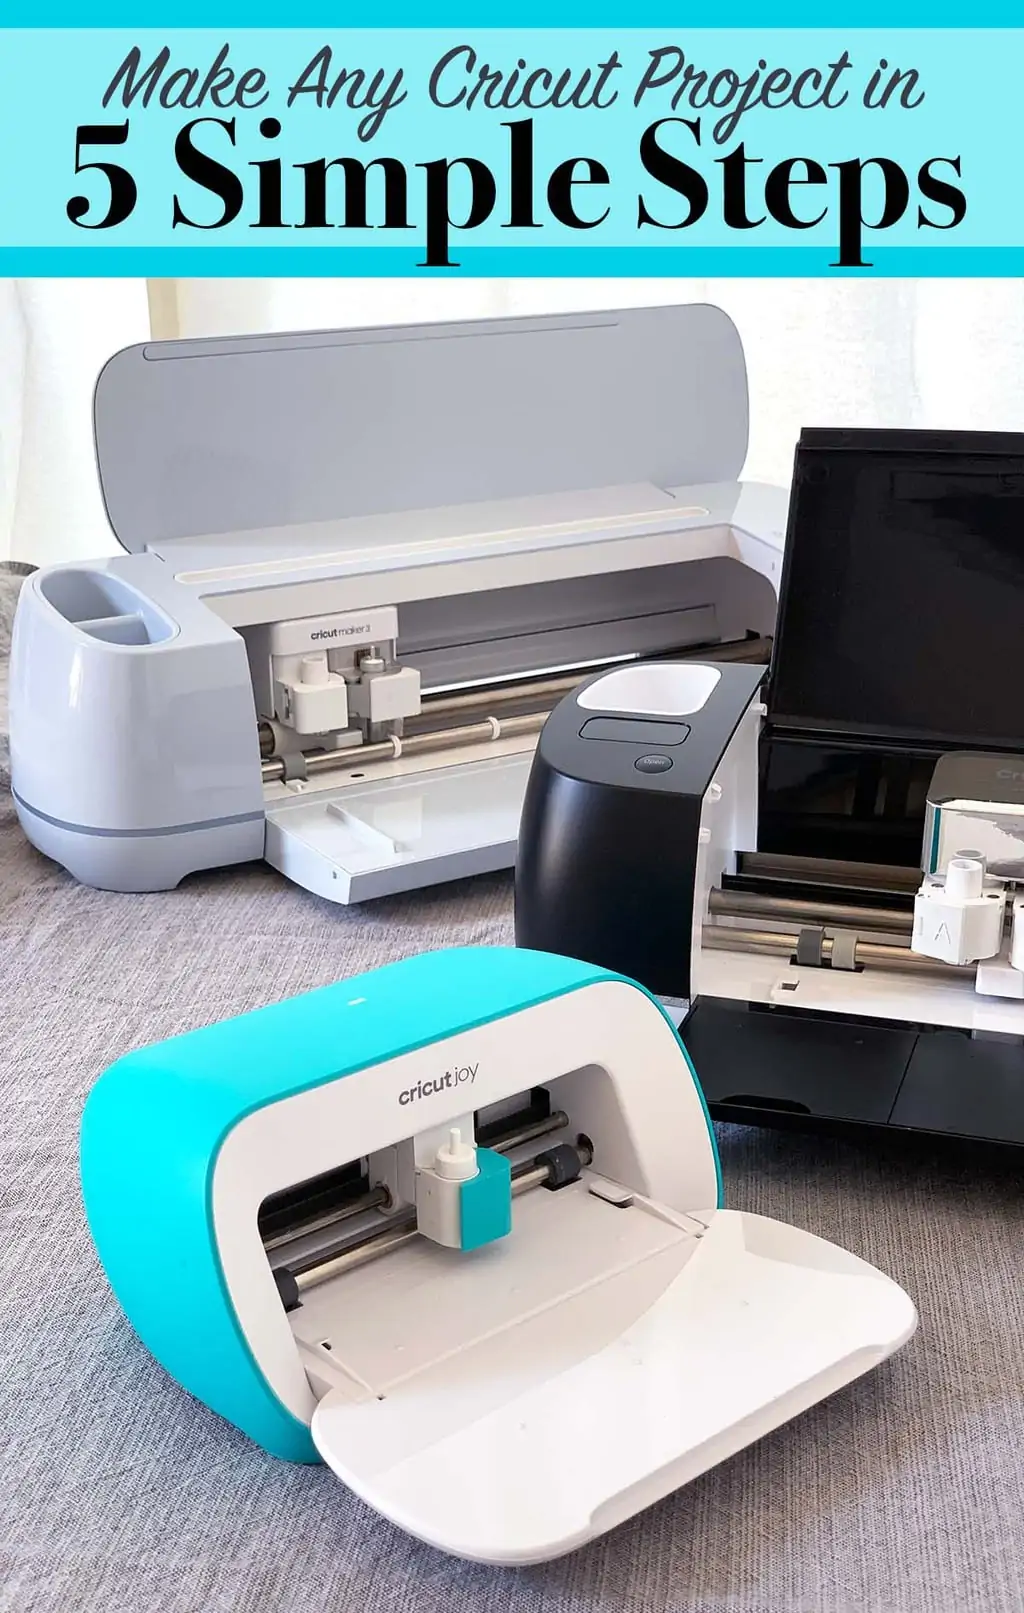
All projects will require either a mat or smart material (assuming you have a machine that will cut smart material without a mat – the Cricut Joy, Cricut Explore Air 3 and Cricut Maker 3).
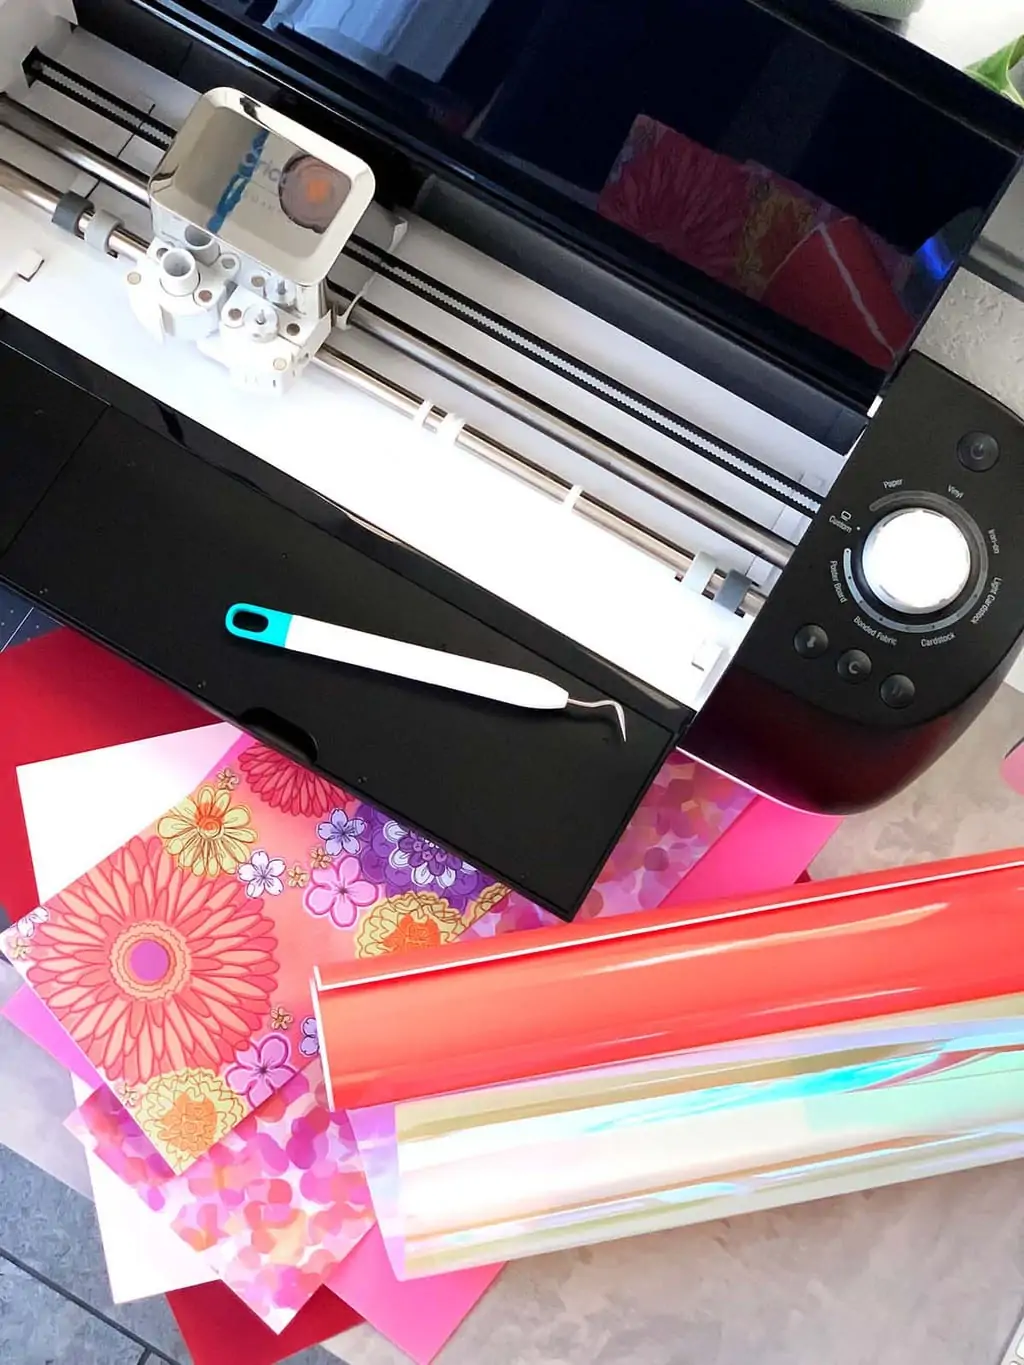
Finally, I highly recommend you have a weeding tool. Just about every project will require a weeding tool to help finish the cut/design material.
1. What do you want to Make?
Knowing the kind of project you want to make will help answer most all project requirement questions. Knowing, for example, you want to make a T-shirt, you know you'll likely need HTV (heat transfer, or iron-on, vinyl) but you probably won't need paper.
The materials you choose will determine which tools you need. The materials and tools you are using will determine the settings the Cricut machine needs. So start with the project you want to make and then you can easily walk through choosing the remaining steps.
Beginner tip: I think it's helpful to start with project types you are already familiar with, even if you bought the machine to make something different.
Do you already scrapbook or make cards?
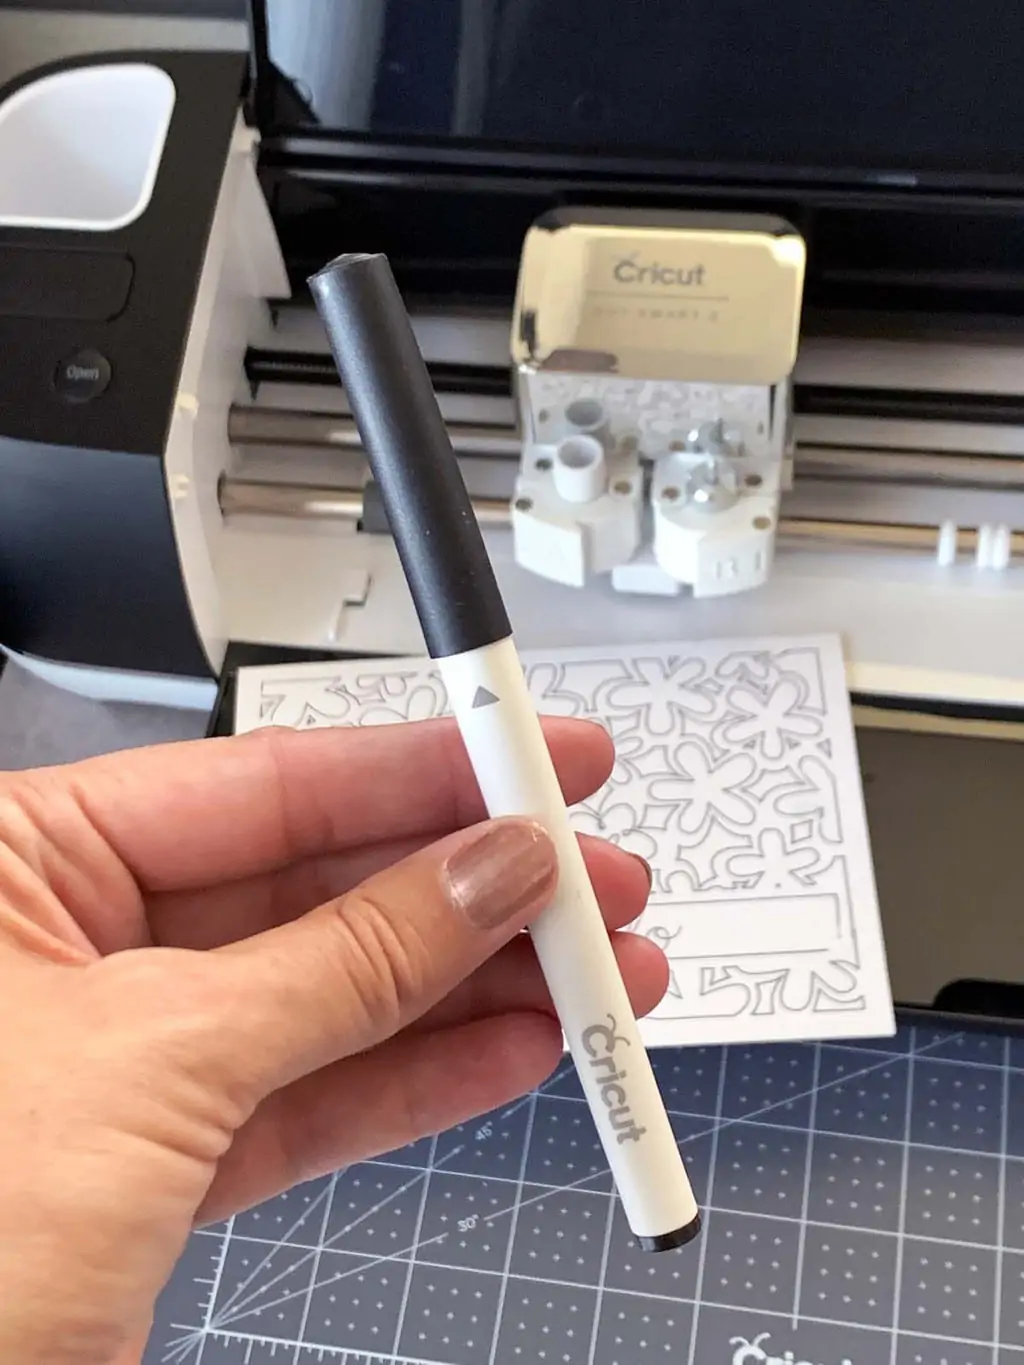
Then learn the basics of the machine functioning by creating new cards or scrapbook pages with the help of the Cricut.Cut out cards and embellishments, learn to use the Cricut pen and get familiar with all the aspect of paper crafts and your Cricut machine.
This way, you'll be able to more easily learn the functions of Design Space and the capabilities of the machine. Rather than jumping into a brand new project type, for example, making t-shirts and at the same time learning to use new tools and software.
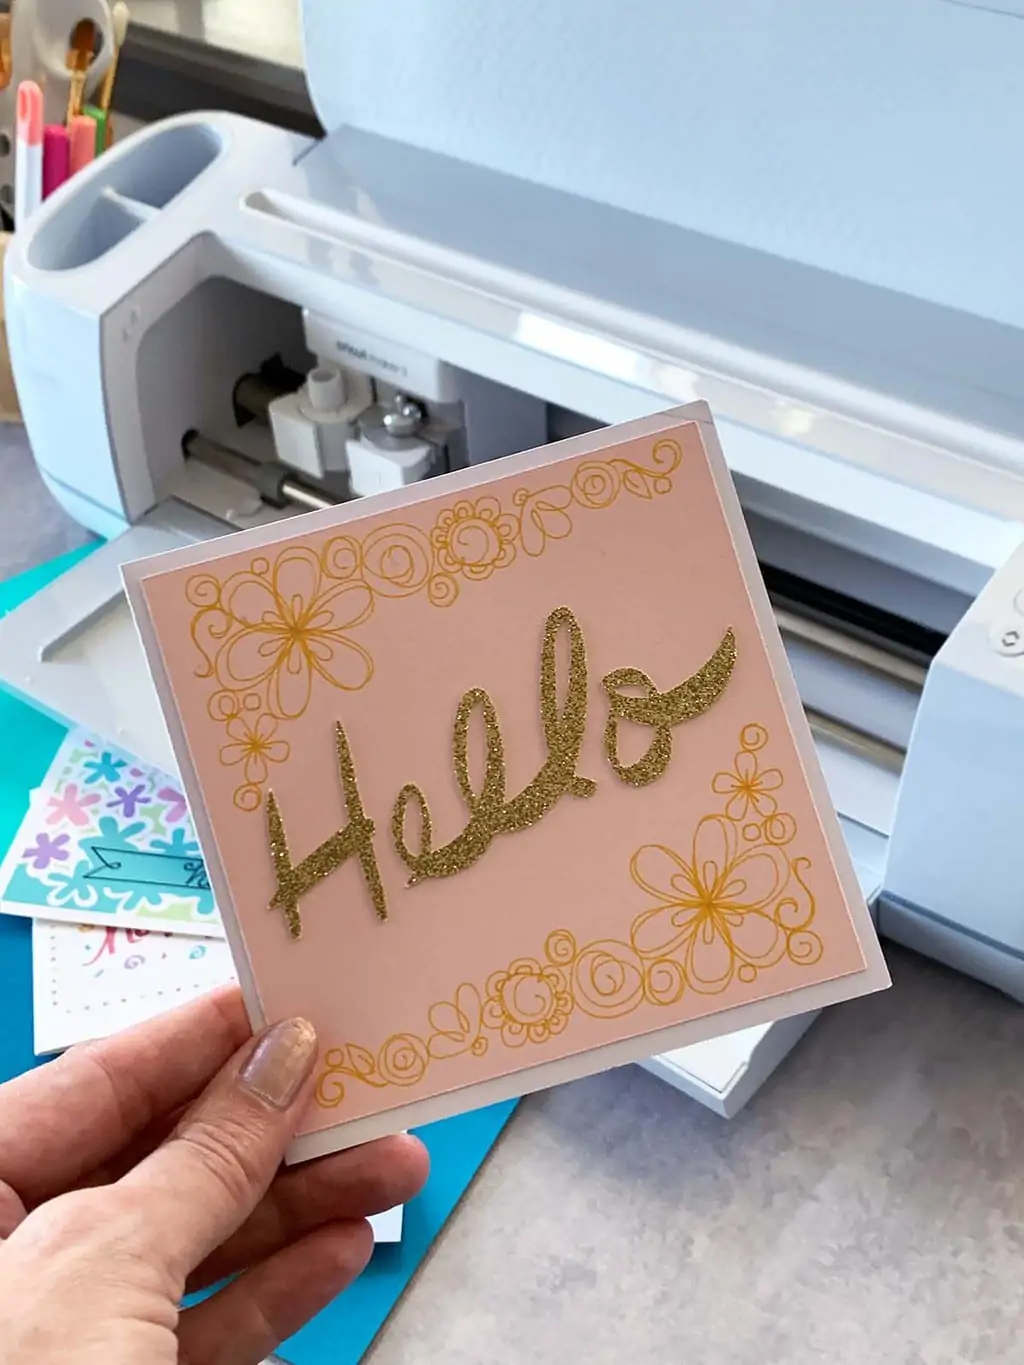
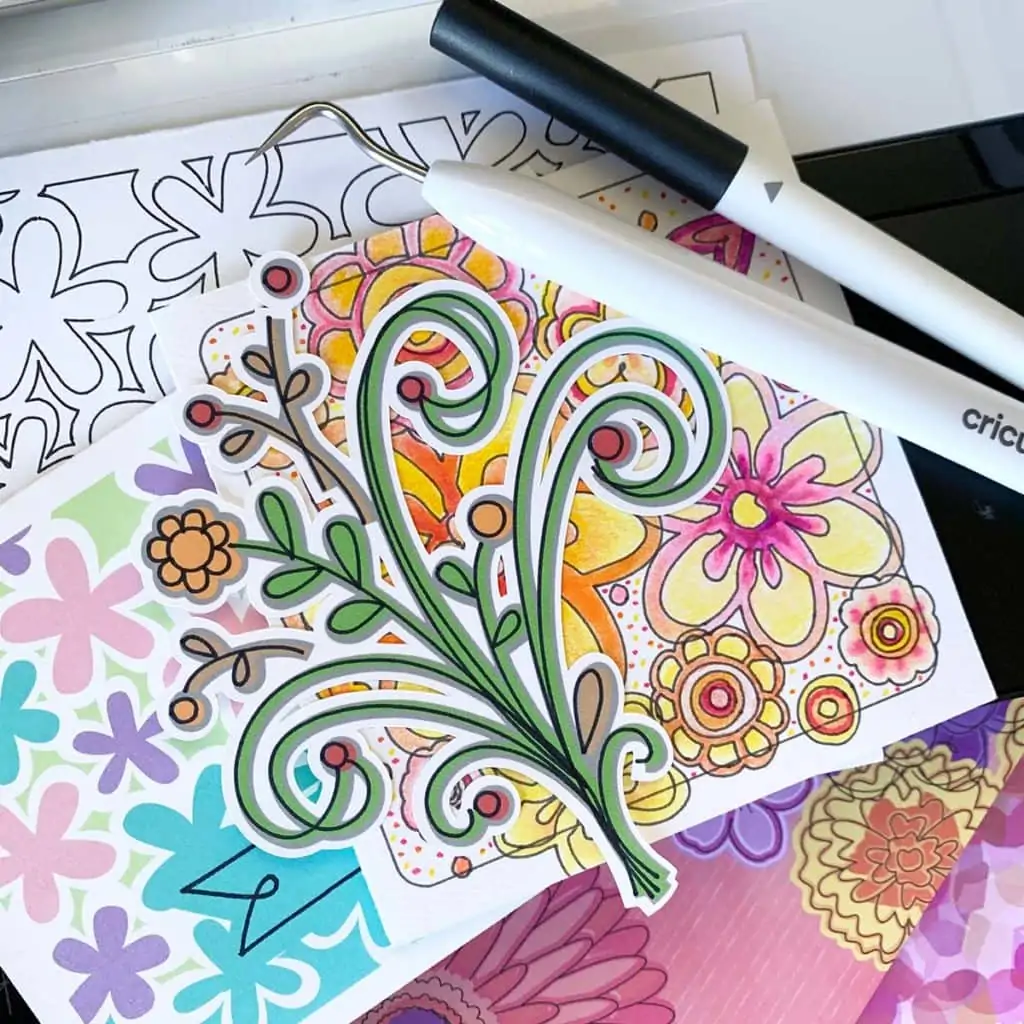
Some easy projects to start with: Simple cards (this Hello card is a great starter project), Single cut iron-on vinyl (try this tote bag) or vinyl cut decals.
2. Decide what materials you want to use.
There are literally hundreds of materials the Cricut machines can cut. It can be overwhelming. Start with your project, then determine what materials you'll need for that project specifically. Then choose from the available colors and patterns.
Pick your favorites for your project. Start with single layers to get use to using the machine. Then you can work on adding more layers and more colors for advanced projects.
Choosing materials doesn't have to be difficult. Start with the basics. Cards are typically cardstock, but vinyl, HTV and even fabric can be used to accent a card.
T-shirts are usually created with iron-on (HTV – heat transfer vinyl) or Infusible Ink, and decor can be a combination of materials but often times creators will use adhesive vinyls for quick decor.
Once you decide on your materials, the tools you need are pretty straight forward. For example, iron-on vinyl requires a heat set device like an iron or Easypress.
I think everyone needs a weeding tool. If you are cutting designs, a weeding tool helps remove all the little pieces. Here's a list of must have Cricut supplies I think everyone needs.

Tip: Make sure the machine you are using can cut the material you'd like to use. The type of material and the size are limited by the machine and blade you are using.
A Cricut joy, for example can cut long materials if you are using a Smart material, but the width is more limited than other machines.
Bonus: Cricut Design Space requires the machine type is selected when you set up a virtual canvas for the project you are making. If you find you can't select a certain material type or image size, check that it's not a limit of your machine type.
3. Choose your images and create the design layout.
Once you've determined the project and materials, it's time to get to work choosing the design. Cricut Design Space (CDS) is loaded with images you can use. There are many complete layouts as well as single images and fonts. Search for images or search for projects, there's a wide variety to get you started.
You are only limited by your imagination (and which Access account you have).
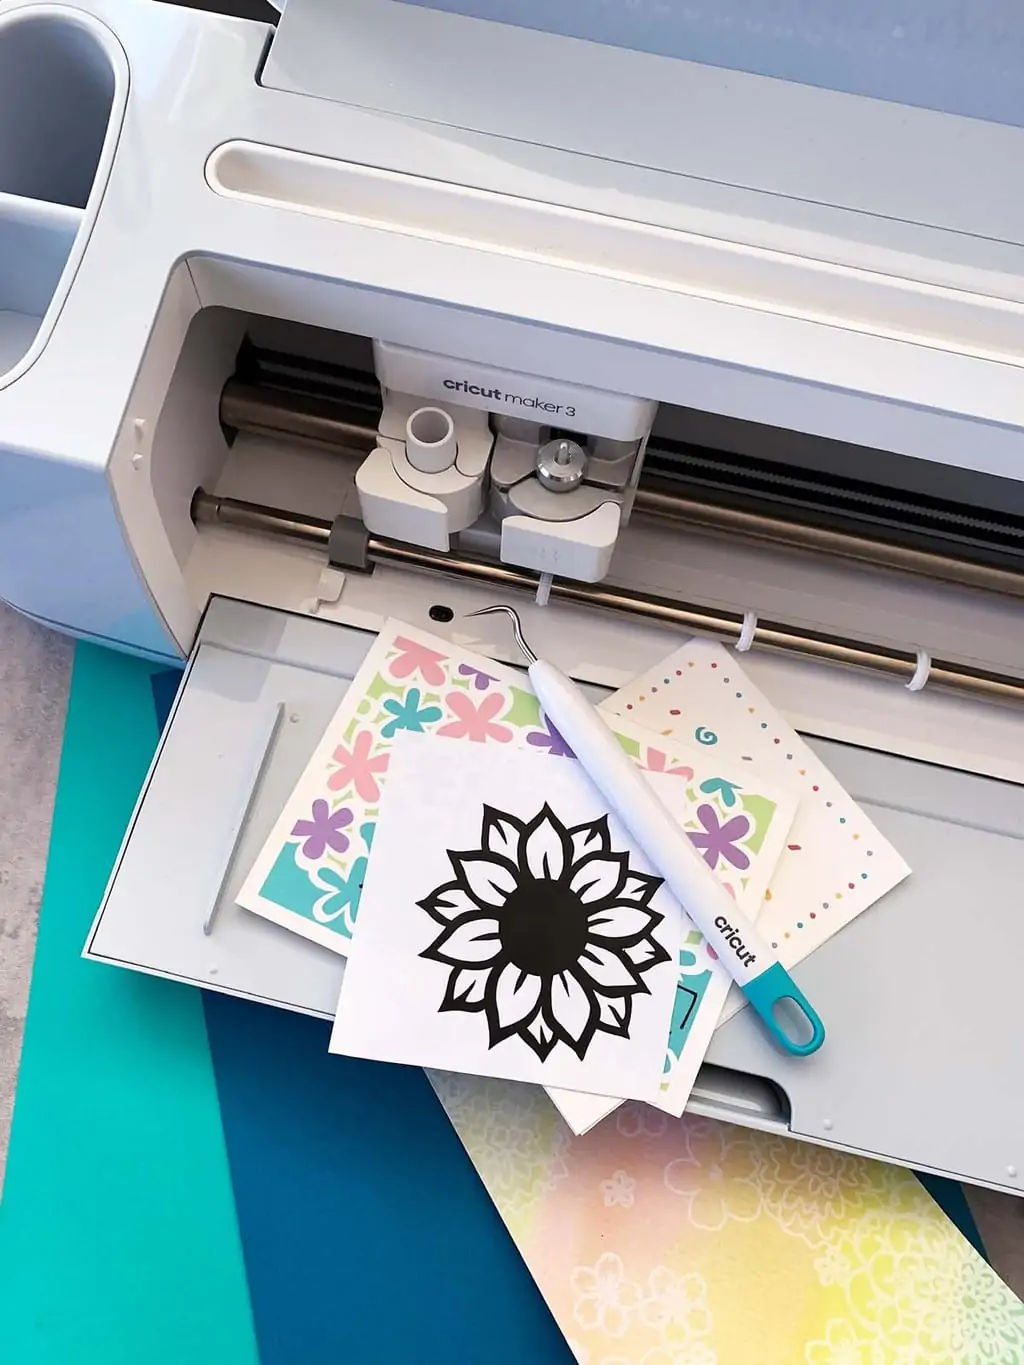
Bonus: Most of the machines come with a project materials and get started instructions so you can try something right out of the box. This flower is the project that I found in my Cricut Maker 3. The vinyl was included with the supplies.
Tip: The CDS software also allows for uploaded art, so if you have a design already, you can upload it to use for your project.
Learn more about Cricut Design Space and how to use it here.
4. Create the projects pieces using your Cricut machine.
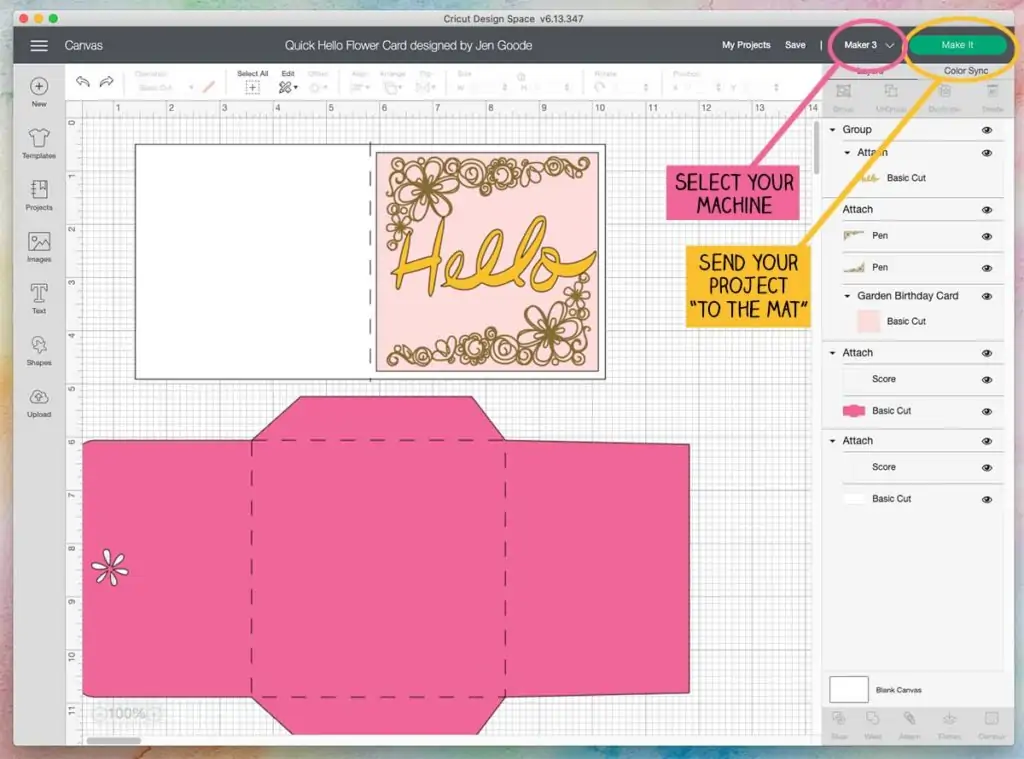
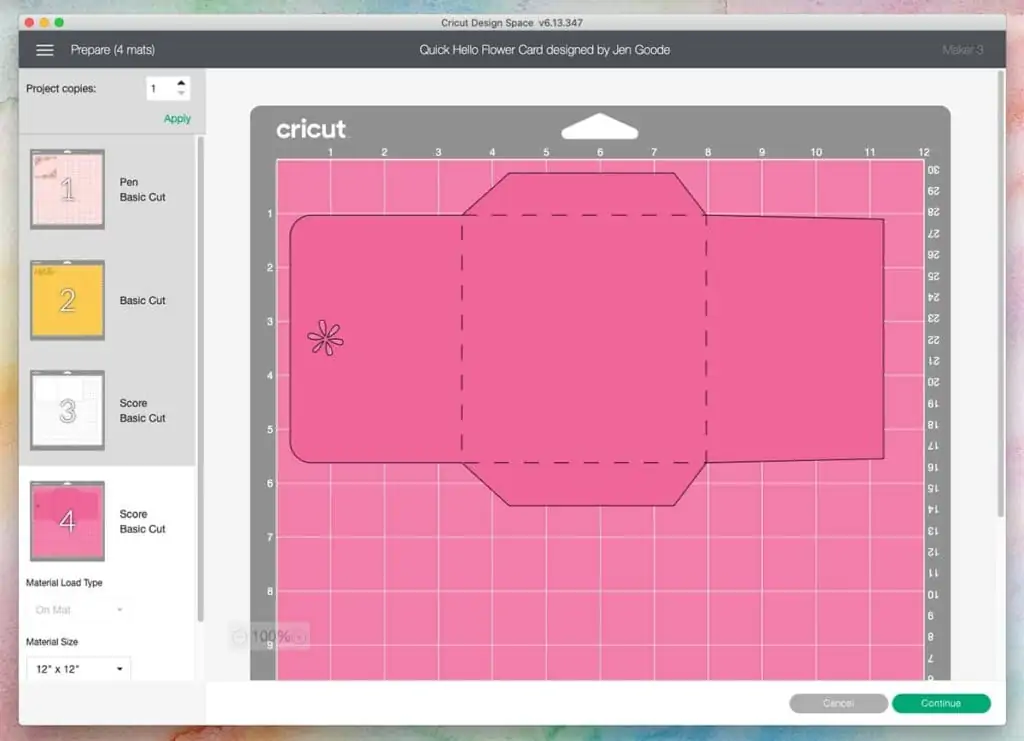
Now that your design is ready to go, simply choose “make it” in Cricut Design Space and “send your project to the mat”, as we say. CDS will sort through all the project pieces, place items of the same color on different virtual mats and then prompt you for each step.
Follow the on-screen prompts to cut (draw, engrave, score, etc.) all your project pieces. The software will tell you when to switch tools and mats too.
Tip: I highly recommend creating a practice version of projects before using final materials. After 7 years using a Cricut machine, I still make practice versions first. It's a great habit to help with sizing, design layout checks and adjustments.
Grab some basic white cardstock (or any color on sale) can test your design cuts first. I like to use cardstock instead of paper because it is easier for me to remove from the mats.
5. Assemble everything and add final accents
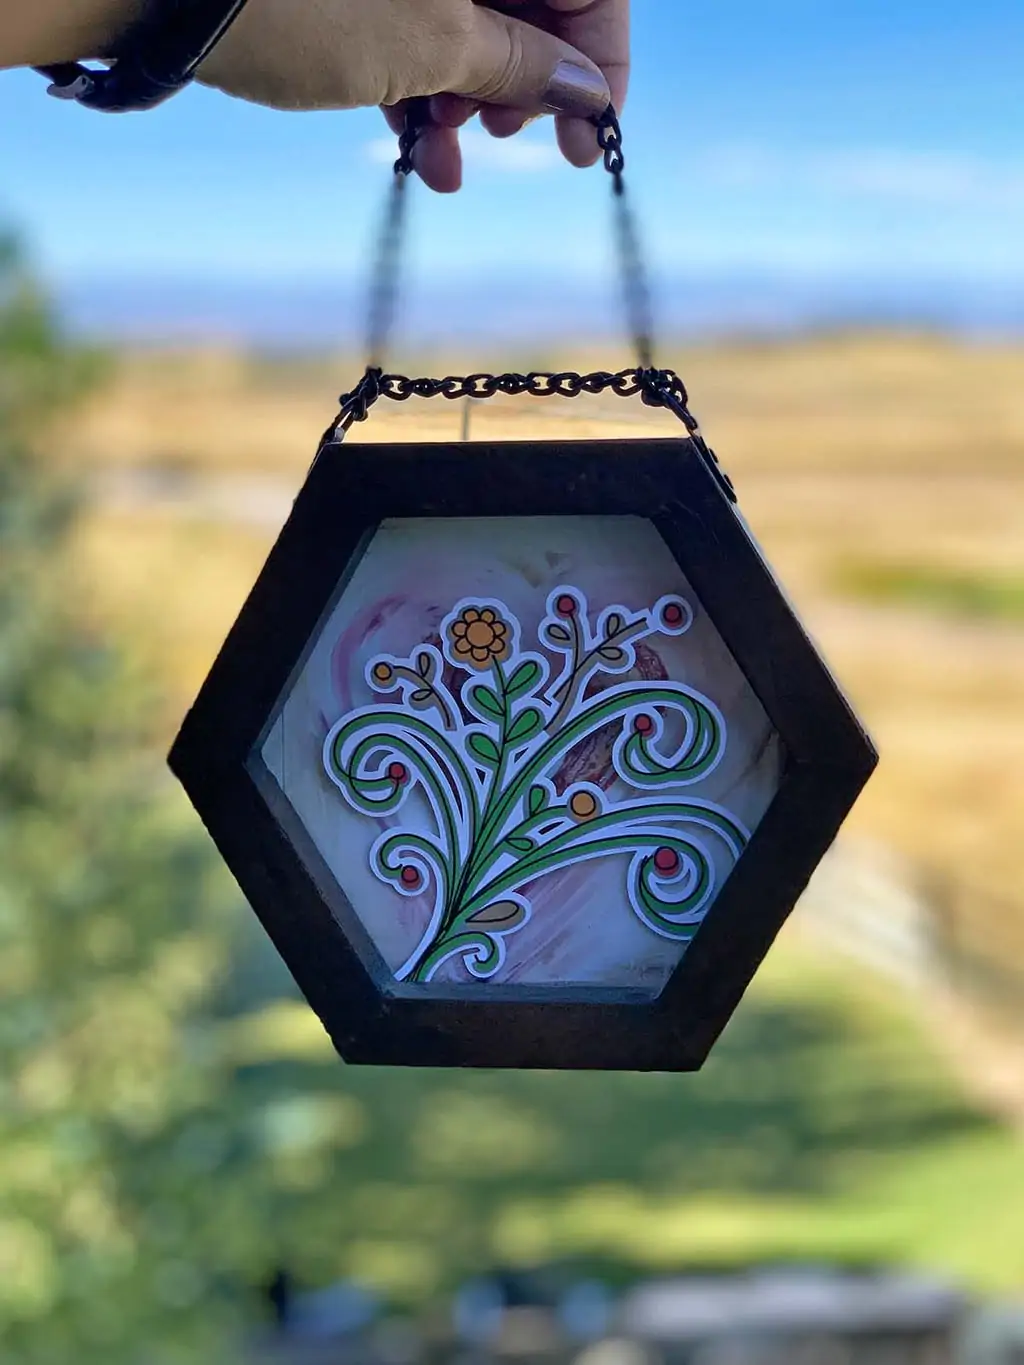
With all the pieces ready to use, assemble your project! Heat set, glue, stitch together, whatever your project requires. Then sit back and enjoy the amazing project you just created!
That's it! When crafting with Cricut, the basic steps are really simple. Choose the project and materials, set it all up, create the pieces and put it all together.
I think the hardest part is deciding which project to make first. You can do this! I can't wait to see what fun projects you make with YOUR Cricut.
Keep in mind: As a beginner, you don't need to know how to use fancy design software to make projects with a Cricut machine. There are plenty of pre-made designs and layouts available so you can spend more time making cool crafts.
As you learn to use Cricut Design Space you will also learn how to you can customize pre-made art, create your own designs with font and image combinations. Play with the materials and unique ways to put them together. I love using HTV on paper, it's a great accent for cards and other paper crafts.
If you have questions or want to share a tip about creating projects with your Cricut, let me know!