I love seeing so many pretty Christmas cards. Here's one you can make in about 30 minutes with your own favorite papers and a little adhesive foil. This Cricut Christmas card is one of my favorites… it's easy to make but looks so fancy! You can add extra bling by including some glitter or sparkle gems. You could also add tiny buttons or bows as ornaments on the tree. This is one of my favorite Cricut projects yet. Your friends and family will love this handmade card!
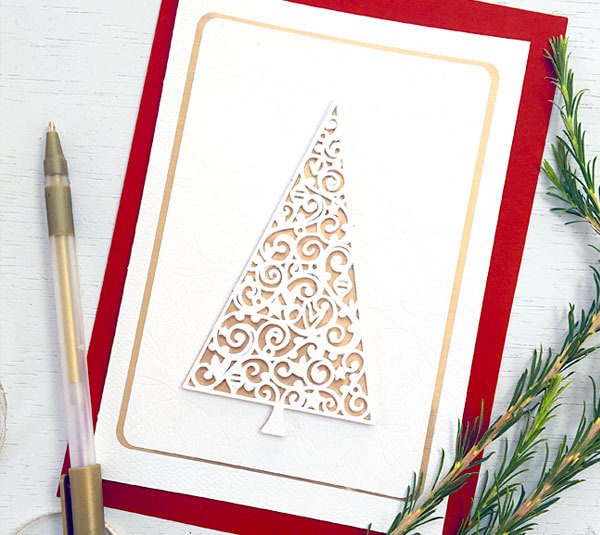
Fancy Christmas Tree Card
You can change up this pretty Christmas Tree card by simply changing the paper colors you use. If you'd like to simplify this project a little, just cut one tree and apply that to the card.
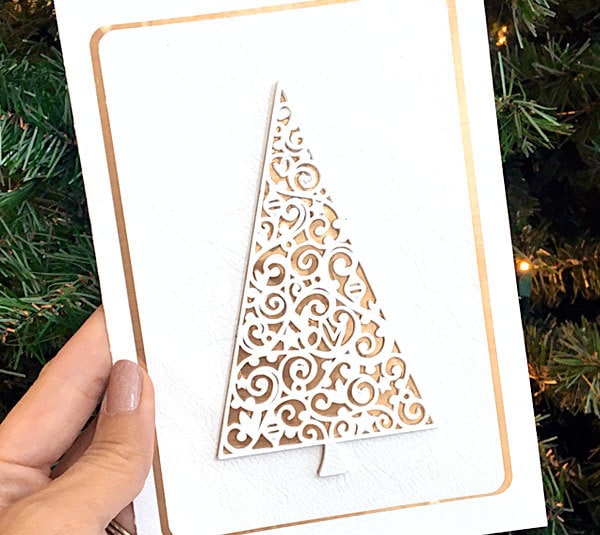
For a fancier idea, you can make the tree into an ornament that you include with the card, just add a little twine to the top of the tree and don't permanently attach the tree to the card.
Materials
- Cricut Machine
- Cricut Design Space™ software
- Fancy Tree cut Design by Jen Goode
- 12″ x 12″ Standard Grip Cricut® mat
- White cardstock
- Gold adhesive foil or metallic gold cardstock
- Glue or Mod Podge
Instructions
- Place gold adhesive foil on a piece of cardstock to create a sheet of gold foil cardstock.
- Follow onscreen instructions to cut each paper tree design, card pieces.
- Emboss the card layers using the scoring blade instead of a pen
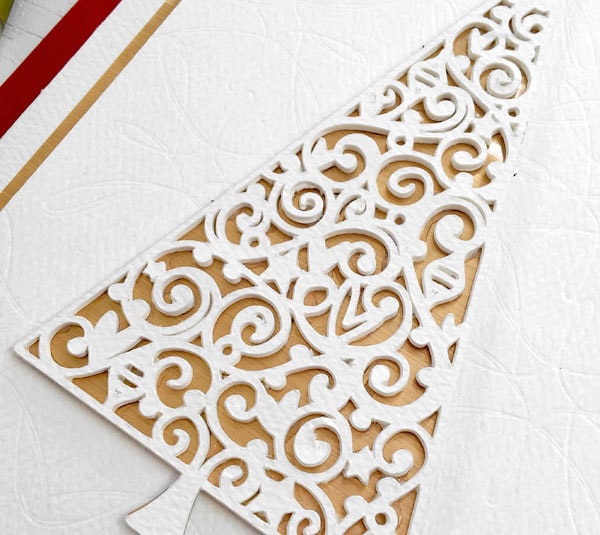
- Layer each tree cut-out and adhere together with Mod Podge. I like to use a paintbrush to brush the Mod Podge on. Then press the paper layers together. Allow tree stack to dry.
- Layer metallic cardstock and embossed cardstock. Adhere in place.
- Carefully glue tree to card and press firmly.
Tip: to prevent tree layers from warping, press firmly and then place a book or other heavy object on top of the stack to dry.

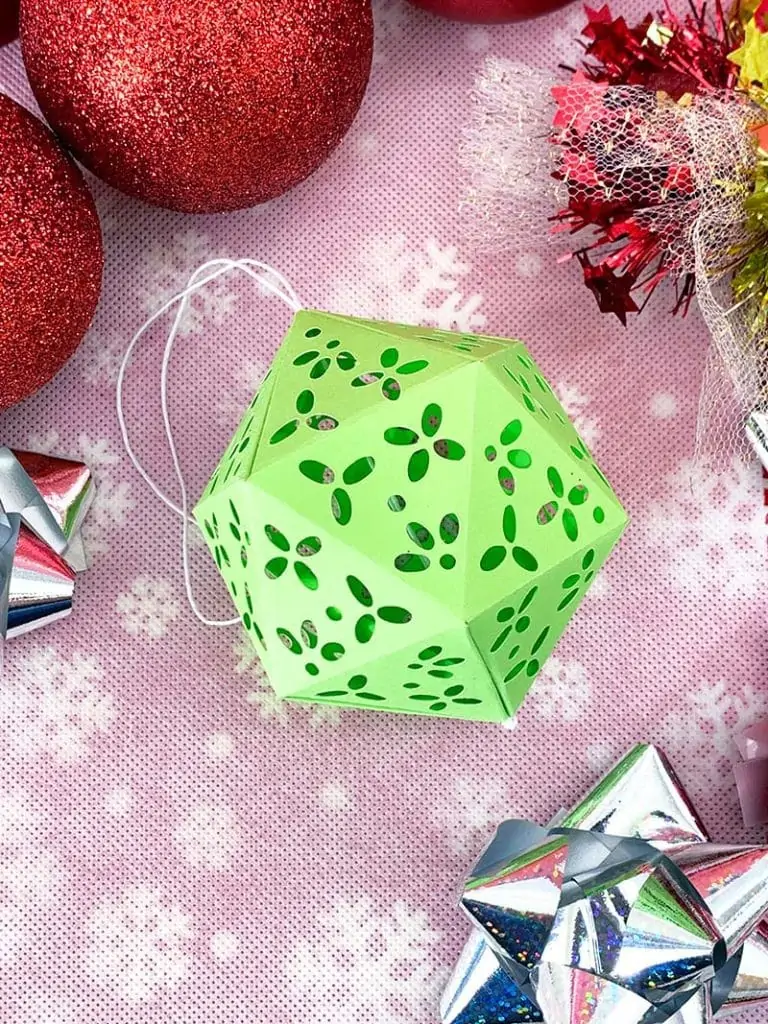
You might also like this project: Fancy cut 3D ornament
The fancy cut ornament can be created in a variety of sizes. Make one or make a whole bunch, you can use them as ornaments or pretty gift accents.
Stop back by and tell me about your own projects. I've love to hear what you create!


Where can I get the fancy tree design?
The tree design is available through Cricut Design Space. Here’s my affiliate link.
Thank you so much!! I’m making these, but my score marks aren’t that visible, for the embossing…I’m using air 2…any suggestions? Maybe I’m doing something wrong?