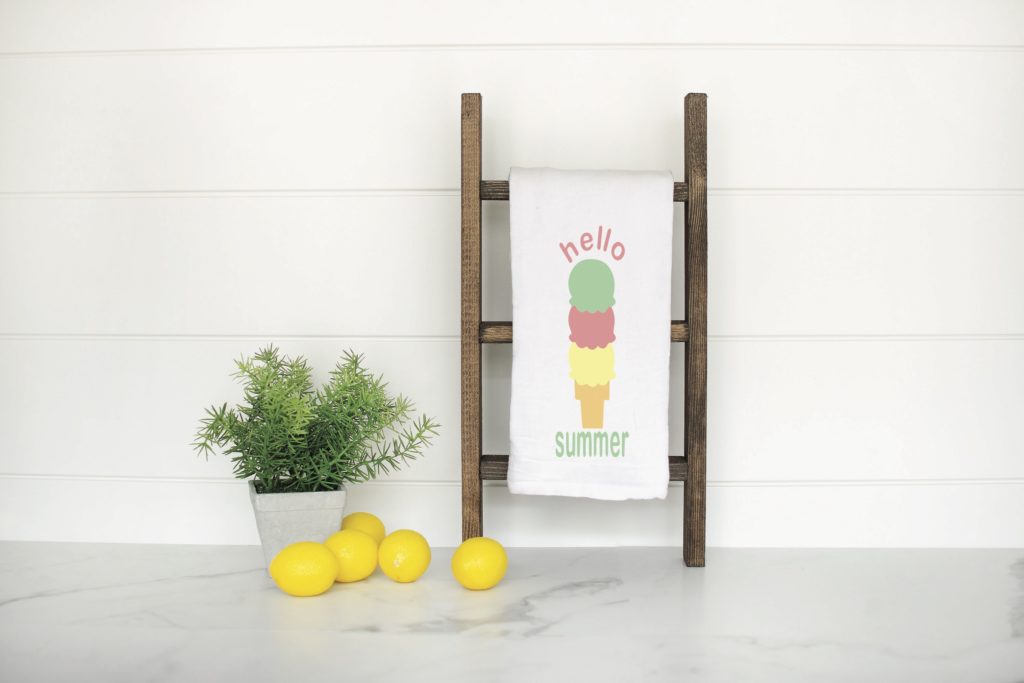
Get out your Cricut and make DIY Summer themed kitchen towels in minutes. Today my friend, Jessica Roe, is sharing this fun DIY Cricut project. This is such a fun project for Summer. You can pick your favorite iron on colors and materials to make your kitchen towels match your kitchen!
Create a fun Summer hand towel with your Cricut Maker and designs from Jen Goode – project design by Jessica Roe
Hi everyone! It’s Jess from Everyday Party Magazine, and I’m so excited to be here today! I’m a Cricut enthusiast, and I love using Jen’s cut designs for party decor, favors, and more!
Make Your Own Summer Kitchen Towels with Your Cricut
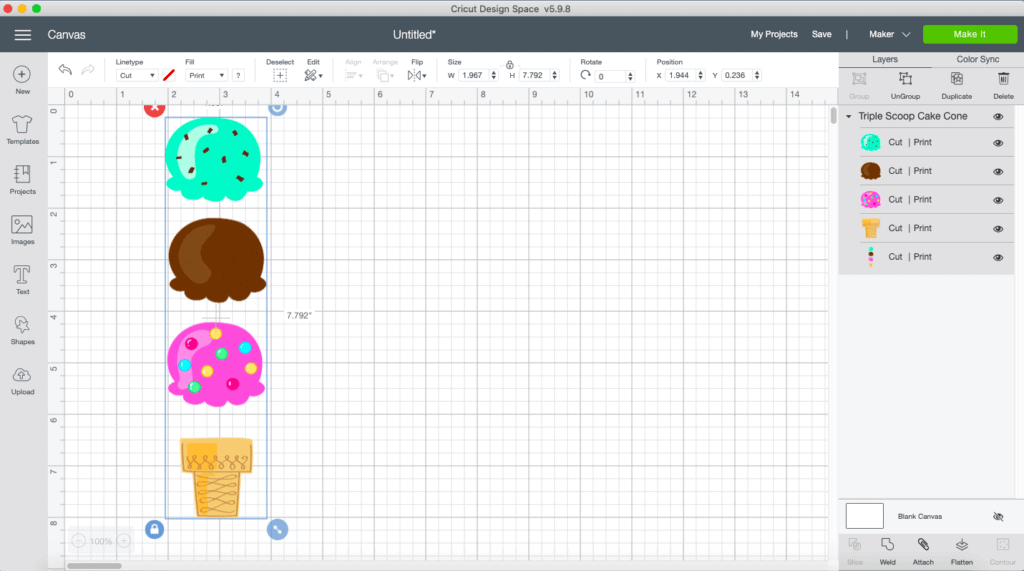
I love summer! The more relaxed schedule, the bright colors, and all the ice cream. So, I try to change out our home decor for more seasonal decorations as often as I can. And when I saw Jen’s Triple Scoop Cake Cone Cut File, I knew it would be PERFECT to use for adorable Summer kitchen towels!
I quickly made a few towels. I made some for our home and some for my mom and sister’s home. I will add package theirs up with a few ice cream treats and drop it off later this week. That’s it! Super easy, even more adorable, and totally affordable!
How to Make Your Own Kitchen Towels
Follow the below instructions to create your own fun summer hand towels.
Materials
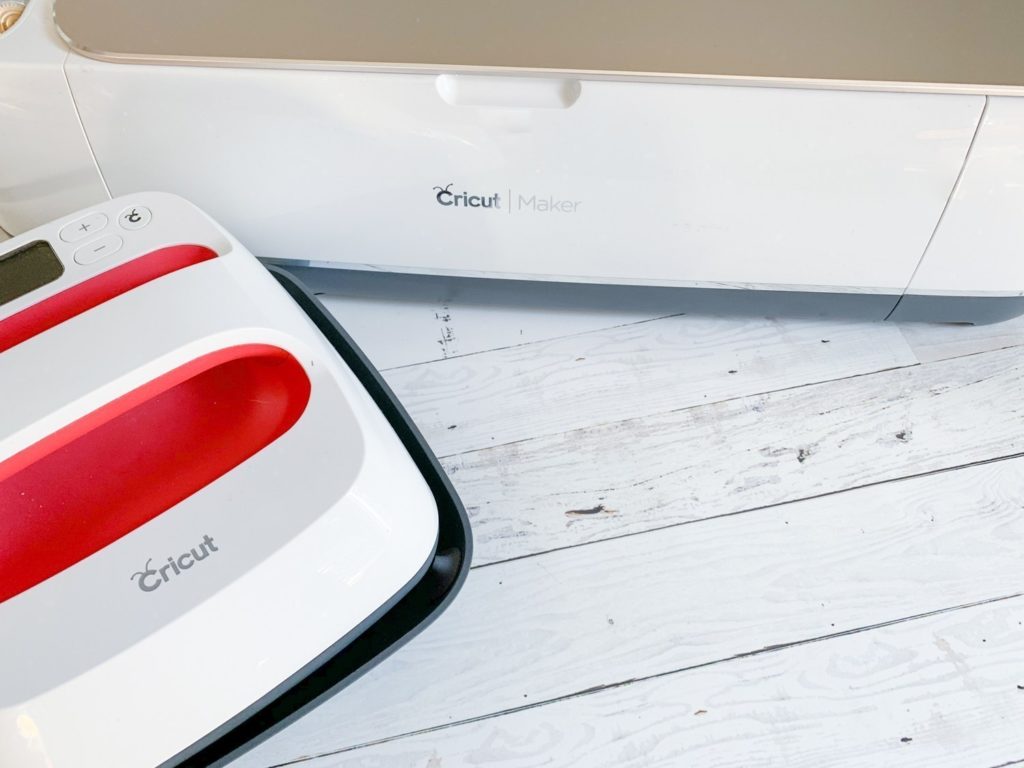
- Cricut Maker cutting machine
- Cricut Design Space account
- Triple Scoop Cake Cone cut design by Jen Goode (#M68C640)
- Cricut Fine Tip Blade
- Cricut EasyPress 2
- Cricut Design Space Access
- Iron On – three colors for the scoops and one for the cone
- Kitchen Towel
We’ve set up a Cricut Design Space canvas to help you get started with this Kitchen Towel Project. Click here to open up this Summer Hand Towel project in Cricut Design Space.
Instructions
- Open the Design Space Cut File and size it to fit your kitchen towel.
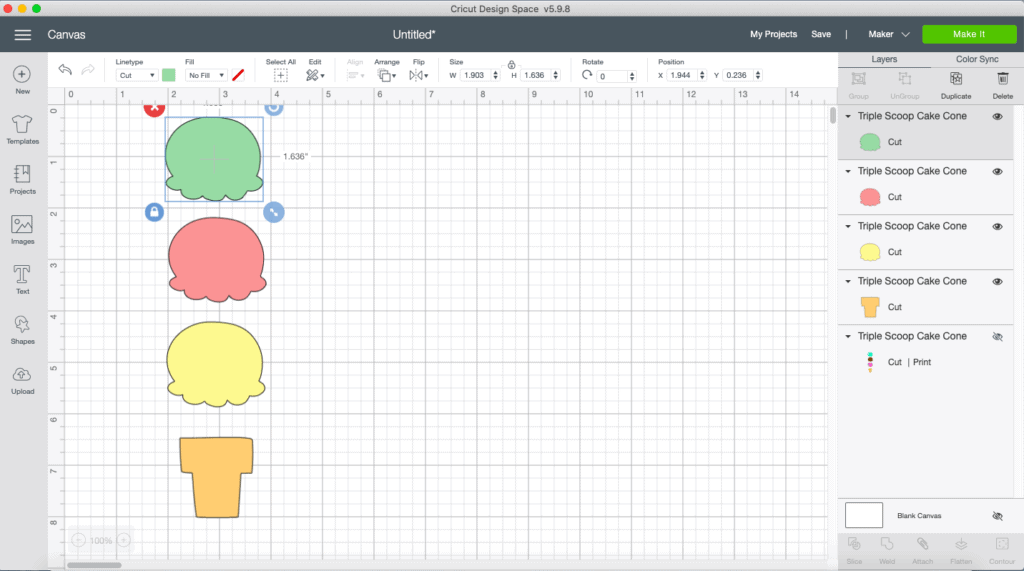
- Ungroup the image.
- High-light each section and select cut file. You need to remove the drawing part of this cut file.
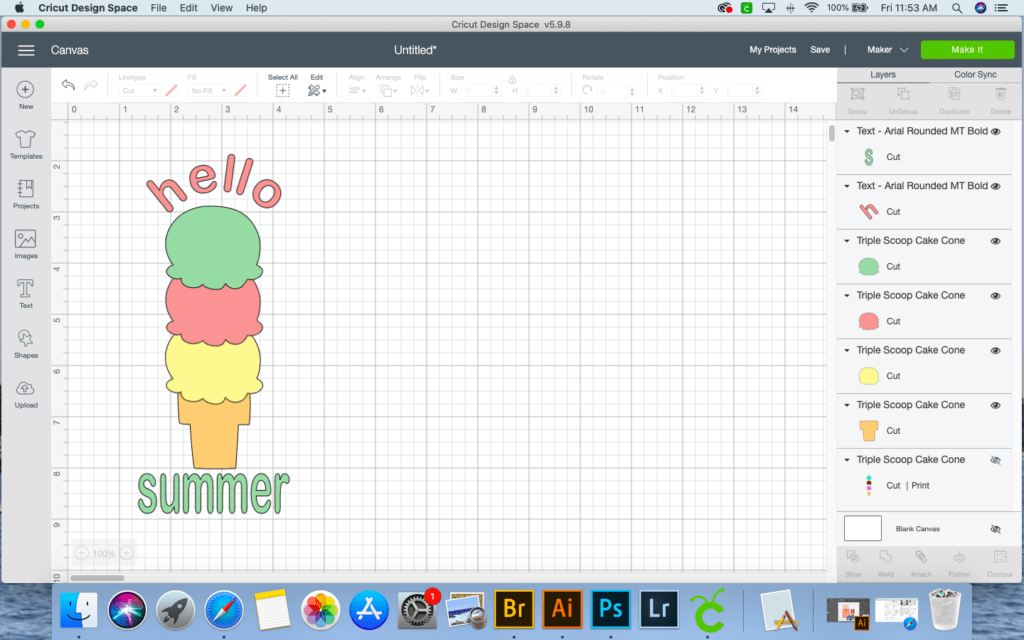
- Add text above and below the ice cream cone.
- Use the curve feature to curve the text above the cone.
- Send the project to cut. Place Iron On on a standard grip cutting mat. Don’t forget to mirror the image before you cut.
- Weed the excess Iron On, and repeat for each color.
- Pre-Heat the EasyPress 2 according to Cricut’s recommended heat settings.
- Place the ice cream cone on the towel and press it in place. Layer the ice cream scoops one at a time on top of the cone. Then, add the text.