Make your own big DIY Heart Shaped Valentine Box using recycled cardboard and your favorite patterned duct tape. We made this box about 3 years ago and still use it, it's held up so well! This Valentine box makes a great gift box you can fill with treats to give to your sweetheart. Or you can make it for your child to use as a classroom box.
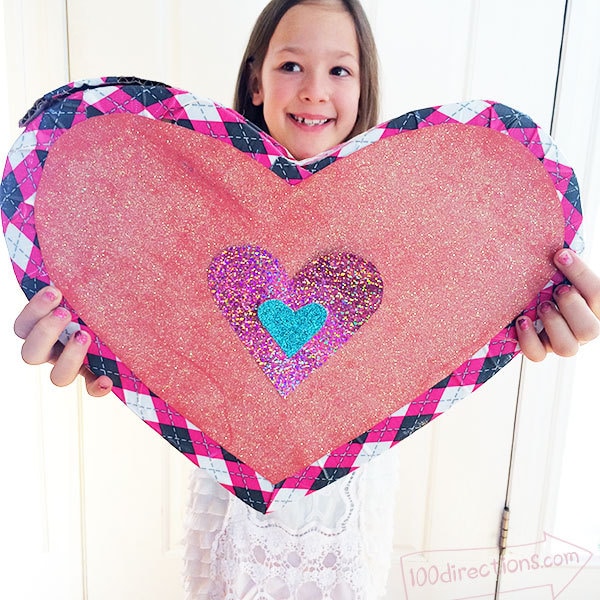
DIY Heart Shaped Valentine Box
Materials
- Recycled box cardboard
- Scissors (or craft blade used by an adult)
- Duct Tape
- Glitter paper or paint
- Embellisments
- Adhesive – we used hot glue
- Pencil
Instructions:
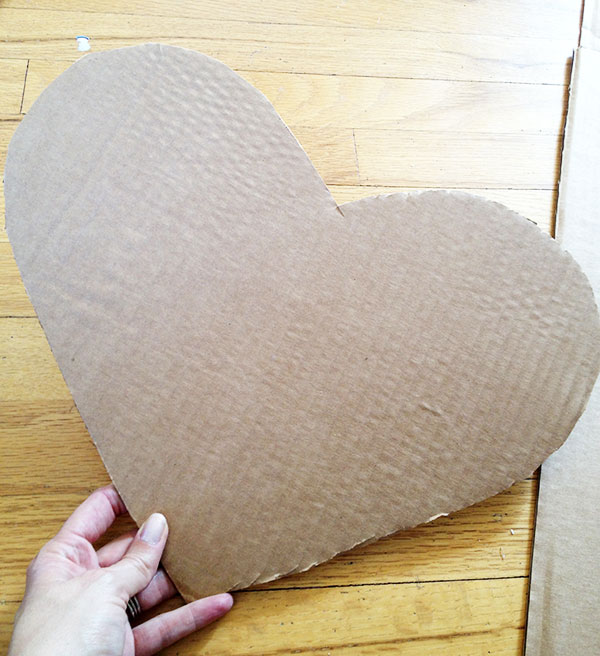
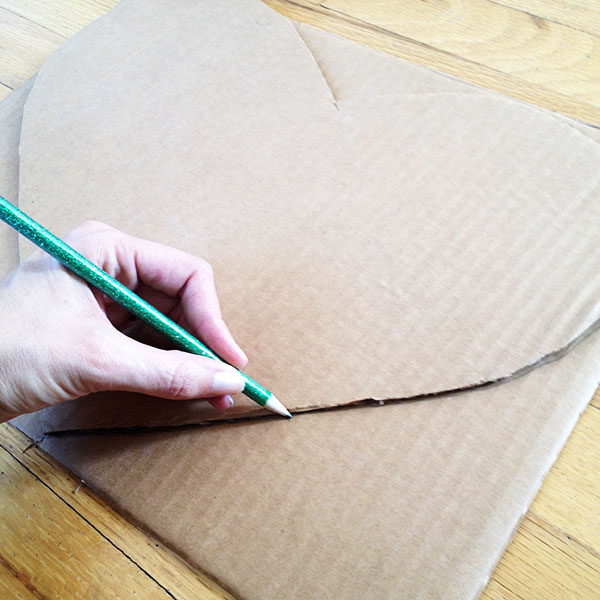
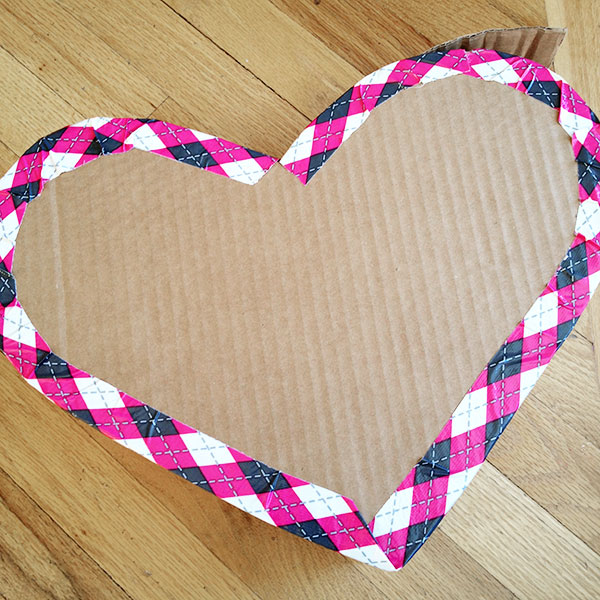
- Start with your cardboard box. Break it down so you have flat surfaces to work with. Cut out a large heart. Using this first heart, trace the shape onto another area of the cardboard and then cut out this second heart.
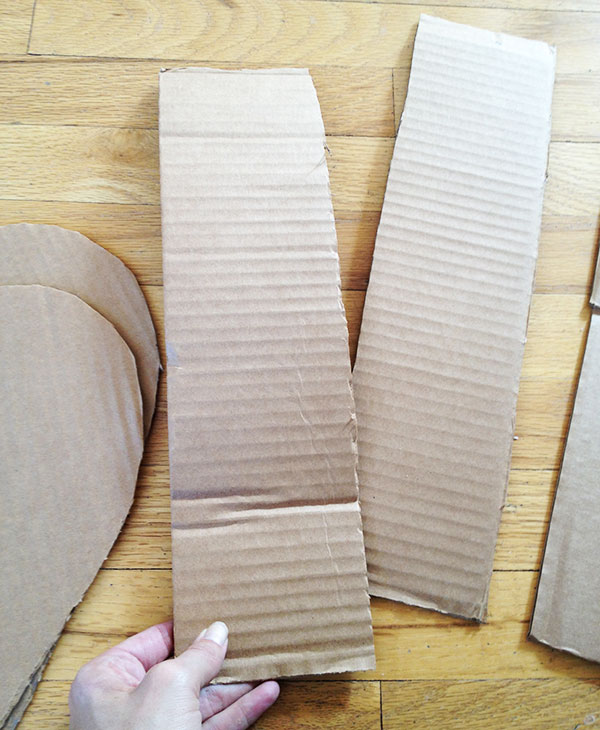
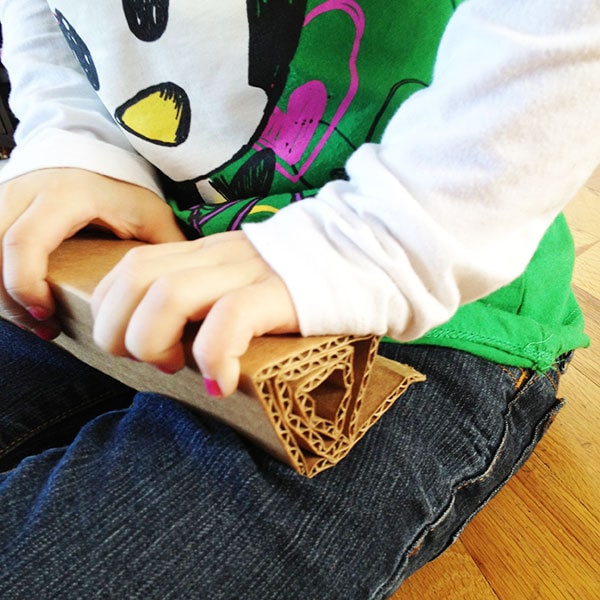
- Cut strips of cardboard however thick you want your box to be. These will become the sides of your box.
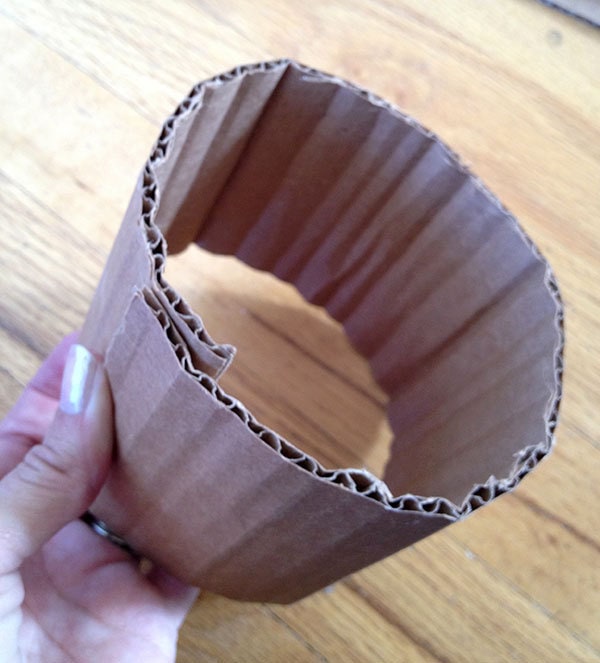
- To create the curved sides of your box, roll the strips of cardboard.
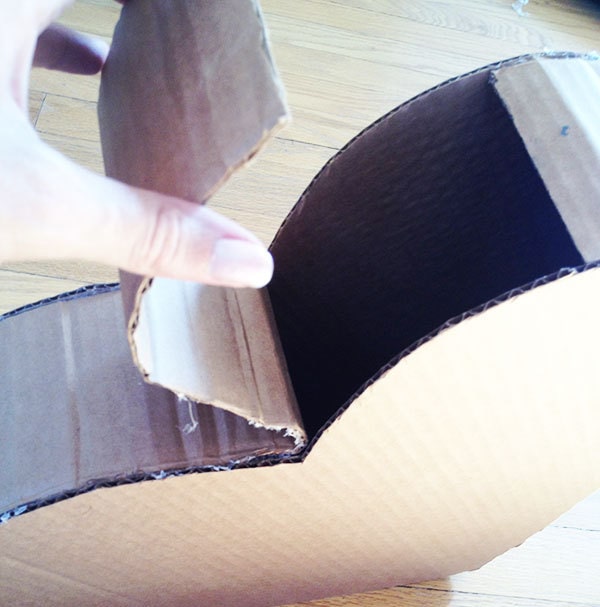
- Using your hot glue, attach the strips of cardboard to one of the hearts. Once you have all the sides attached to the first heart, attach the second heart.
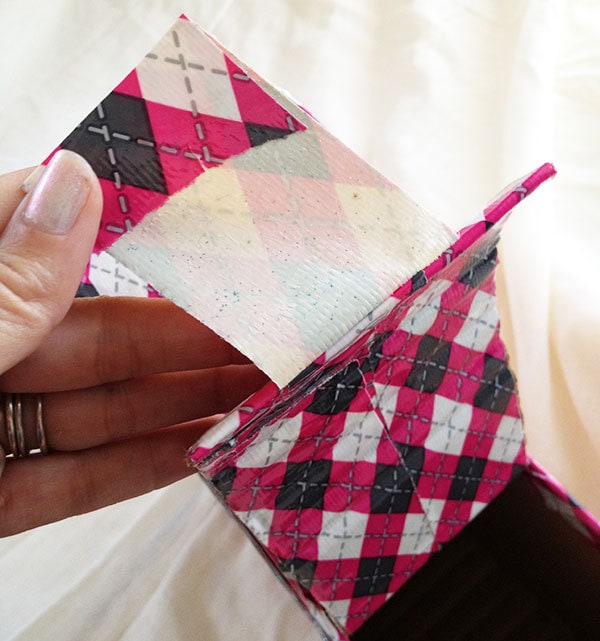
- Finish the box by adding another strip of cardboard to create the top of the box. Glue half of the strip in place, covering half of the top of the box. Leave the other half as the opening for your box.
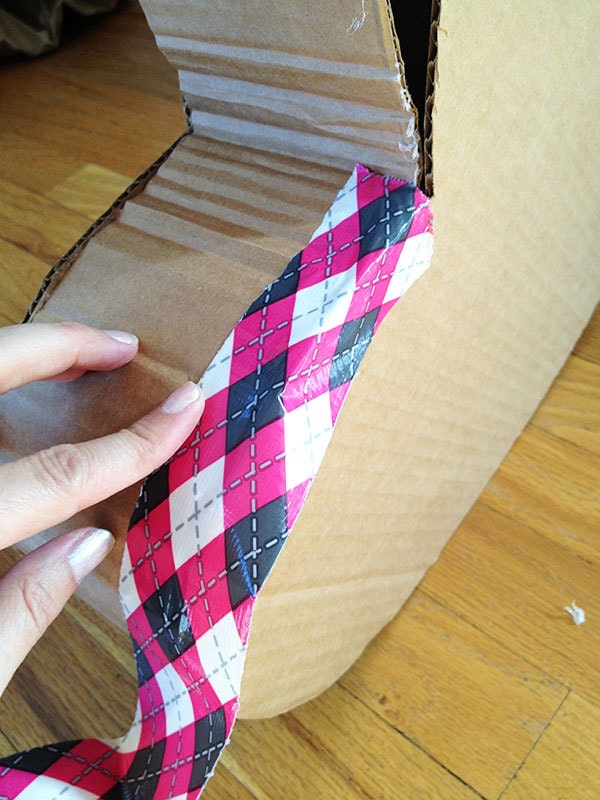
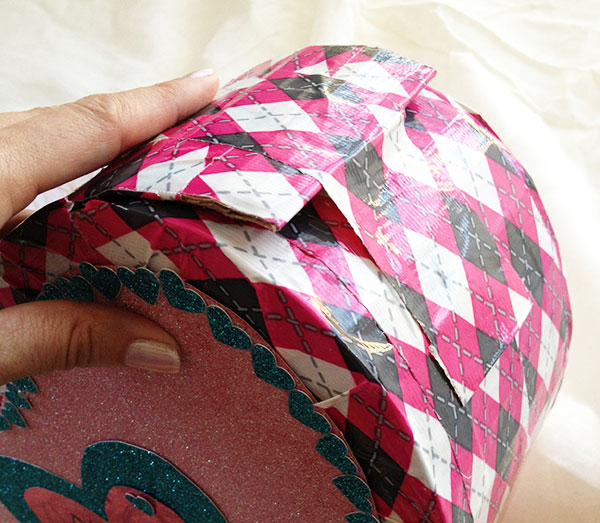
- Create a closure on the opening of the box by covering the loose cardboard piece with decorative duct tape. To help the flap stay closed, we added a piece of duct tape to the flap that hung over the edge so when pressed to the box, the box would be taped close. Fold over the edge of this extra tape so there is a bit of a “handle” type piece to grab a hold of so you can open and close the flap.
- After you have the heart box built, decorate it with duct tape, glitter paper and other embellishments. We started by applying duct tape to the edges of the entire heart. Then we covered the main body of the box with a big glitter paper heart on each side, covering the edge of the duct tape to create a nice finished look. Then, we cut smaller hearts from other patterns of glitter paper and glued them in place. You can decorate your heart box however you'd like. If you don't have glitter paper, you can grab my free printable Valentine designs and use this art to decorate your box too!


You don't have to save this project just for Valentine's Day. You could make this DIY Heart Shaped Valentine Box any time of year! Create your own box to package gifts or as a secret admirer mailbox for your kids. Have fun creating this box together. You can make a bunch of heart boxes and decorate them all differently too!


