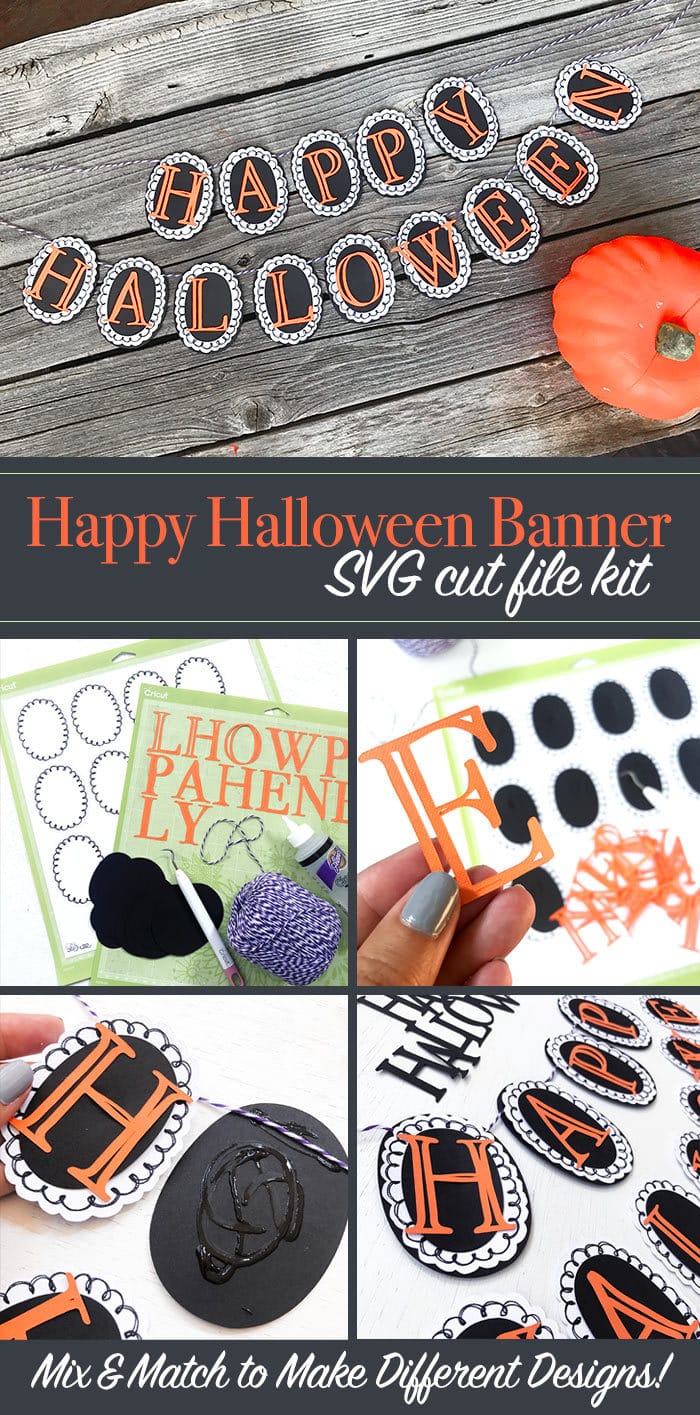
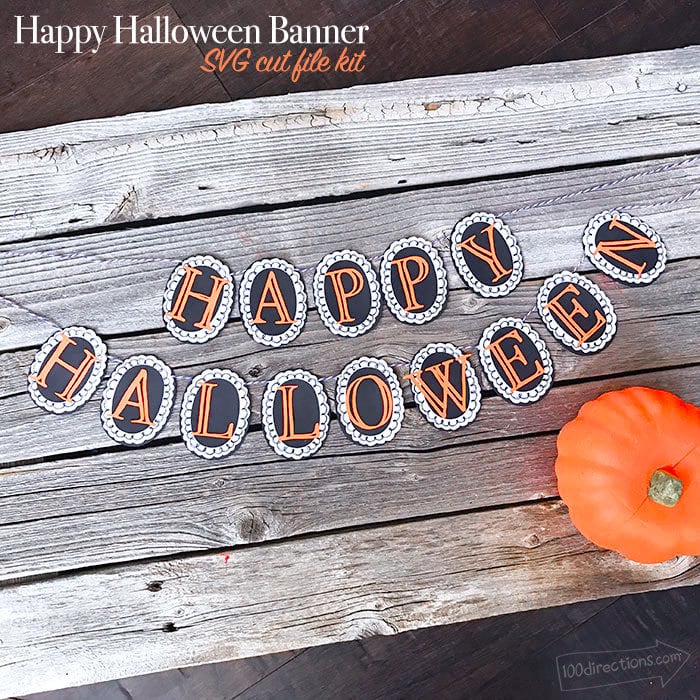
Make your own Halloween banner or garland with this DIY Happy Halloween Banner SVG kit. You can mix and match your own paper colors and patterns to create Halloween decor with your own personal style.
This is a must-have Cricut project you can use over and over again. For a limited time, you can get this image bundled with SVG files created by 9 other designers. So grab your Halloween inspiration right here and let's get crafting!
DIY Happy Halloween Banner SVG Kit
Create all kinds of Happy Halloween banners with this mix-and-match SVG kit. This Halloween cut file comes with letters and banner pieces to create a full “Happy Halloween” banner. The letters include 3 cut layers and a drawing layer.
The banner includes 4 cut layers and 2 draw lines. Mix and match any of the layers to create your own favorite look. From classic to candy corn, you can create a whole pile of Happy Halloween decor pieces! I even created some spooky eyeballs by combining some of the banner pieces. I'll show you how!
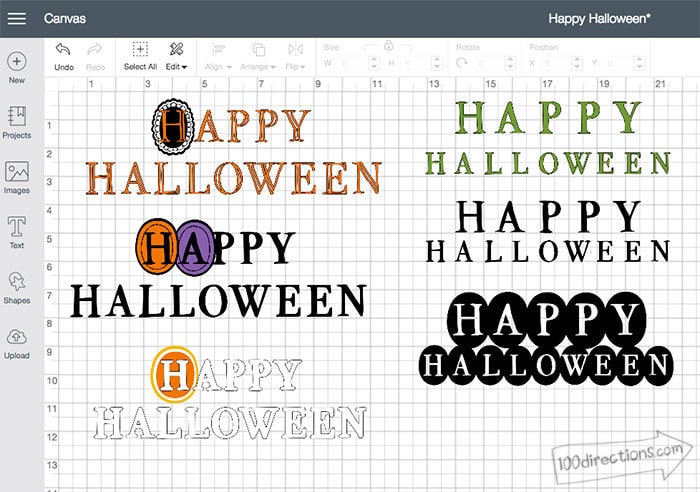
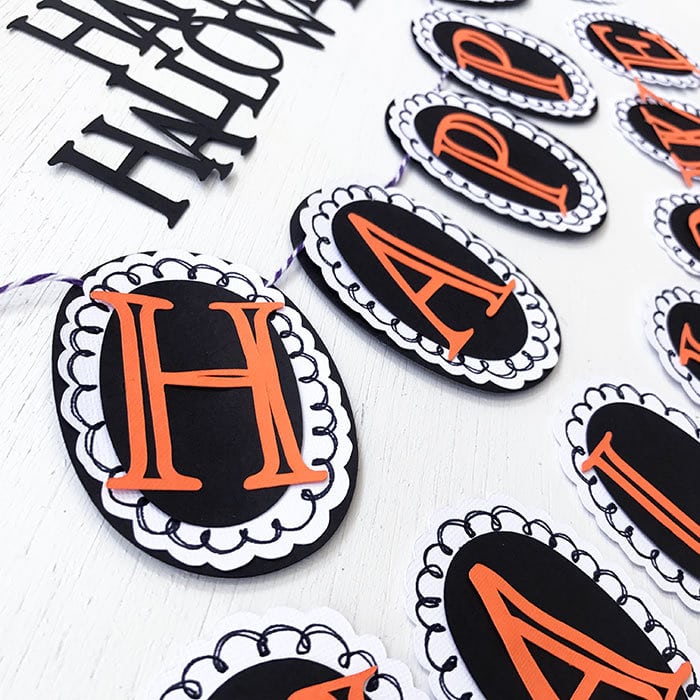
Take a look at some of the banner styles I've created with this one SVG file.
Make this Happy Halloween Banner
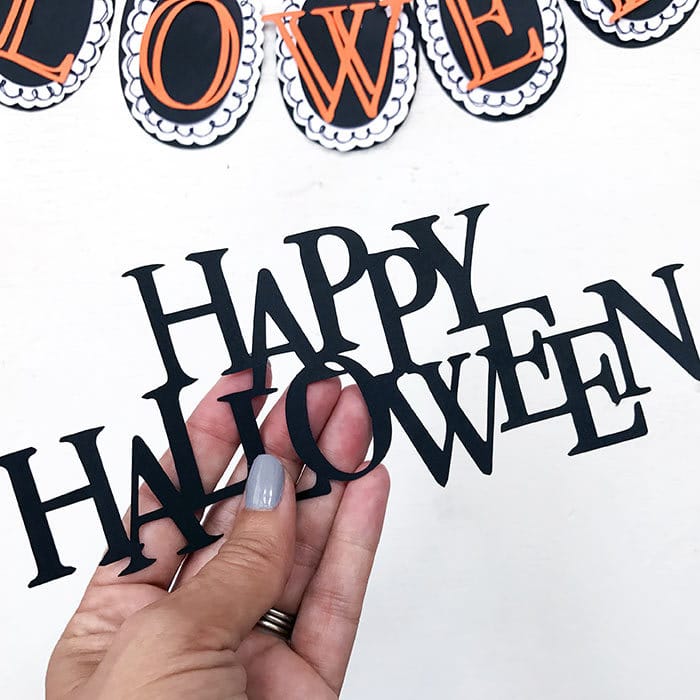
You can layer different cutouts, include the drawing design, or leave it out. You can pick and choose what colors you like best or just use the letters included. Here's how to make this Happy Halloween Banner.
Materials
- Happy Halloween Banner SVG by Jen Goode – available through my etsy shop
- Cardstock – black, orange and white
- Cricut Machine
- Black Cricut standard pen
- Twine
- Glue

Instructions
- Upload the SVG file to Cricut Designs Space. The kit includes all the letter layers and a single banner background piece. I like to design just one background and then choose to repeat the multiple cuts when I get to the cut mat screen in Design Space.
- Ungroup the various design components.
- Hide the following layers:
- Circle/oval drawing line in the banner background.
- Letter drawing lines.
- Letter bottom and second from the bottom layers.
- This should leave you with a background oval, a white scalloped oval, a scalloped draw line, a small black oval, and a single letter cut layer.
- Select all the pieces and adjust the size so that the background banner piece is the size you need. All the rest of the pieces should size to fit how you need them.
- Make sure the scalloped draw line is attached to the scalloped cut shape.
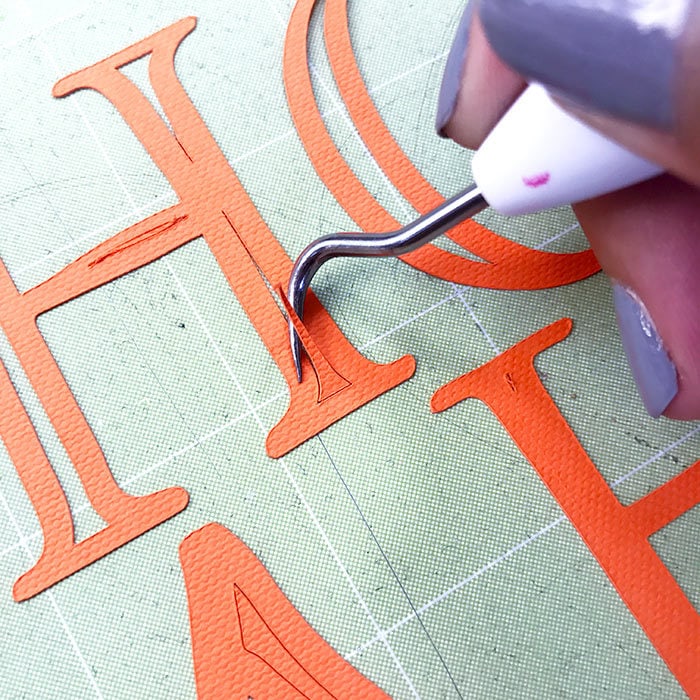
- Cut the pieces as per the on-screen instructions. Remove from mats and weed as necessary.
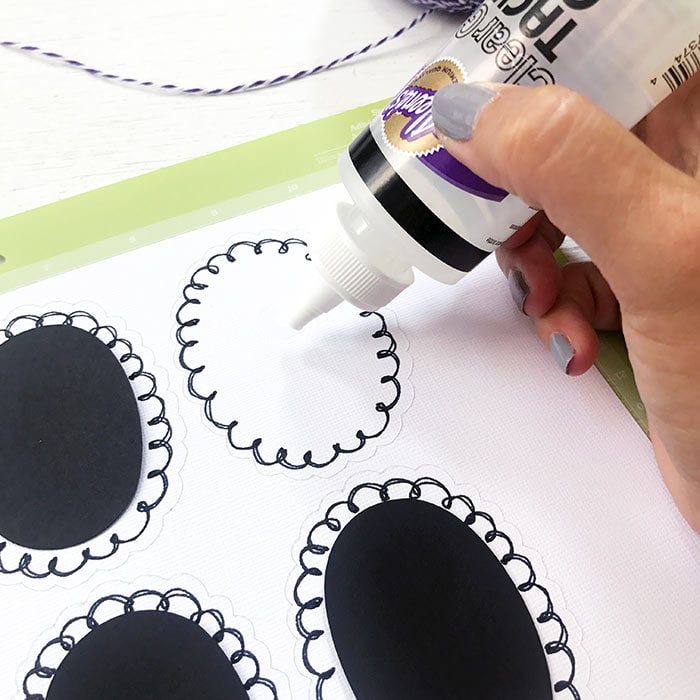
- Glue the small black oval to the center of the scalloped shape.
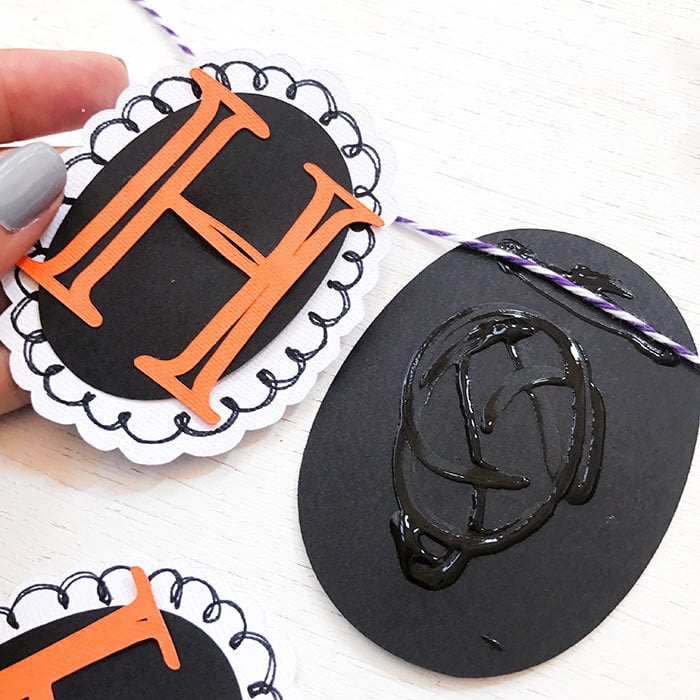
- Glue letters to the center of each banner piece.
- For each individual banner letter piece, add some glue to the black background piece, place twine, and adhere the rest of the banner piece to the black background.
- I cut my banner pieces at about 2″ wide. I then created two separate strings, one for Happy and one for Halloween. You can adjust the sizing to fit the decor you are trying to make.

This Halloween SVG was designed to be used with a Cricut but you should be able to use it with your favorite electronic cutting machine.
I can't wait to hear how your projects turn out!
Buy this SVG cut file through my etsy shop here