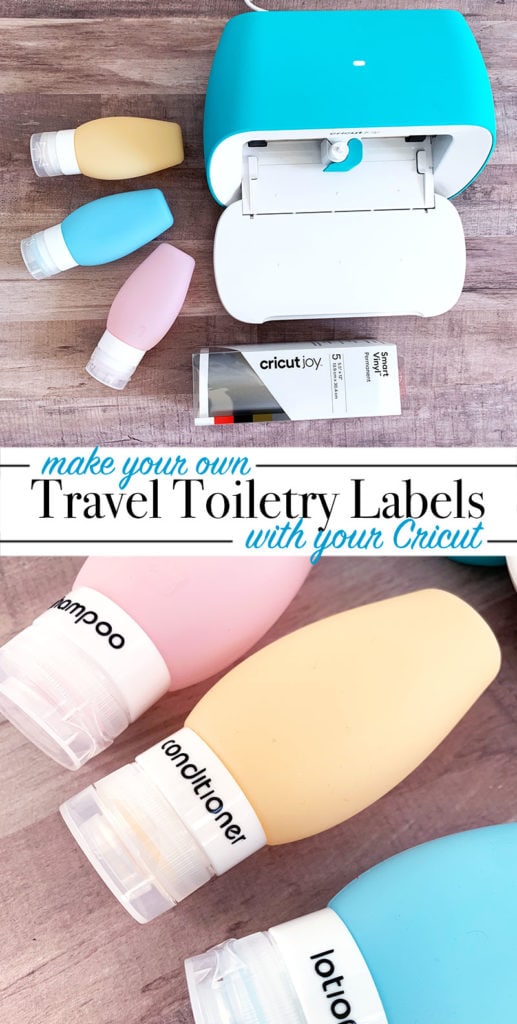
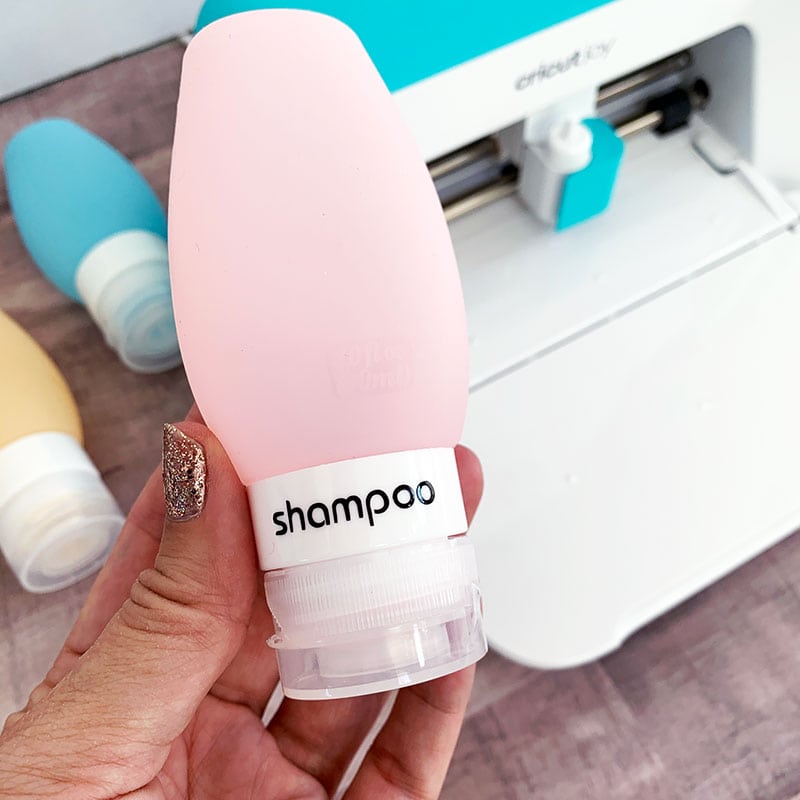
Easily add custom labels to your travel toiletries with your Cricut. Grab your favorite vinyl, cut out all the labels you need and look how organized your toiletry bag becomes! You can neatly label all the things in just a few minutes. Plus you'll be able to easily find everything on the go!
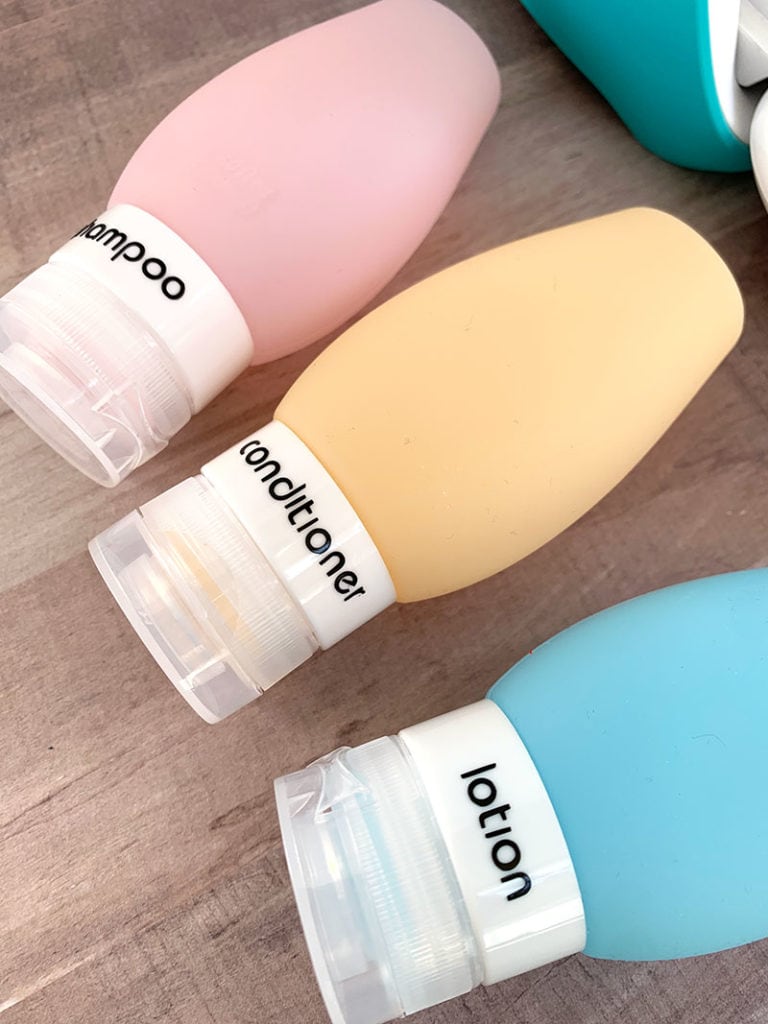
For this project I am labeling some brand new liquid containers. Whether it's shampoo and conditioner or sunscreen and lotion, these liquid bottles are easy to confuse. Even when each container is a different color, I'll forget what I put into what. Then, I end up resorting to smelling everything which doesn't always help. I could label with a Sharpie or apply some tape and write on that, but why not label on purpose and make it neat and tidy?
The Cricut can cut vinyl in minutes and the results are so pretty!
This travel packing hack is one of the projects I've shared for CRAFTWEEK. I'm featuring all kinds of crafty projects you can create and personalize for your travel planning and packing. Today's giveaway is sponsored by Cricut.
It's CRAFTWEEK!
March is National Craft Month. So I've partnered with some of my favorite creative bloggers to share some crafty ideas with you all week long!
With all the travel I've been doing, I thought it would be fun to showcase some travel inspired projects.
This quick craft is just one of the fun DIY ideas I'm sharing for CRAFTWEEK. All week I'll be featuring some fun and easy crafts you can create yourself. Plus you'll find more craft ideas from other bloggers below PLUS each day this week we will be sharing a link to a giveaway.
Make your own Travel Toiletry labels
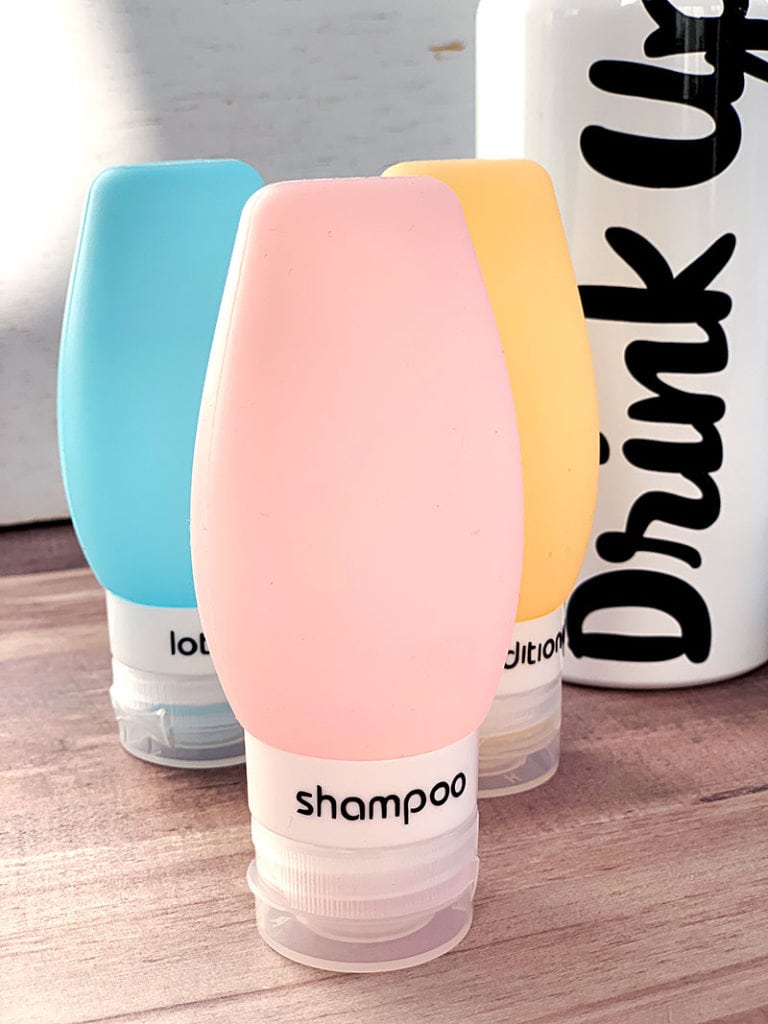
Organizing all your travel gear makes it easy to find what your looking for while you're on the road. I think our toiletry bags are the first to become a mess and the last to stay organized. So, labeling all those cute little containers and bags helps keep these bathroom travel accessories in check.
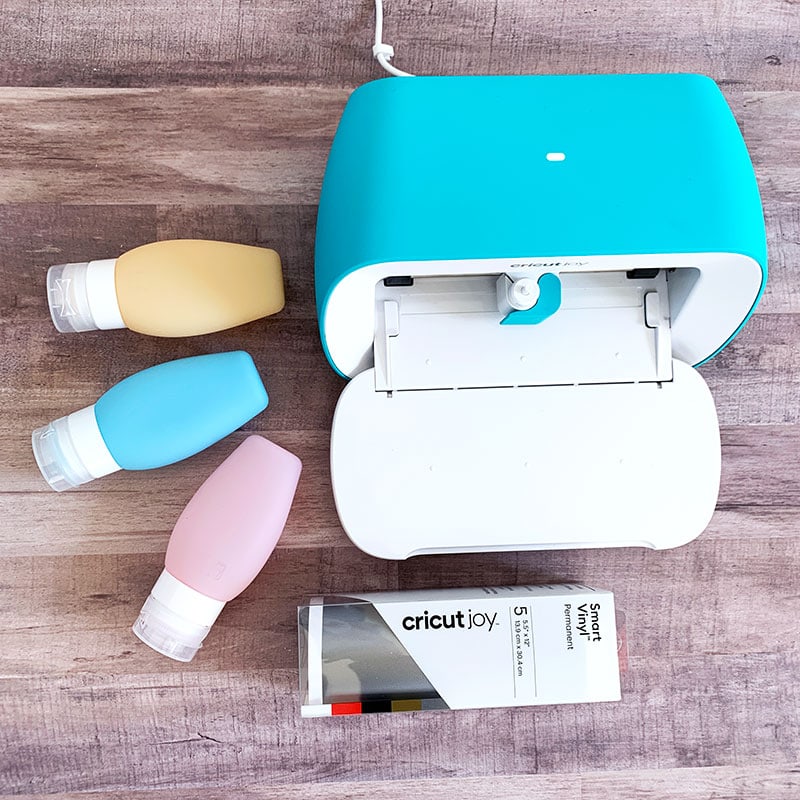
Materials
- Cricut Machine – I'm using the Cricut Joy for this project
- Vinyl
- Transfer tape
- Items to personalize
Instructions
- Clean and dry the items you want to label.
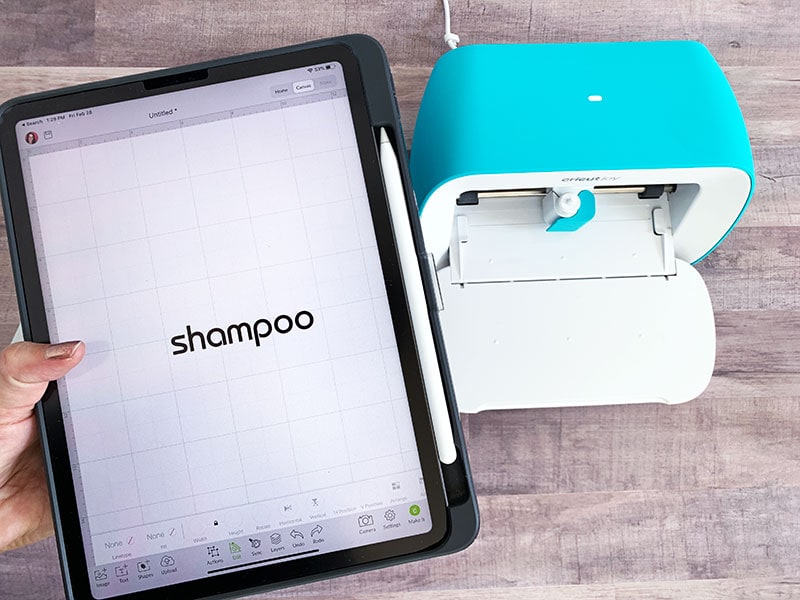
- Open up Cricut Design Space and start a new project.
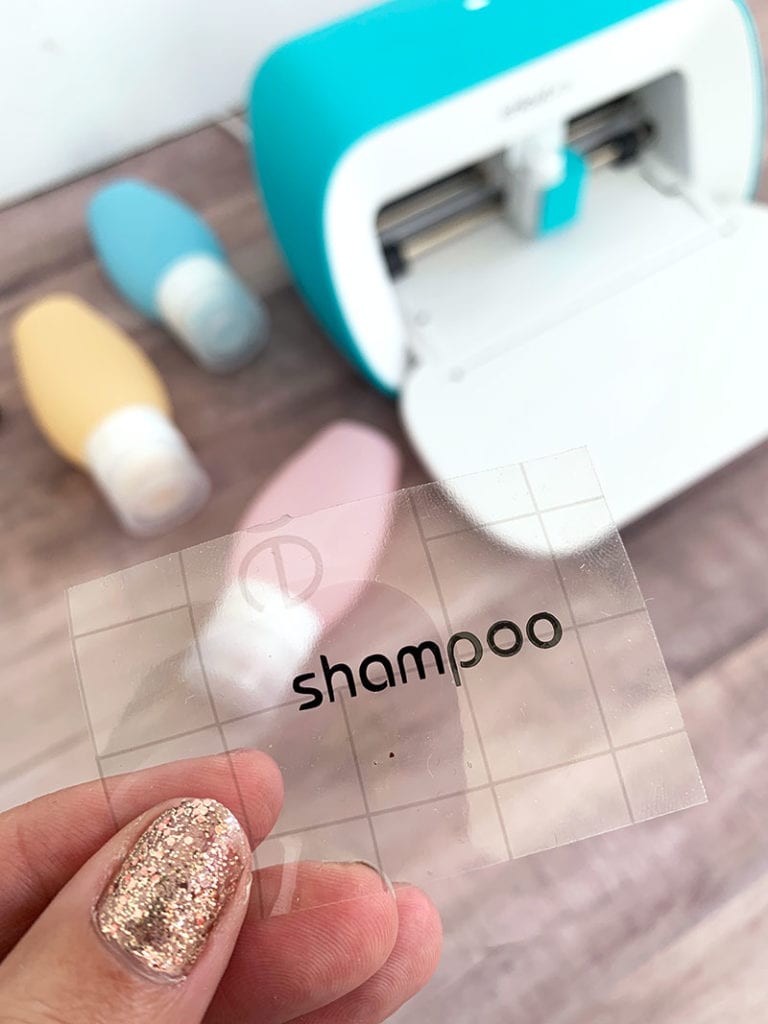
- Type out the text you want to create. Make sure to set the text to only one layer, unless you want to create multi-layered labels.
- Check your sizing and make sure it's correct for the items you want to label.
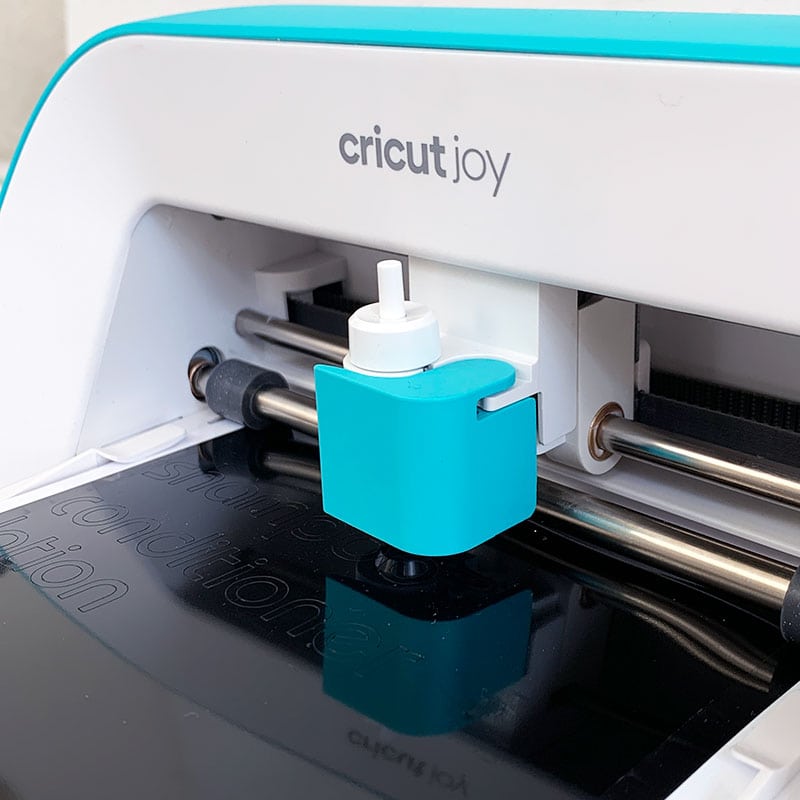
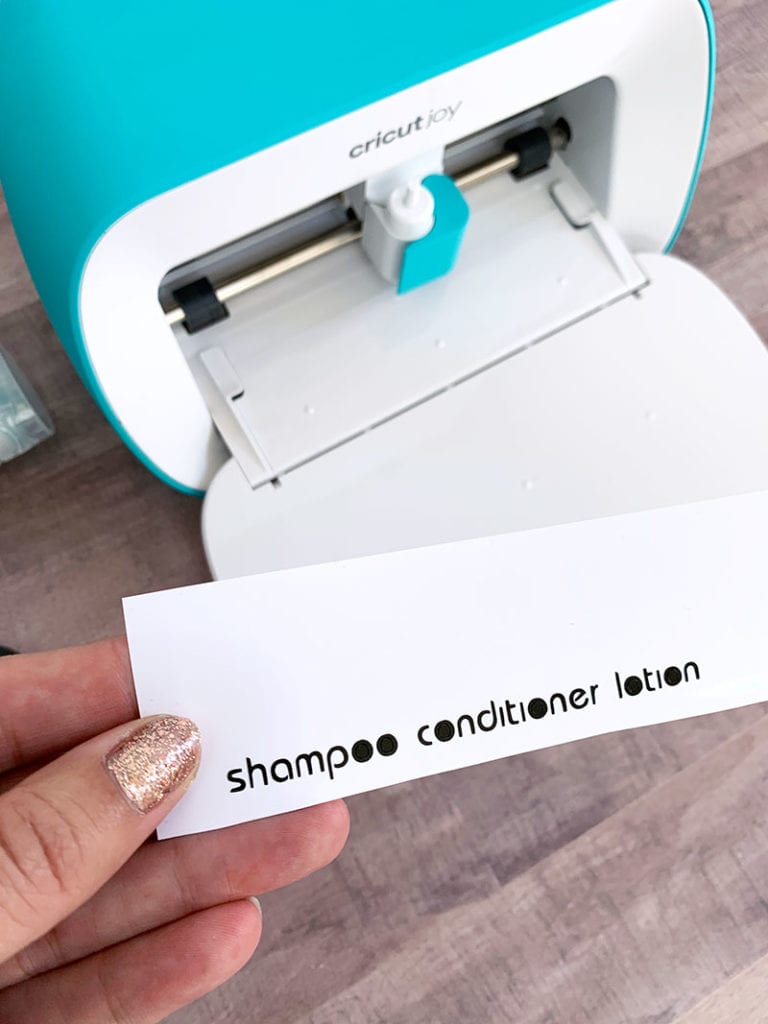
- Send the text to the mat, choose your machine and materials and cut.
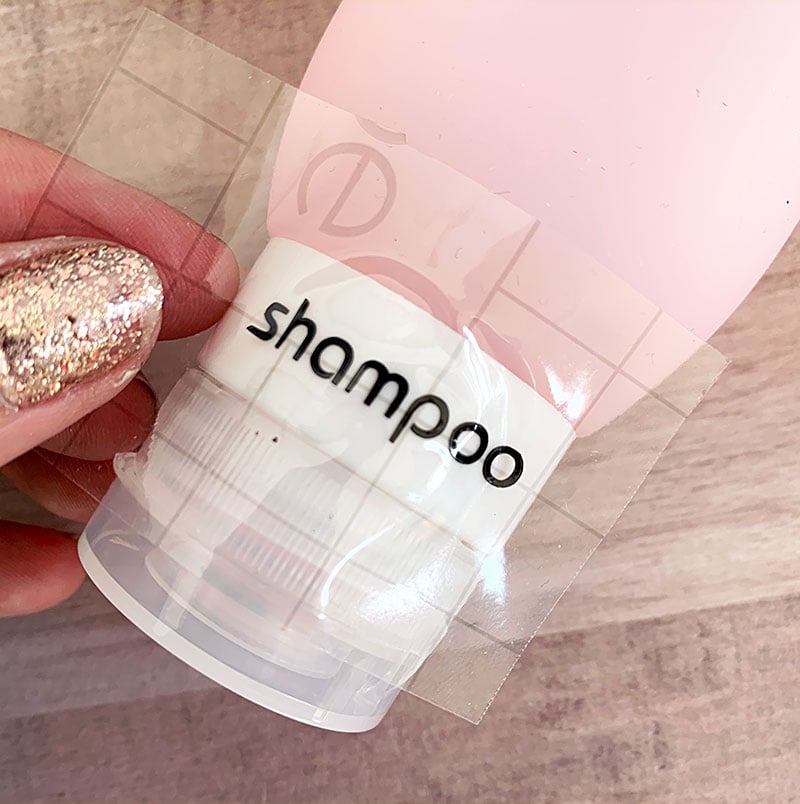
- Using transfer tape, remove the text from the vinyl backing and place on your item to label. Rub into place and remove the transfer tape.
Think of all the things you can label with your Cricut. Just for traveling, there are so many items that could use a little tag or two. Add names and titles to all the different containers and bags that you pack into the suitcase. Use an EasyPress mini to add iron-on labels to fabric items, check out my carry-on word art tutorial.
If you add labels to all the items that you have for each family member, you can easily pack into one suitcase but still stay organized! I'd love to hear how YOU like to label and what helps keep you organized when you pack for traveling.