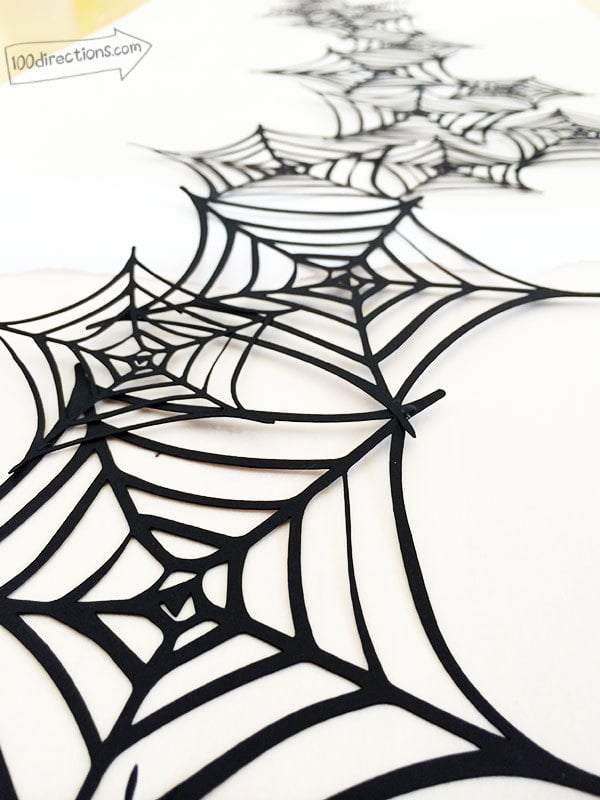
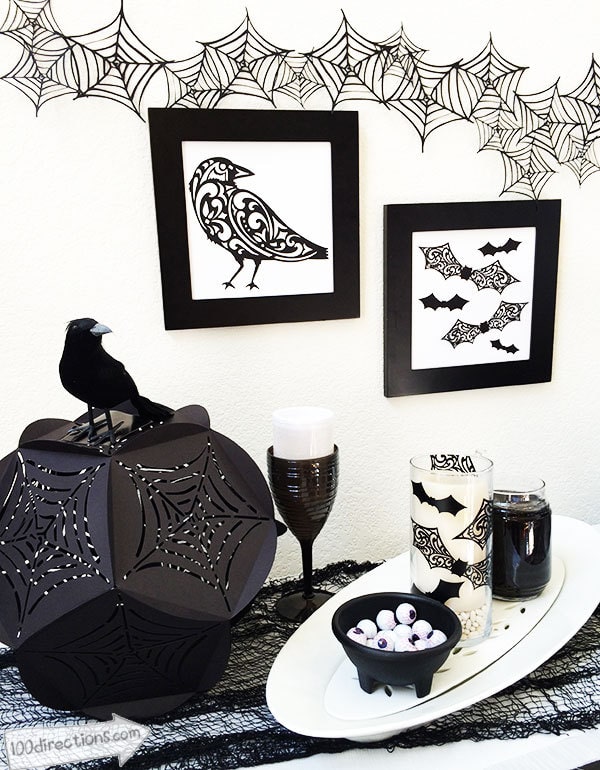
Halloween decorations are some of my favorite to make. I especially love this delicate cut DIY spiderweb garland. It's ridiculously easy to make and looks so cool when it's finished!
Get creative with all kinds of Halloween decor styles with this spiderweb cut file design – from scary to elegant and even cute. The creativity involved in dressing up your home for Halloween is unlimited, I just love it! Today I'm sharing how to make a fancy spiderweb garland that looks sooooo much harder to make than it really is. You just need a Cricut machine and my spiderweb cut file and you're good to go!
DIY Spiderweb Garland
I made a spiderweb garland using a single cut file I designed (download link below). This Halloween garland is made up of individually cut spiderwebs in different sizes that I then glued together. I think this is my favorite of all the projects I've designed for Halloween this year. It's so delicate and the Cricut Explore cut it without a problem. You can make the garland as long or short as you'd like, mix and match sizes or go for a completely different look by cutting all the same sizes of webs. I've got an SVG file for you below.
Materials
- Cricut Machine
- Spiderweb cut file designed by Jen Goode
- Black paper
- Glue
- Parchment paper – optional but highly recommended
Note: if you don't have a Cricut machine or the ability to cut your own custom files, just look for a spiderweb design that cuts out the web, rather than cutting a stencil piece. Adapt the instructions to your design file.
Instructions
- Upload and cut the spiderweb SVG file in a variety of sizes.
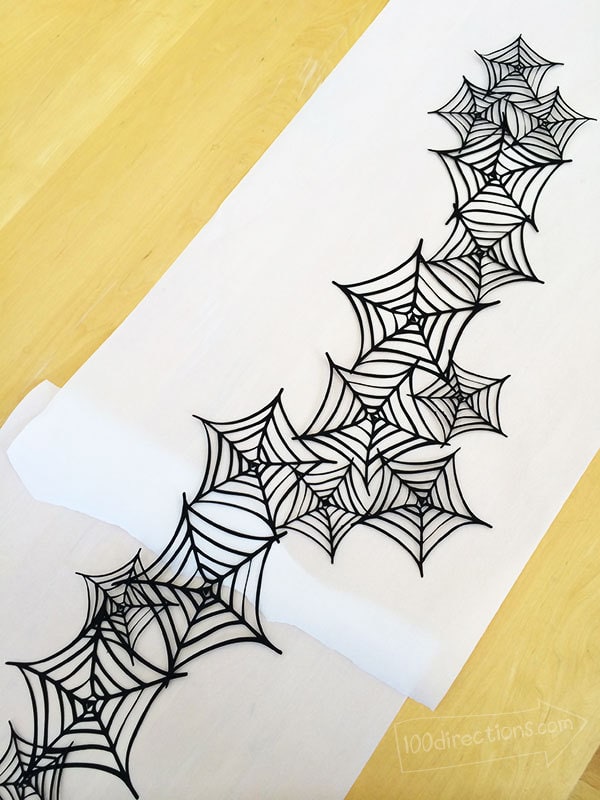
- Lay out multiple pieces of parchment paper to cover your work area. The parchment paper will allow you to let the glue dry without worrying if the garland will stick to the table.
- Lay out the spiderwebs to get the look you want. The longer the work surface, the more room you have to design the garland without having to glue it down yet.
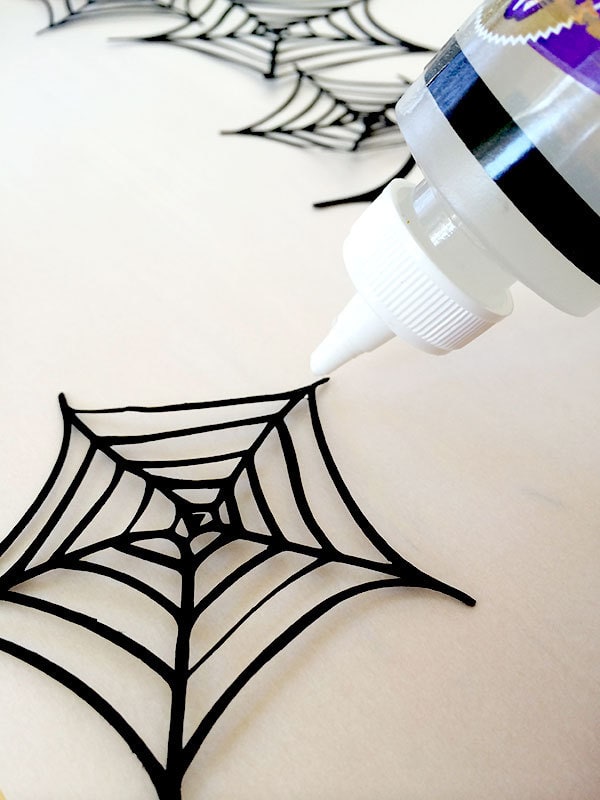
- Once you're happy with the layout, apply glue to overlapping edges to adhere the webs together. This can be tricky as you won't necessarily have a lot of edges touching.
- Once it's thoroughly dry, carefully pick up the garland and test that you have enough attached points. If you need to apply glue to other areas, do that now.
- Allow to dry completely.
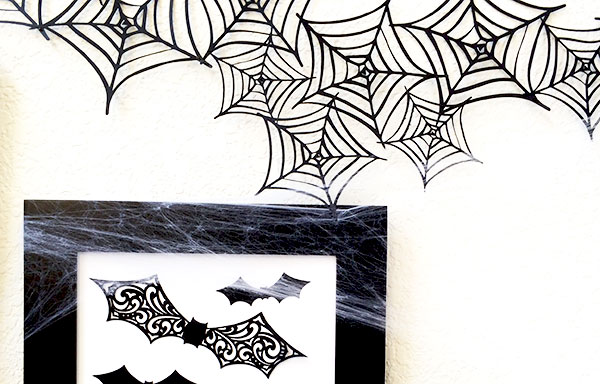
- Go decorate!

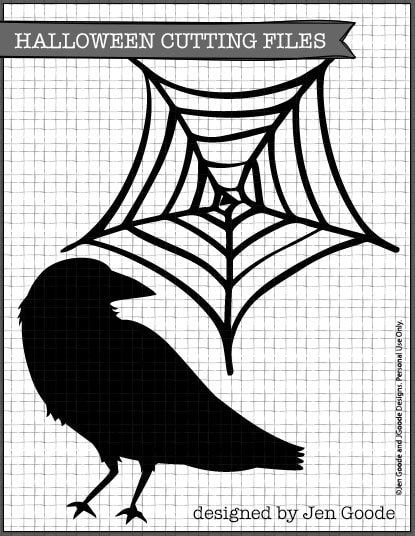

Free SVG cut file to make your own Spiderweb Garland

Spiderweb SVG file by Jen Goode
FREE
With so many ideas for fun Halloween projects, I think we all need to get started making right now! I hope you find some fantastic Halloween decor inspiration today. If you create something new, I'd love to hear about what you make. Stop back by and tell me about it.