I always love a craft that only takes 15 minutes. This time of year, DIY Christmas Ornaments are the best craft ever, but one that only takes 15 minutes? You know it's got to be fabulous! Homemade Christmas ornaments are always my favorite. They are unique and special and make a fun Christmas project to get the whole family involved in.
I love making paper ornaments because you can create so many different styles, change out the colors and patterns AND you can also usually make a whole bunch of paper ornaments for very little cost. This Christmas craft can be made by cutting the paper yourself or using your Cricut machine. I have free templates and cut files so you can choose how you want to make this project.
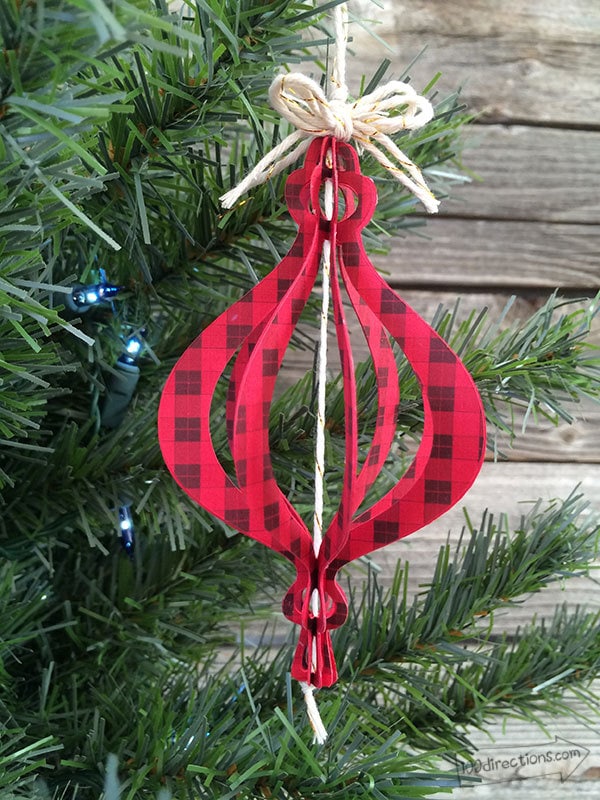
DIY Christmas Ornaments
Whether you are cutting with a Cricut machine or cutting with scissors, you can make these ornaments really quick. You just need to make sure you use a glue that is quick dry so you don't have to hold the pieces together for a long time. You can also change up with type of twine you use to have your ornaments. Get creative, add your own personal touch!
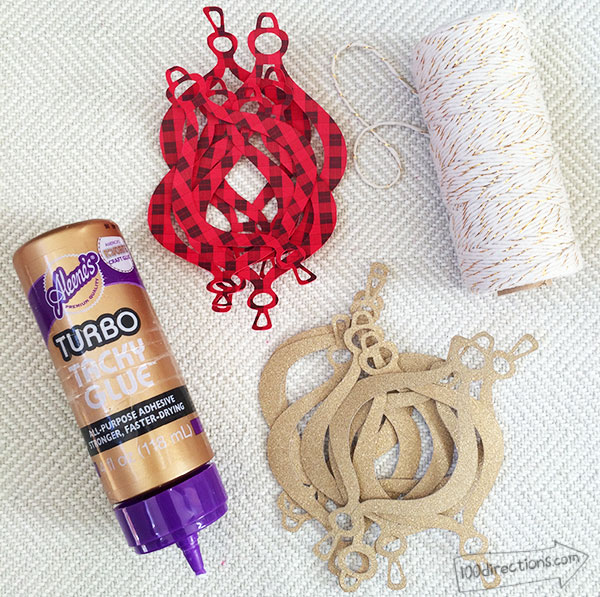
Materials You Need:
I'm sharing some links from my affiliate partners.
- Paper
- Ornament shape template or cut file
- Cutting tools – scissors or Cricut Explore
- Glue (I love Aleene's Tacky Glue)
- Twine
Instructions:
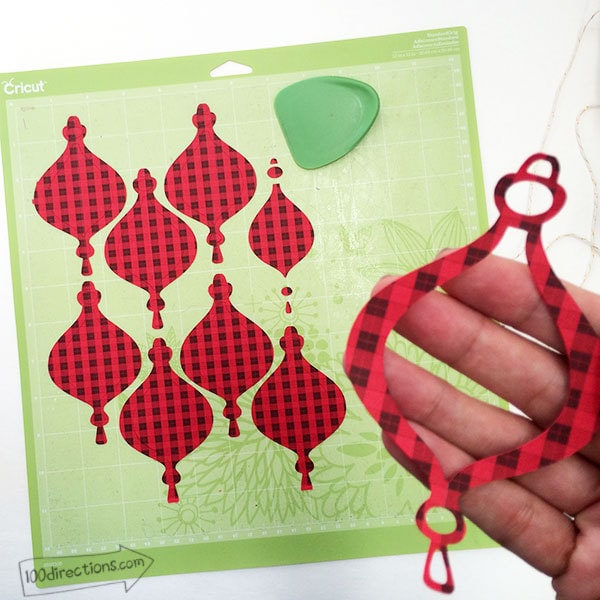
- Cut out the ornament shape. I used 6 ornament cut outs per finished ornament.
- If you are using scissors, just print the ornament page and cut out each ornament. Tip: to easily cut out the center of each ornament, fold the ornament image in half, then cut out the center.
- If you are cutting with the Cricut Explore machine, upload the PNG file, add a score line down the middle, attach the score line and ornament together and then duplicate the cut shape to create as many ornaments as you need. Because you are uploading a PNG file, Design Space will set the image as a Print-then-Cut file. That's ok, just set each layer to “cut” instead of “print” and you're set to use whatever kind of paper you want without printing.
- You can use whatever patterned paper you like. If you want to make these plaid ornaments, I have a plaid pattern page below that you can also download and print. I printed this pattern on red paper to give the paper a nice, rich red design.
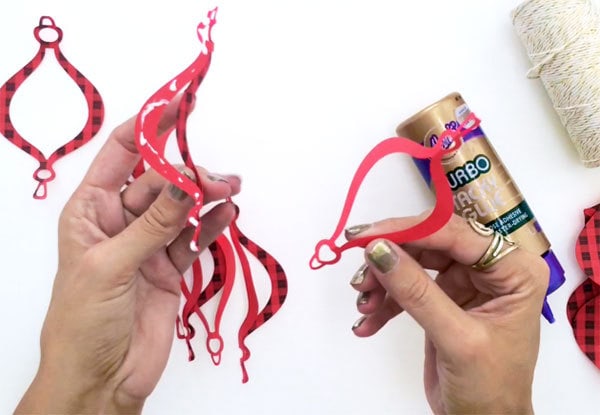
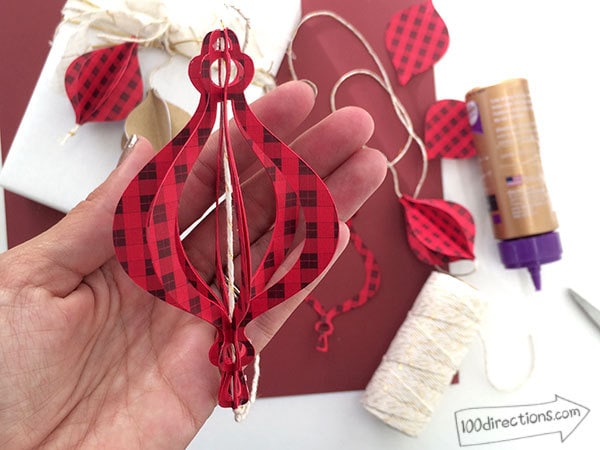
- Once you have all your cut pieces, fold the individual ornament pieces in half and then glue together.
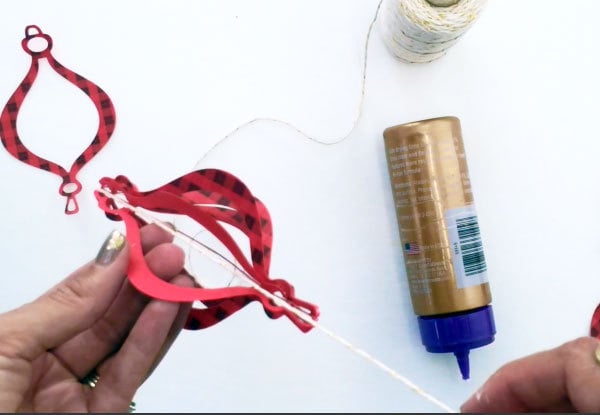
- Before you glue the last pieces together, place a piece of twine in the center of the ornament. Glue in place.
- You can add beads or other embellishments to the twine or just tie a little knot and enjoy the pretty paper ornament as is.
Make as many of these ornaments as you'd like. If you are using a Cricut to cut out your ornament shapes, you can resize the cut file to make tiny ornaments or really big ornaments. The bigger the finished ornament, the more pieces you need to layer together. This particular ornament is 2.5″ wide.
Watch the Video : here's a video showing you how I make these DIY Christmas ornaments.

Download the free PNG file to make your own DIY Christmas Ornaments!

Red Plaid Ornament PNG
FREE
Plaid Ornaments Printable
FREE
Red Plaid Pattern Printable Background Paper
FREE
Today's project is part of the Holiday Craft Lightning series. I've excited to get involved again this year. We're all about making holiday crafts in under 15 minutes… because we have cookies to make and don't have time to play with glue all day!

Looking for more quick holiday crafts? Check out my project last year – Christmas Pen and Ink Wood Slice Ornaments – I LOVE how easy these are!


Love this ornament, thank you x
You are welcome, thank you for stopping by!
I love this ornament! So pretty, and so easy to make with different colors to match whatever holiday decor (though I love the colors you used!!)…
Thank YOU!
Love this! And I have been looking for plaid paper…you are a life saver!
YAY! I’m excited you can use it!