Please note: This page contains affiliate links. If you purchase from a partnership site, I may earn a commission.

Spring Dry Erase Board

Written by: | Published: April 18, 2013 | Updated: August 10, 2015

Steps to make your own spring dry erase board:

  1. Open up the picture frame, removing the back.
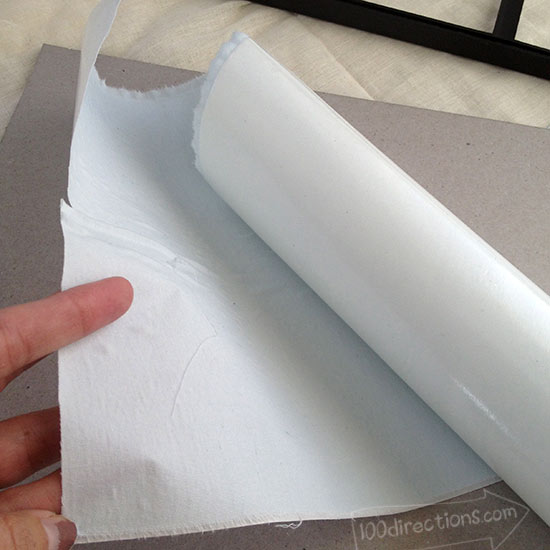
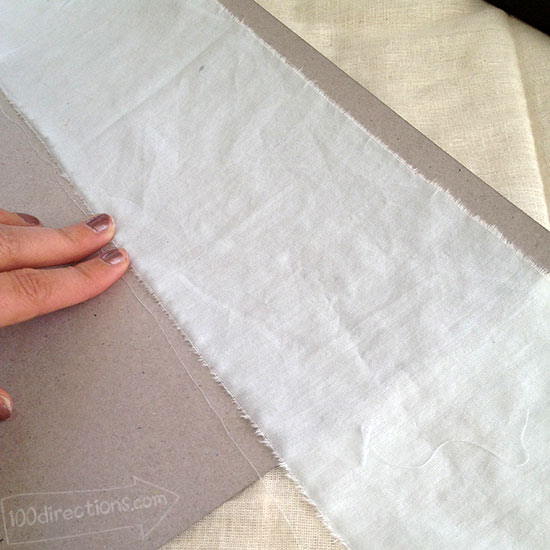
  2. Create a background by applying fabric or paper to the inside of the frame back. I applied Xyron adhesive directly to the fabric using my 9″ creative station. I then layered on the fabric so it overlapped to create an interesting texture.
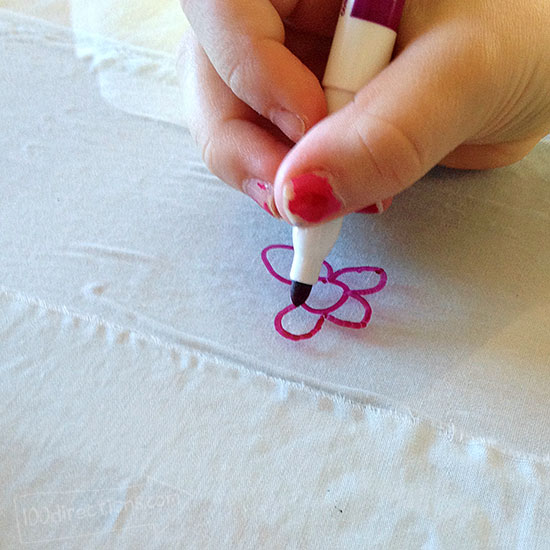
  3. Apply the window clings to the inside of the picture frame glass.
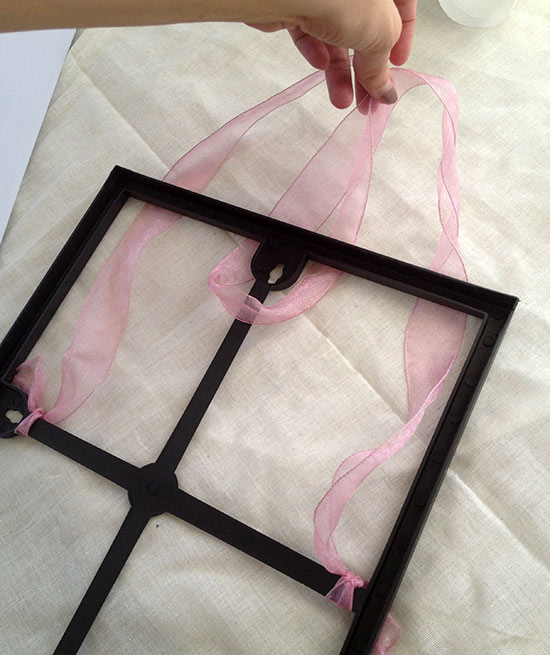
  4. If you want to hang your dry erase board, attach ribbon to the back of the picture frame. The Dollar Tree picture frames have an actual frame style plastic back so the ribbon easily ties for hanging. If you are using a different kind of frame, you might need to go with a traditional picture wire or hook for hanging.
  5. Put the whole picture frame back together and enjoy your new spring dry erase board!


Xyron paper backing on fabric


Apply fabric to cardboard picture frame back using Xyron adhesive


Attach a ribbon to the back of the picture frame


Draw with dry erase markers


Wipe clean with paper towel

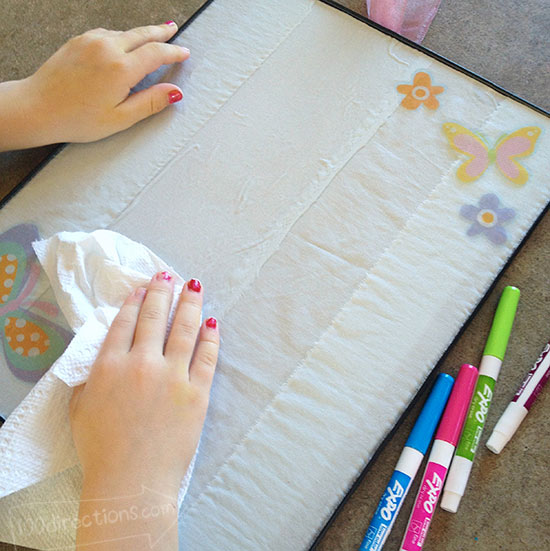
The great thing about this project, your kids can help make it. Instead of gluing fabric to the back, have your kids design a background they would like to see. You can also use this as an alphabet board for preschoolers. Put an alphabet tracing sheet inside the picture frame and your kids can practice writing their letters over and over without wasting paper.

« previous post

next post »

Jen Goode Headshot

Jen is Passionate about Creativity. She is the owner and "doodle in charge" of JGoode Designs, a Denver based design studio. She is an illustrator, mixed media artist and creative lifestyle blogger. Jen has been a creative professional since 1998 but says she's been an artist since she was old enough to eat glue.

Connect:
Facebook iconTwitter iconPinterest IconInstagram IconFeed Icon
Join the FREE Creative Club!

Get tutorials, free file downloads and project ideas right in your email.

Leave a Comment

Featured on:
Brands Jen at 100 Directions has partnered with.
100 Directions is full of tutorials and project ideas to inpsire trying something new and sharing creativity in every direction.
I work with a variety of companies to share ideas and insight about products, services and all kinds of fun, creative things to do.
I stand behind my recommendations and hope you love the things I share as much as I love sharing them with you!


Privacy Policy and Disclosures | Work with me


100 Directions is a JGoode Designs property. Copyright © 2011-2024 Jen Goode. All Rights Reserved.

100directions.com is a JGoode Designs property. Owned and operated by Jen Goode.