Add fun accent designs to your Print and Cut Cricut projects. Today I'll show you how to print, cut and draw with your Cricut. This is lesson 9 in my drawing with your Cricut tutorial series. Anyone who uses a Cricut cutting machine knows you can cut with it. Add in the pen and you can make all kinds of fun art accents and designs too! Today we'll cover how to add drawings to your print then cut projects… it's easy and adds a nice touch to Cricut projects.
How to Print, Cut and Draw with Cricut
We've been talking about using the pen with your Cricut machine to draw and write all kinds of project designs. Did you know you can layer drawing and writing right on top of a printed design? Create Print-then-Cut projects with your Cricut and include some drawing accents for a little extra sparkle, detail or personal touch.
For this tutorial you need the following materials:
- Cricut cutting machine – any version will work
- Cricut Design Space
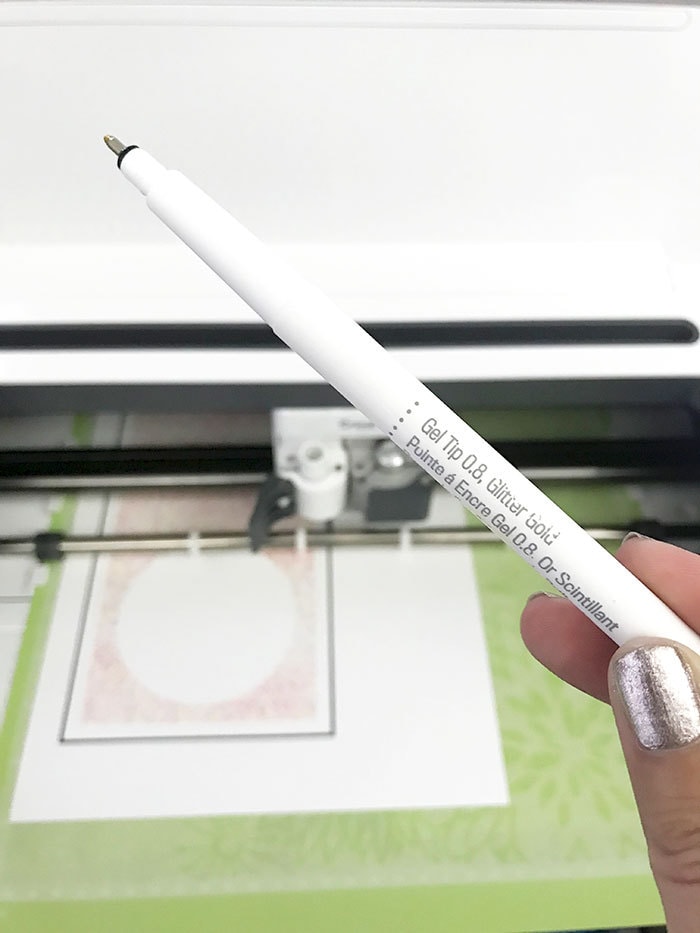
- Cricut pens – your choice
- Paper – use practice paper to test out the techniques
- Printer synced with your Cricut
Today we will talk about:
- Choosing the right designs
- Attaching prints and drawing
- Creating printed design accents with drawing
- Using different pens
Choosing the right designs
If you want to draw on your print-then-cut designs, you need project designs that will work with drawing. All line art can be drawn, but how it draws and how well it turns out relies entirely on the design. So you need to make sure to test your designs in Cricut Design Space to see how the drawing lines will look. Some project files include a draw specific line (many of mine do), but you can also convert cut lines to draw lines.
If you choose a project design that does not include a specific draw line, you can simply copy or convert a cut line to draw or add your own extra draw accents. Learn more about using cut lines to draw here.
Attaching printed art and drawing
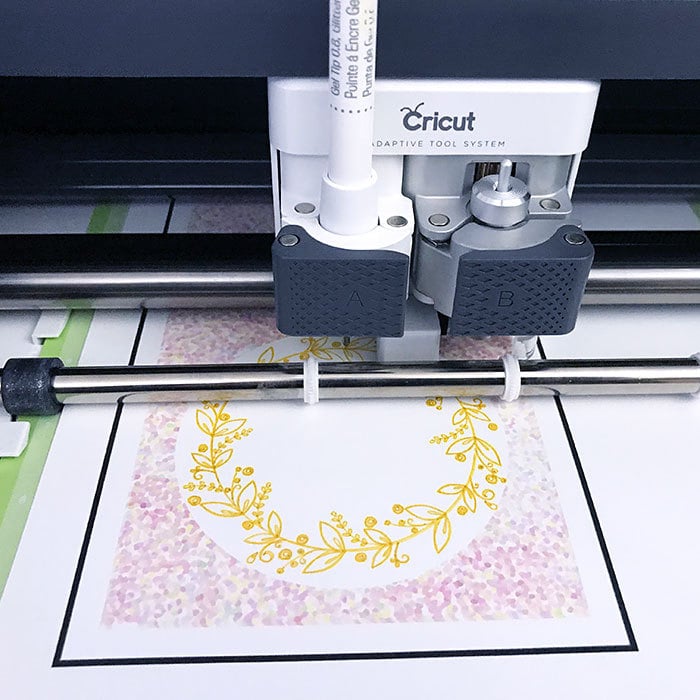
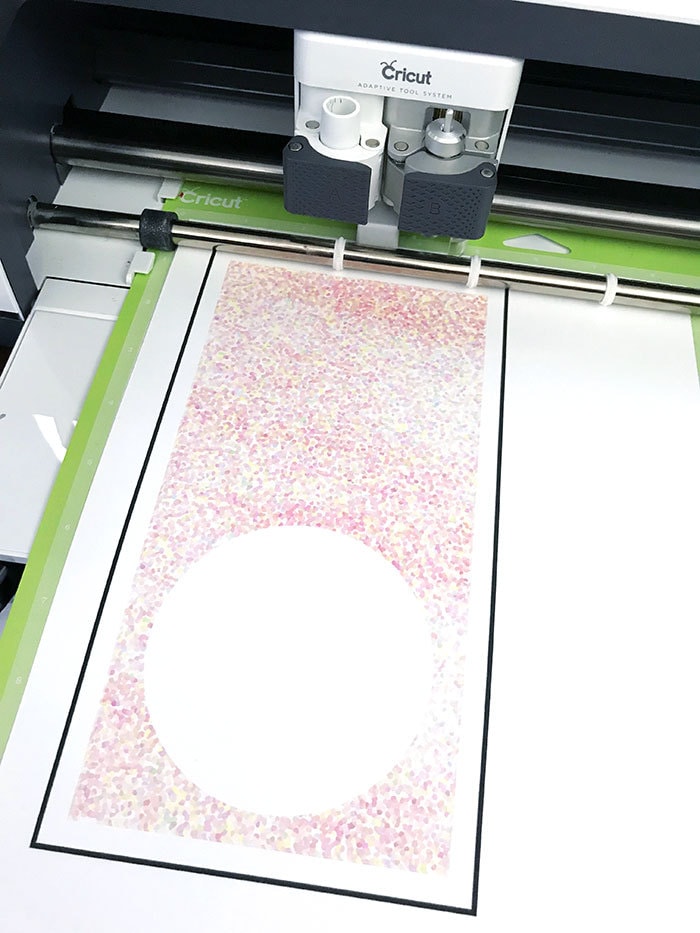
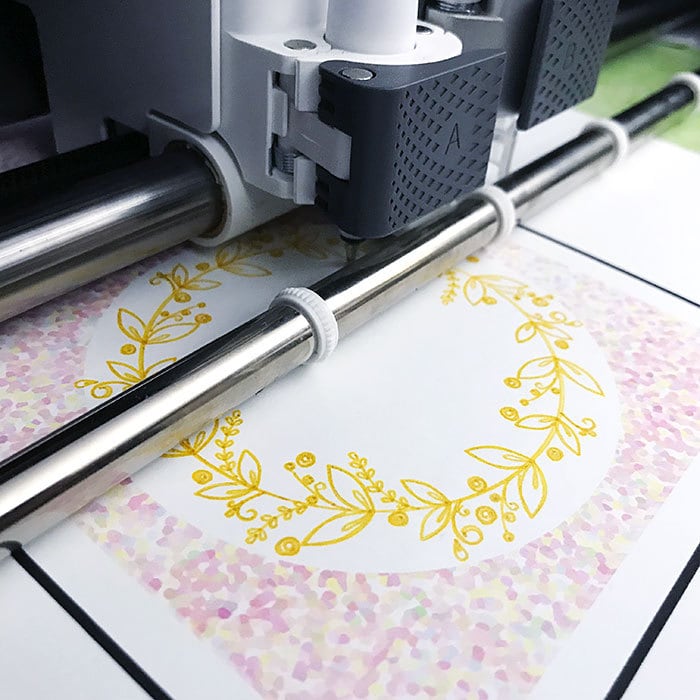
When you set up a print then cut design you'd like to add drawing to, you need to attach the two pieces. Just like drawing with a cut shape, drawing with a printed shape needs an attachment associated. You need to tell your Cricut machine exactly where the draw line needs to go. So, place the drawing line where you'd like it and then attach the entire line to the flattened printed design.
Creating printed design accents with drawing
Accent your printed designs with a variety of drawing designs. Here are some ideas to try:
- Add a metallic drawing accent to edges or outlines of printed images. Copy the outline of a printed image and convert it to drawing/writing in Cricut design Space. Then attach the line to the printed shape before sending the project to the mat.
- Convert some of the cut details into drawing lines for a unique look with your projects. You can not flatten a drawing line, so make sure you flatten all your printed pieces together and then add the drawing line as an attachment.
- Add extra drawing accents such as borders or lines to final printed pieces for an extra touch.
Using different pens for different looks
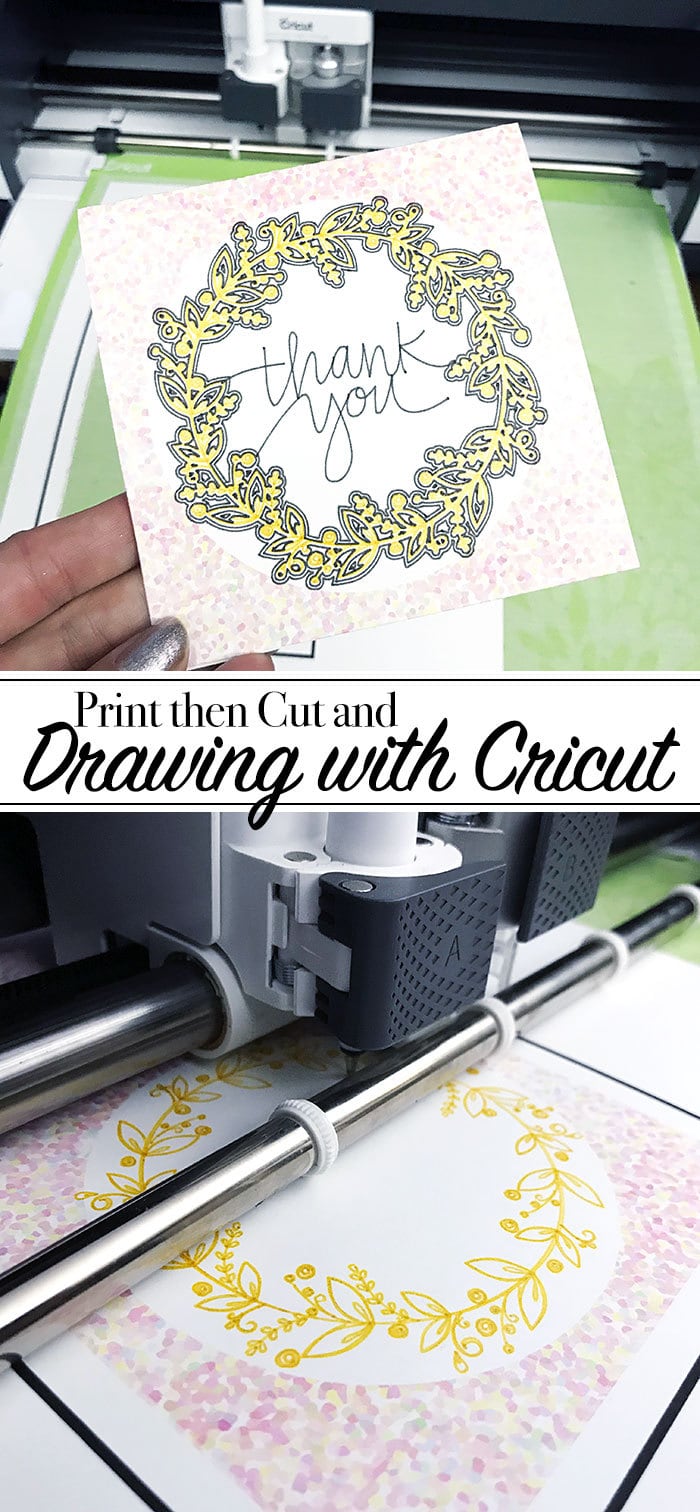
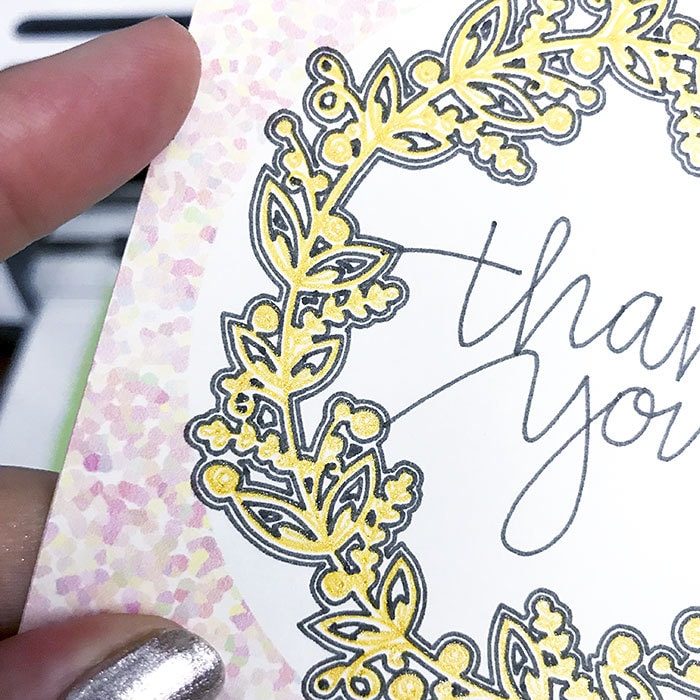
Adding drawing to printed designs can create a whole new element of art to your pieces. So try using different pens for different drawing accents to create all kinds of art. In the example I've created today, I used a black pen and a gold glitter pen. If I removed the black line and just added the gold accents, the art has a bit different look. Play with ideas, try different colors and see what you come up with. You can learn more about using different pen to create multi-color designs with your Cricut too.
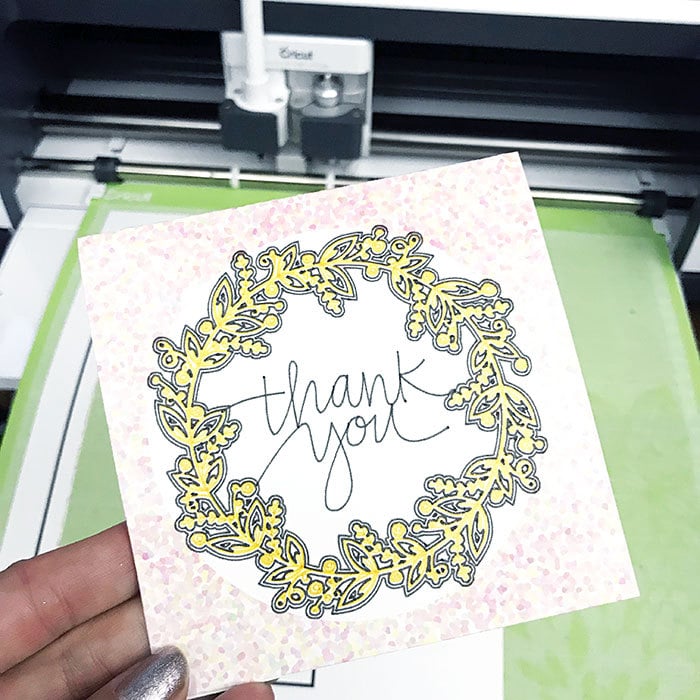
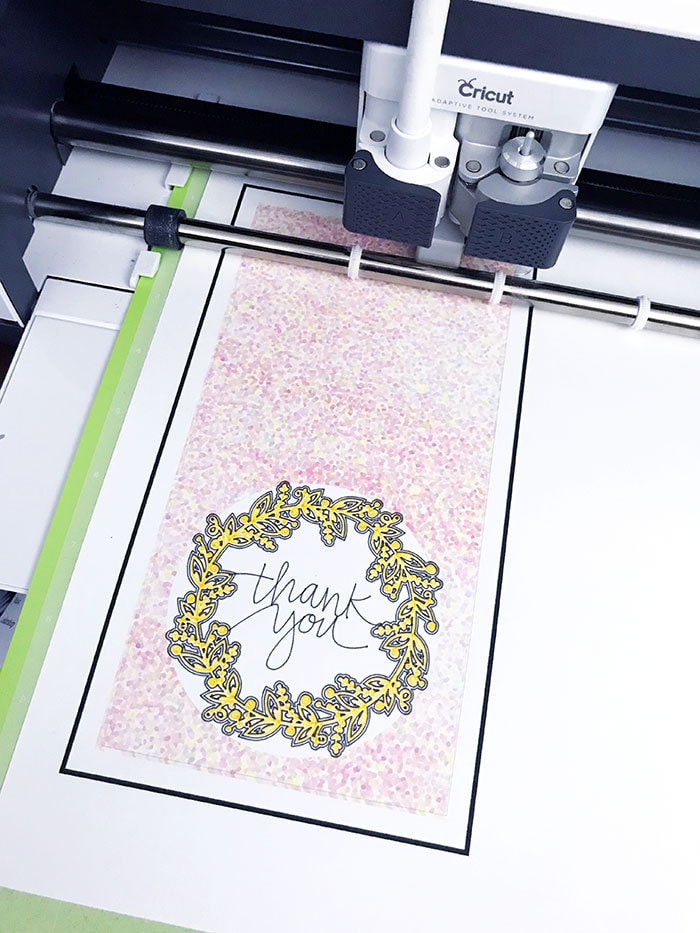
Make a print then cut with drawing project
Today's project example is a thank you card. I've layered all the pieces, flattened the printed art and then added a gold drawing line as a final accent through the center floral design. You can make your own with this Print then cut and drawing Thank You Card Cricut Design Space canvas.