Have you ever tried to hand carve your own stamps? It's really not as difficult as it sounds. I've found you have to be flexible with what you expect because sometimes the tools the picture in my head don't play as nicely together as I'd like. But if you go in with the idea of making a new hand carved stamp, with just a general idea to start off it, you'll probably come away with something really cool and an original piece of art you can use again and again.
To get started you need carving material and a carving tool.
I've also found that basic rubber erasers work nicely, but don't cut quite as easily as the Staedler Master Carve Artist Carving Block or the Speedball Speedy Carve material – which is what I have in this picture below. Both of these materials are ment for carving rubber stamps specifically (or print making) and they are super smooth for cutting.
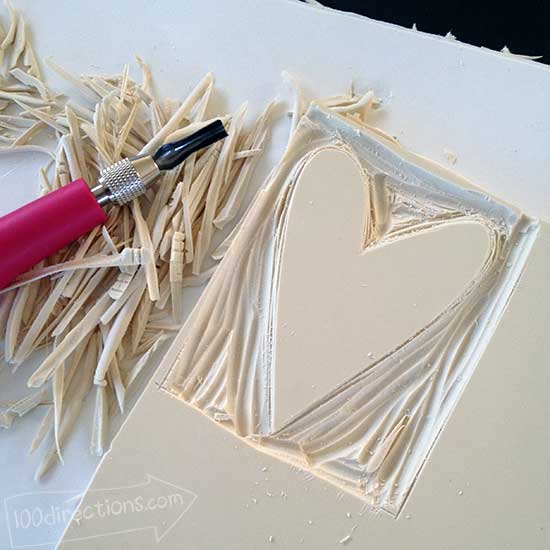
Start by drawing out your design and then slowly carving from the outside in. I'm still in the beginning level carving… I've been at this level for about, oh, 40 years now. I used to carve a lot of stamp designs about 20 years ago, so I'm just getting back into it and my designs haven't advanced all that much. I'm ok with that.
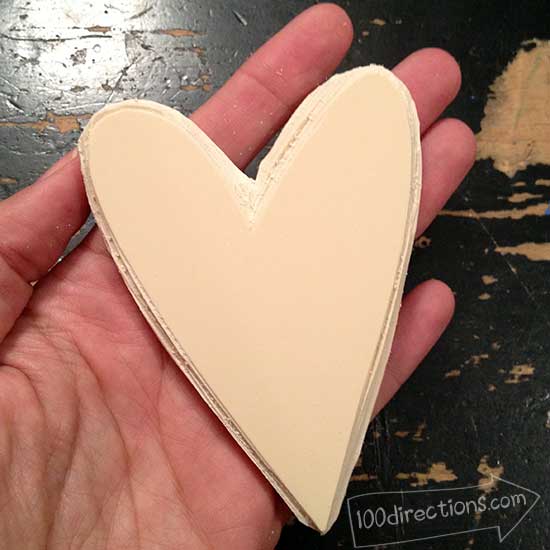
Once you have your main shape carved, go in and create a design on the inside. Remember, everything you carve away will not transfer ink when you use as a stamp. Also, if you want to carve any kind of text, you need to remember to create a mirror image of the text to carve.
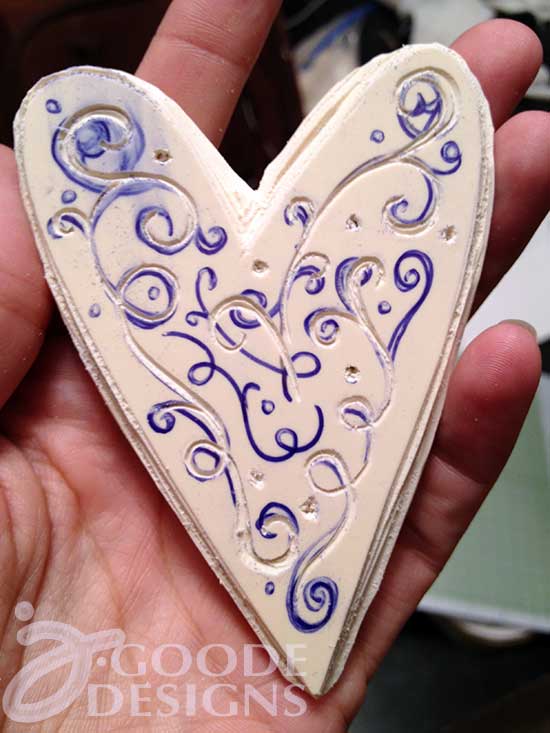
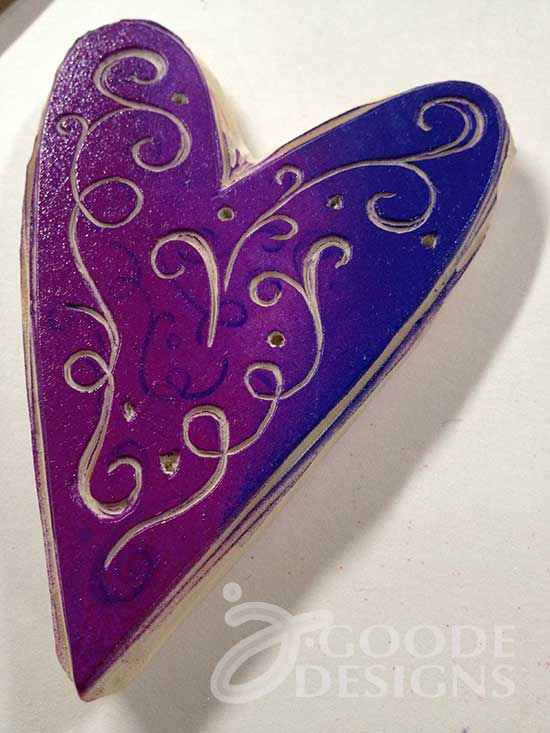
I drew on this heart heart with a ball point pen. You can see what I originally drew and what I ended up carving are not identical. I adapted the design as I created it due to different things that happened in the process. Sometimes the curves were too tight or close together for me to be able to manage the tool. Some of the design just didn't seem like it would work once I started going. The material is so soft, sometimes if you carve too much in an area, the area gets a bit flimsy. So, be careful and pay attention as you go along.
After I had the details carved, I colored the entire surface so I could really see where the carving was compared to my initial design drawing. You can do this as many times as you need to.
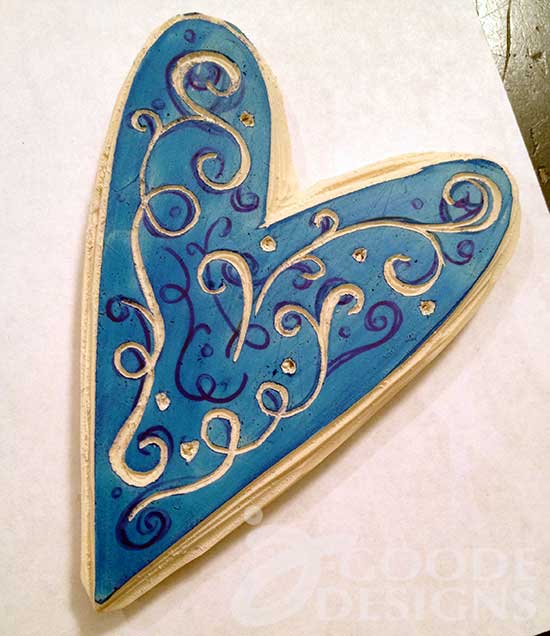
And then when I was finished I used the stamp to create a pretty ink gradient. Also, the material I used to carve was about 1/2″ – 3/4″ thick. So, I ended up carving a design on both sides to create a double sided stamp. This is a great way to save a little extra money while making something that will last a long time. Just make sure you are careful not to carve through from one side to the other.


I really love the rubber stamp you made. Sounds like something I might be interested in for the future. Too many things on my creative plate right now.