Make your own pretty pink ribbon keepsake frame with just a few materials and a lot of love. Our family has participated in a number of BCA and Pink Ribbon related events over the years. So, I have a ton of pictures that are special to me. Instead of framing them in a basic frame, how about making your own keepsake mat to put in your favorite frame? It's always fun to create pretty pink ribbon projects, right?
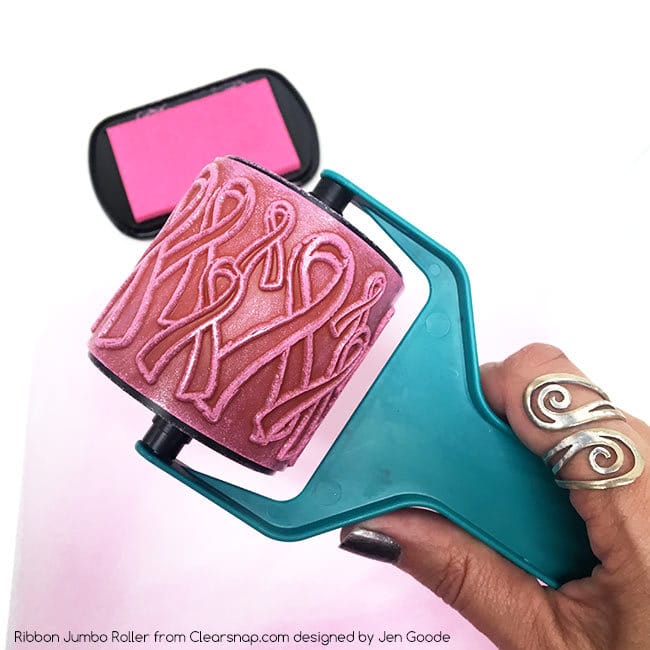
Today's project was designed in partnership with Clearsnap. All week they are featuring different DIY pink ribbon projects using the Jumbo Ribbon rollagraph stamp I designed. This roller stamp is so versatile. You can stamp on a number of materials and the roller design creates a repeat pattern.
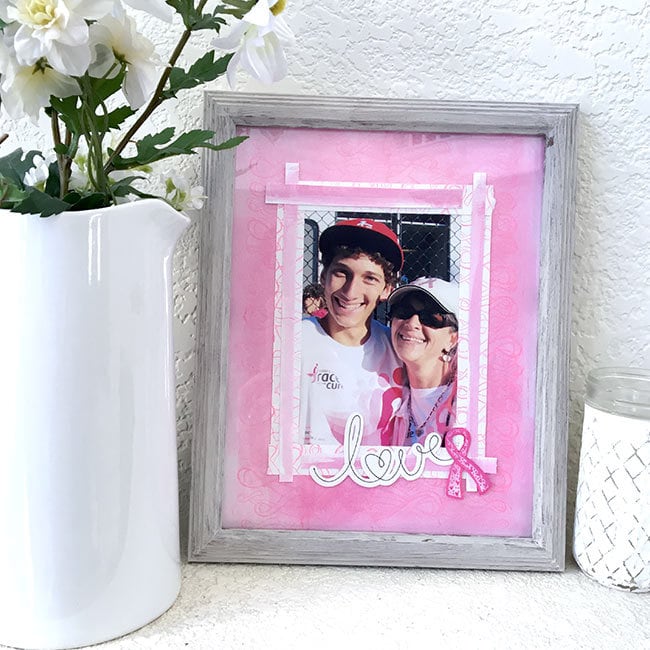
DIY Pink Ribbon Keepsake Frame
You can get really elaborate with your frame design and use all kinda of fancy materials, glitter and extra bling. But you can also make a pretty frame to feature your favorite photos with just a few supplies. Create patterns with your paper and layer the different designs to get a detailed look without all the supplies.
This project is for a 8.5×11″ photo frame.
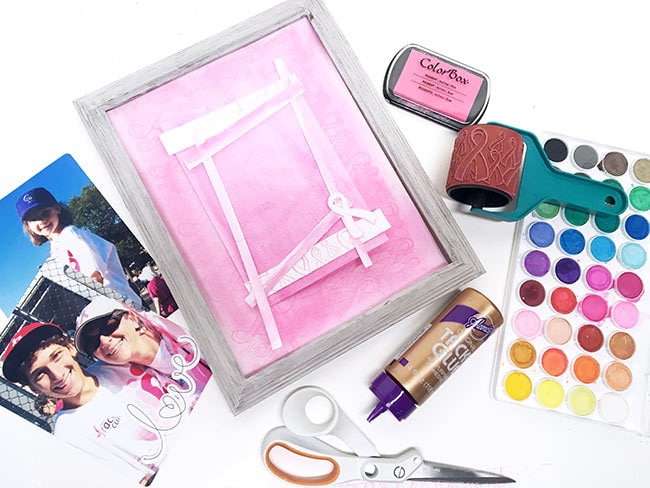
Materials
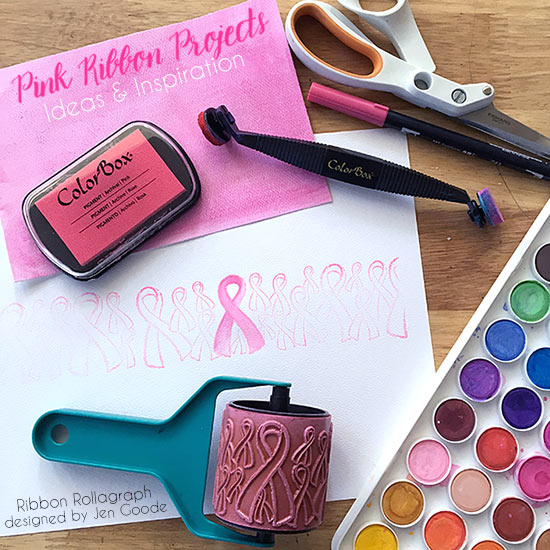
- Jumbo Ribbon Rollagraph from Clearsnap designed by Jen Goode (available on Amazon)
- Pink ink
- White cardstock
- Glue
- Scissors
- Optional: water color paints & brush, pink marker
Instructions
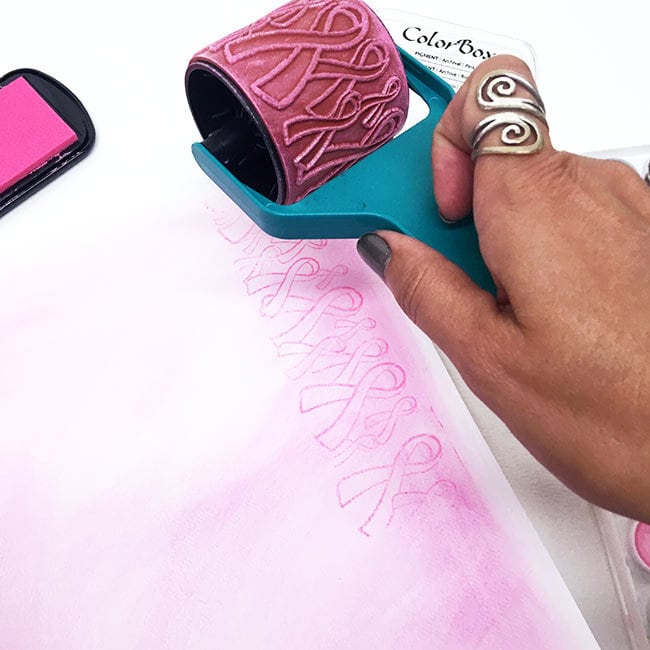
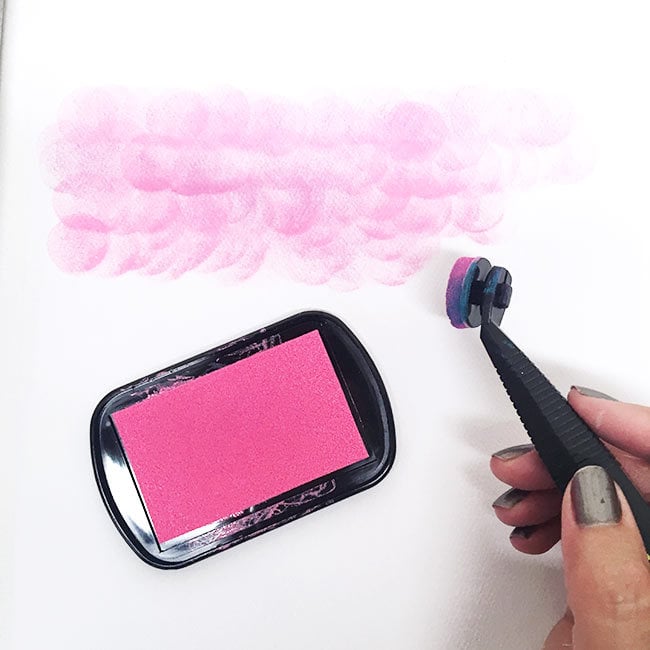
- Using the ribbon roller stamp and pink ink, stamp the ribbon pattern on to a 8.5×11″ sheet of paper. Optionally, I used watercolor paints to paint the paper before stamping. Make sure the paper is completely dry because apply your stamp. This is your background base for the design.
- Using a second piece of cardstock, stamp the ribbon design again. Cut this second paper into strips of various sizes. I created some long strips and shorter strips. Each between 3/4″ and 1/4″ wide.
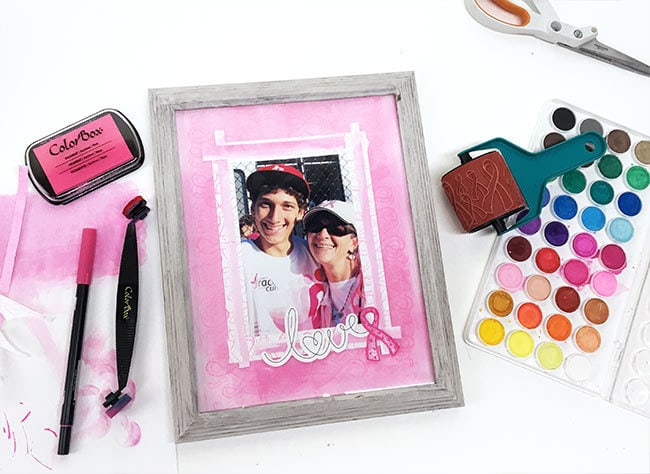
- Print a photo on 5×7 photo paper.
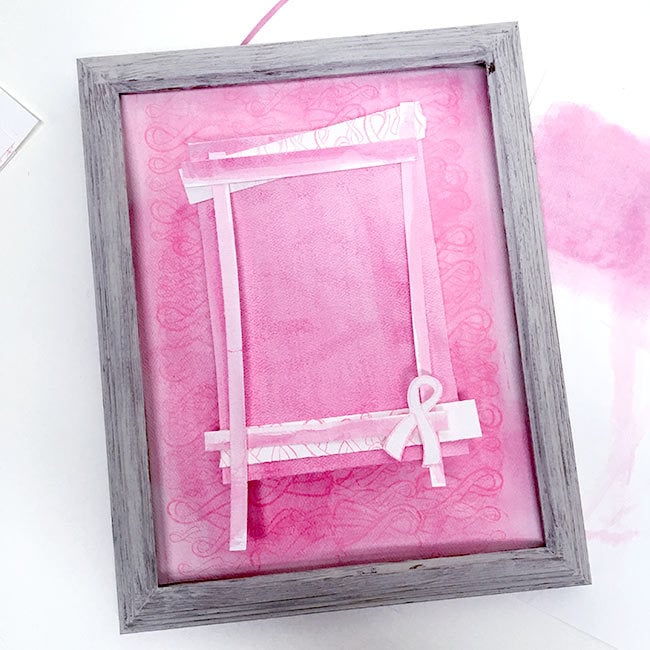
- Adhere your photo to the center of the background paper.
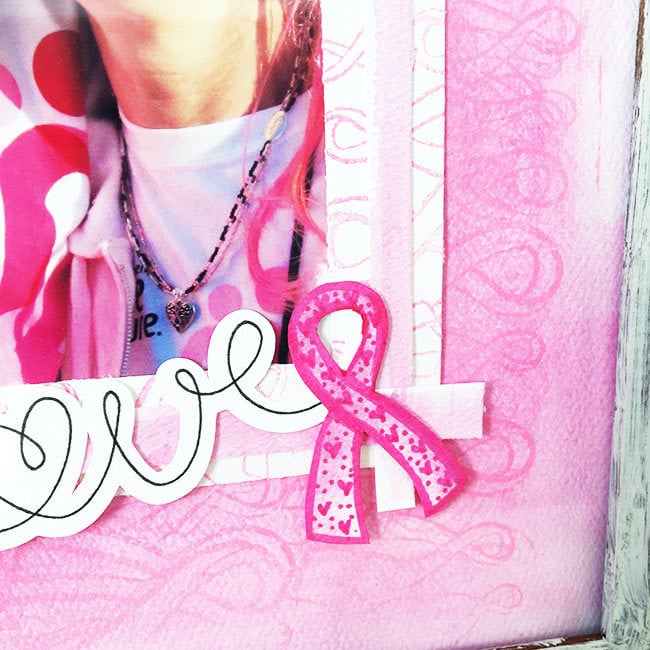
- Layer decorative strips of stamped paper along the edges of the photo and glue in place.
- I cut out a Love word art piece using my Cricut to add to the decor. You can use precut designs, hand write a tag or leave the accent off all together.
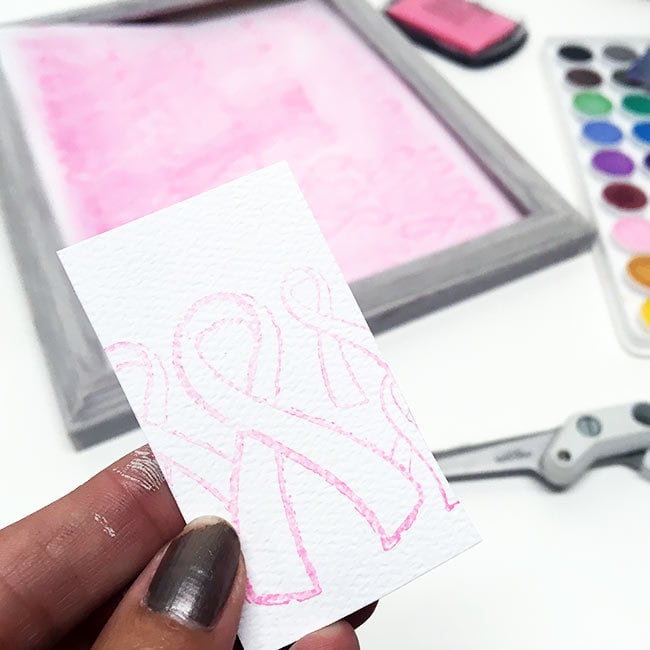
- Finish off the frame with a hand colored pink ribbon. I used a ribbon that I had stamped on the card stock, cut it out and colored it with a pink marker.
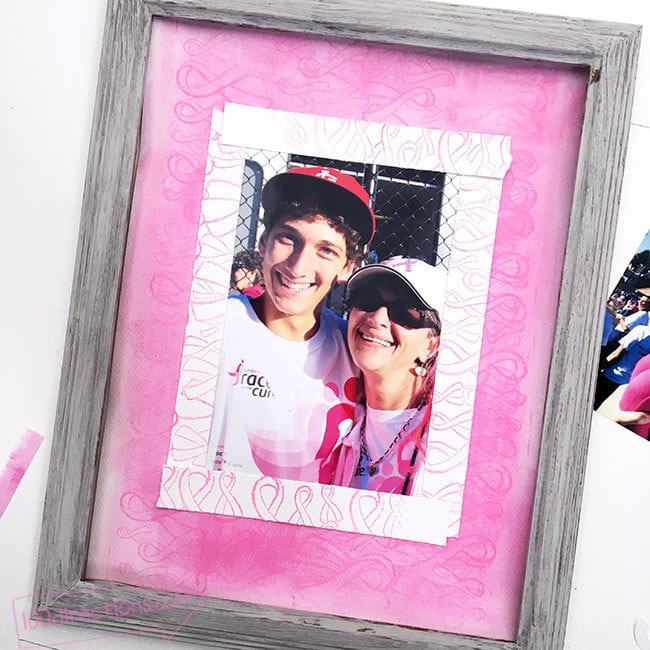
You can customize this project so many different ways. Add a date or your favorite poem or even some kind of keepsake from a BCA walk like a bracelet or piece of a bandana. Personalize your pink ribbon frame to create a truly unique keepsake.
Head over to the Clearsnap blog this week and check out all the fun Pink Ribbon project ideas they share. Here's today's project. I'd love to hear what inspires you. Come back by and tell me what You've created!