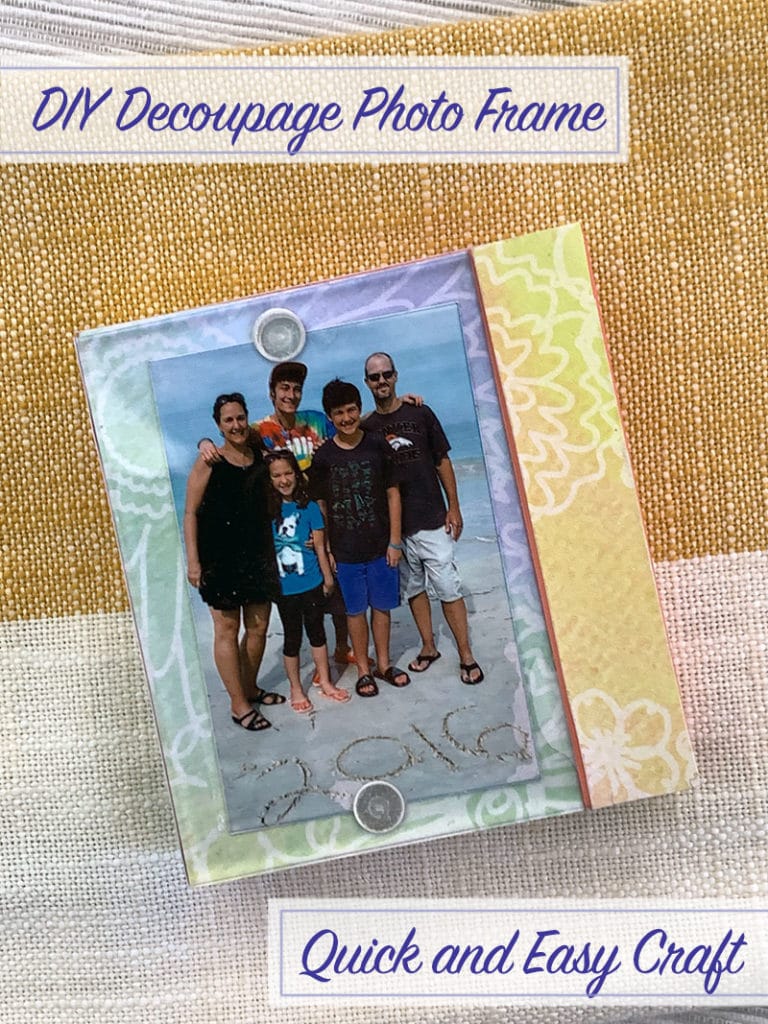
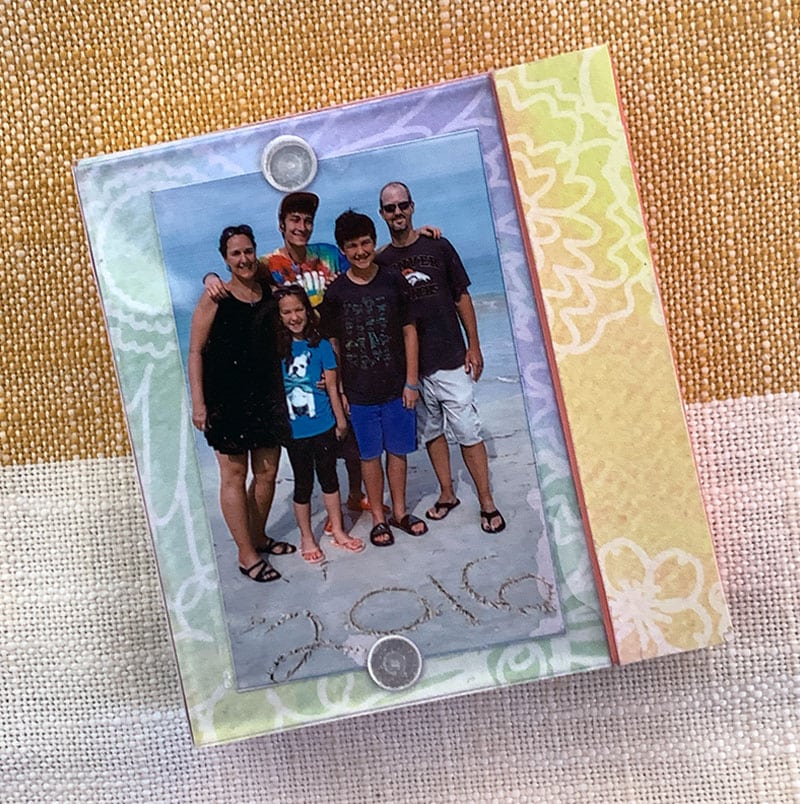
Grab a mini photo frame and add your own personal touch to it. This easy mini photo frame decoupage project is great for gifting. Or, just keep it for yourself as a little keepsake of a special memory.
It's Day 7 of CRAFTWEEK and the last day of our craft month event. Today's theme is decoupage and our generous sponsor is Plaid, the makers of Mod Podge.
It's CRAFTWEEK!
March is National Craft Month. So I've partnered with some of my favorite creative bloggers to share some crafty ideas with you all week long!
With all the travel I've been doing, I thought it would be fun to showcase some travel inspired projects.

This quick craft is just one of the fun DIY ideas I'm sharing for CRAFTWEEK. All week I'll be featuring some fun and easy crafts you can create yourself. Plus you'll find more craft ideas from other bloggers below PLUS each day this week we will be sharing a link to a giveaway.
Use your own favorite papers, make your own paper of use my papers. I have printable coloring pages and patterned background you can decoupage with, or you can buy my new adhesive back paper from Cricut to help shortcut this craft.
What is Decoupage? It's layering papers, photos and other embellishments with layers of a glue. Mod Podge is the goto product for great decoupage projects.
DIY Decoupage a Mini Photo Frame
Grab a mini photo frame and add some pretty accents and designs to it in literally minutes. Decoupage is super easy and only requires a couple of supplies. You can, if you'd like, use a larger frame or spend more time, but this project is really simple if you'd like it to be.
Materials
- Photo frame
- Patterned papers, coloring pages or other decorative papers (tissue paper works well too)
- Mod Podge
- Paint Brush
I used my own Cricut Adhesive Backed Deluxe Paper for this project – find out more about it here.
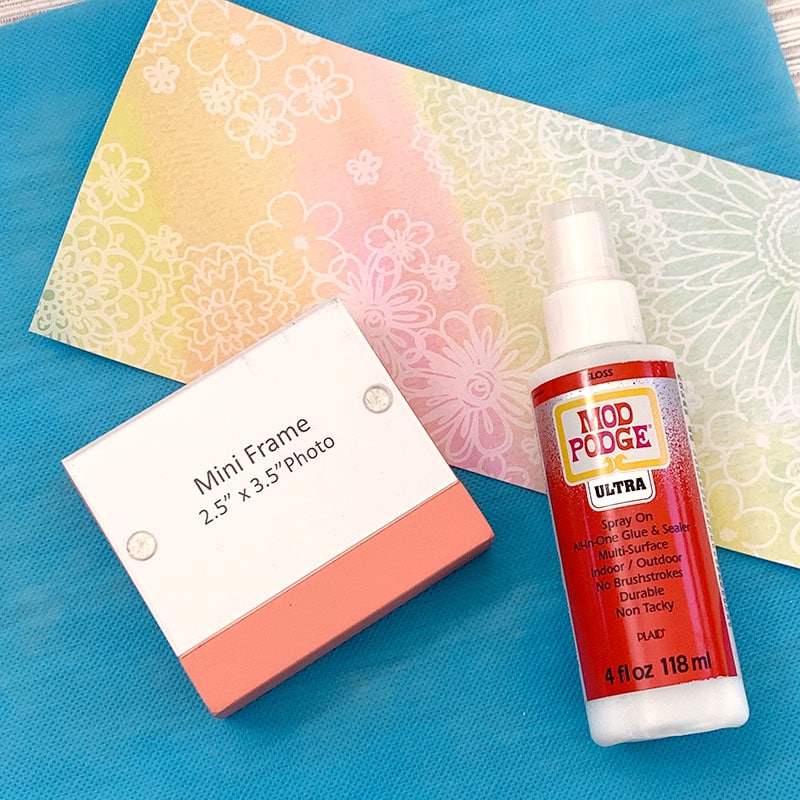
You can use a traditional brush on Mod Podge, or try the spray variety. I prefer to brush on, so I used the spray as my liquid to paint.
Instructions
- Make sure your picture frame is clean and dry. You don't have to do any crazy cleaning or scrubbing, just make sure there isn't obvious dirt or paint in the way.
- Apply a coat of Mod Podge. Before it dries, apply paper. Apply a top coat of Mod Podge.
- Repeat step 2 for as many layers of paper as you'd like to add. You don't have to wait for the Mod Podge to dry to add a new layer of paper. In fact, you'll get better results if you apply each layer when the surface is still wet.

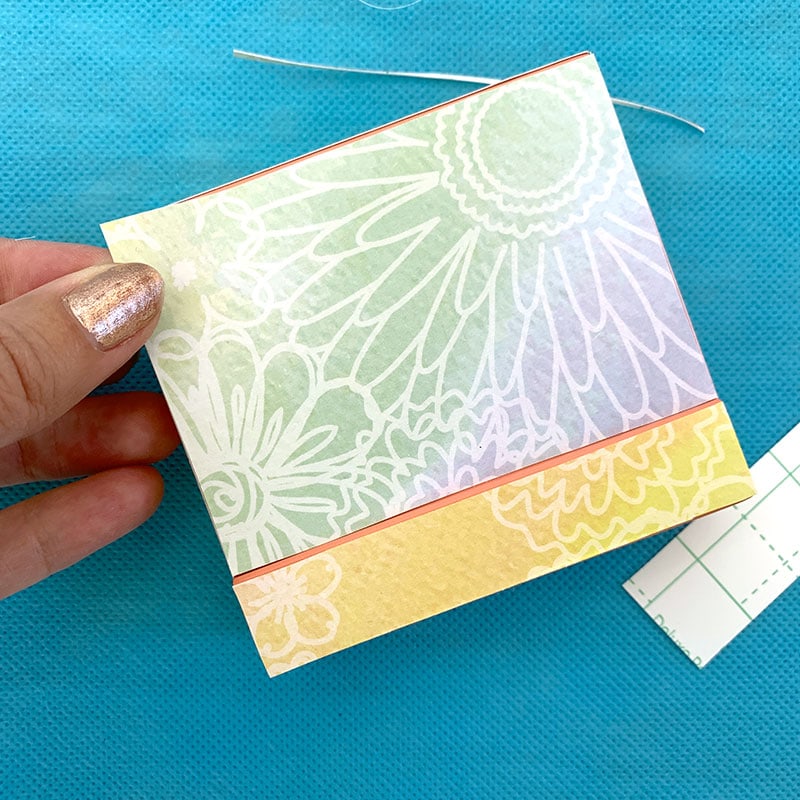
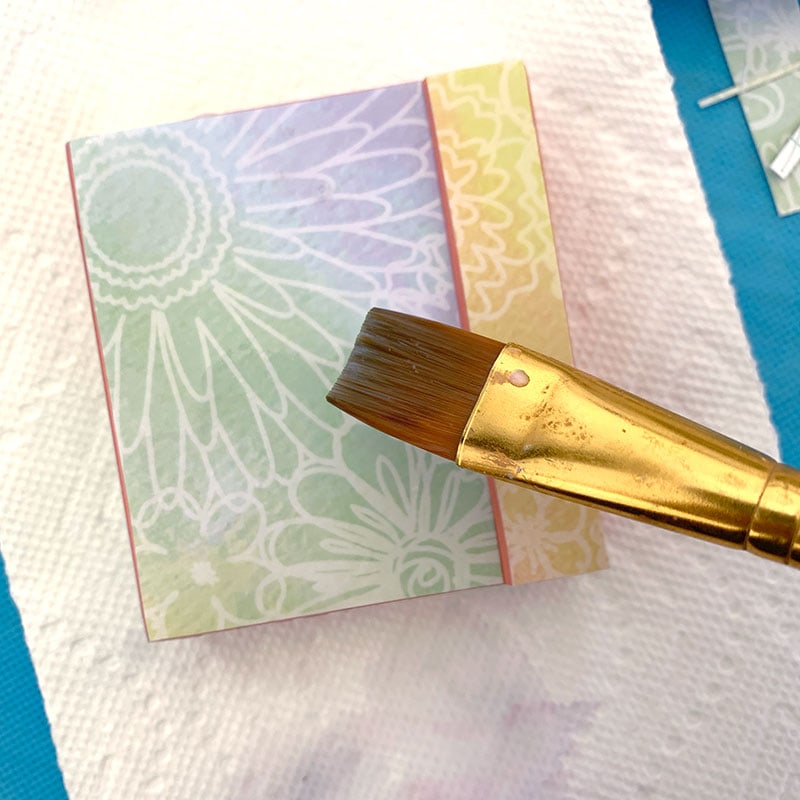
Alternatively, if you use adhesive backed papers, you don't necessarily have to apply a layer of Mod Podge first, just on top to seal. That said, depending on the surface of your frame, applying a base coat of Mod Podge can help ensure your papers will adequately stick to the frame and stay put.