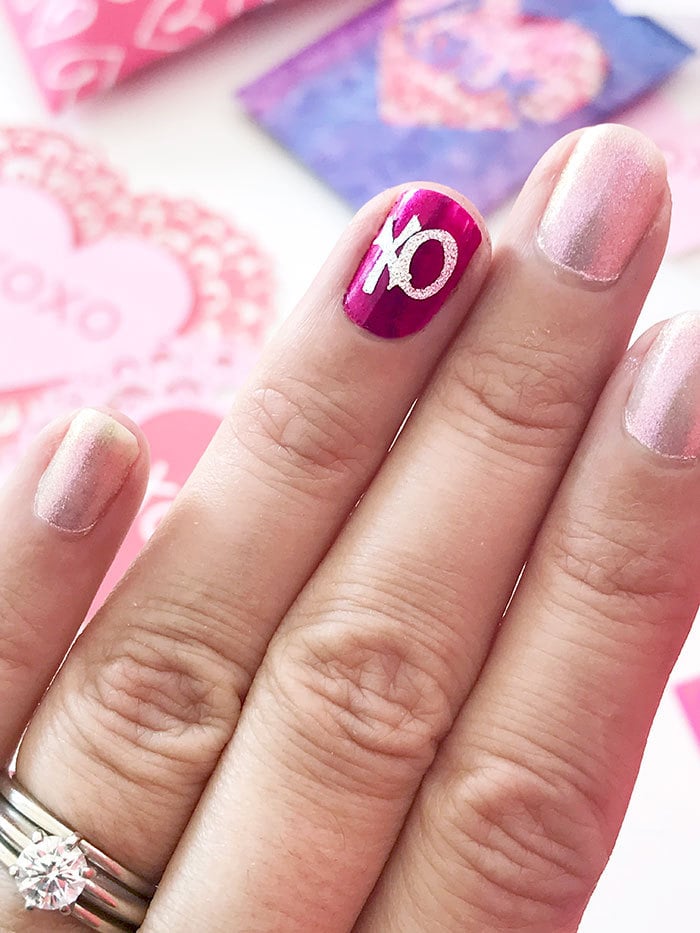
make easy Valentine nail art decals with your Cricut. This is an easy Valentine Cricut Project you can make in minutes. Pick your favorite nail color and then add cute little XO nail decals for fun accessorizing. You can also create nail decals in different colors and sizes to fit all of your nails or share with friends.
Use Your Cricut to Make Valentine Nail Art Decals
I've set up a Cricut Design Space canvas so you can easily get started making this nail art project. Pick your favorite adhesive vinyl to cut the hugs and kisses (XO) design and you're almost finished. I used glitter vinyl for this project, but any of the adhesive vinyls will work. You can also use paper if you prefer, it just takes a little more prep to adhere the nail art.
Materials
- Cricut Machine
- Cricut Design Space Account
- XO Nail art project designed by Jen Goode
- Adhesive vinyl
- Nail polish and top coat
Instructions
- Follow the on-screen instructions to cut the nail art designs.
- Weed excess vinyl so the nail art is ready to peel and stick.
- Paint your nails with your favorite polish color and let dry thoroughly.
- Apply the Valentine nail art to each nail as you'd like.
- Apply 1-2 layers of top coat polish to seal the vinyl in place. Let dry.
- Tip: If you find the decal peels off easily, either choose a stickier vinyl or apply a layer of top coat polish and apply the vinyl before the polish dries completely.
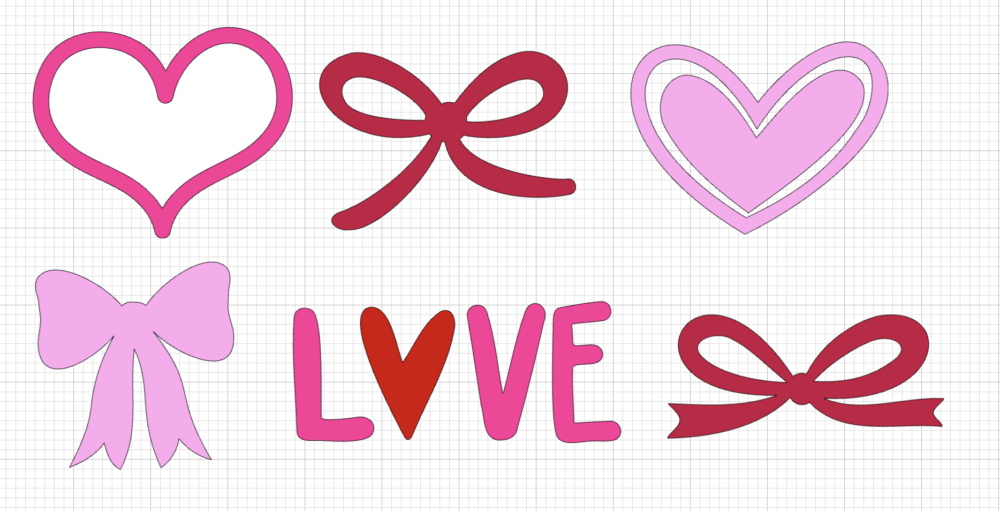
Make Valentine decal stickers for nail art with some of these cute images. You can find them through this Cricut Canvas.
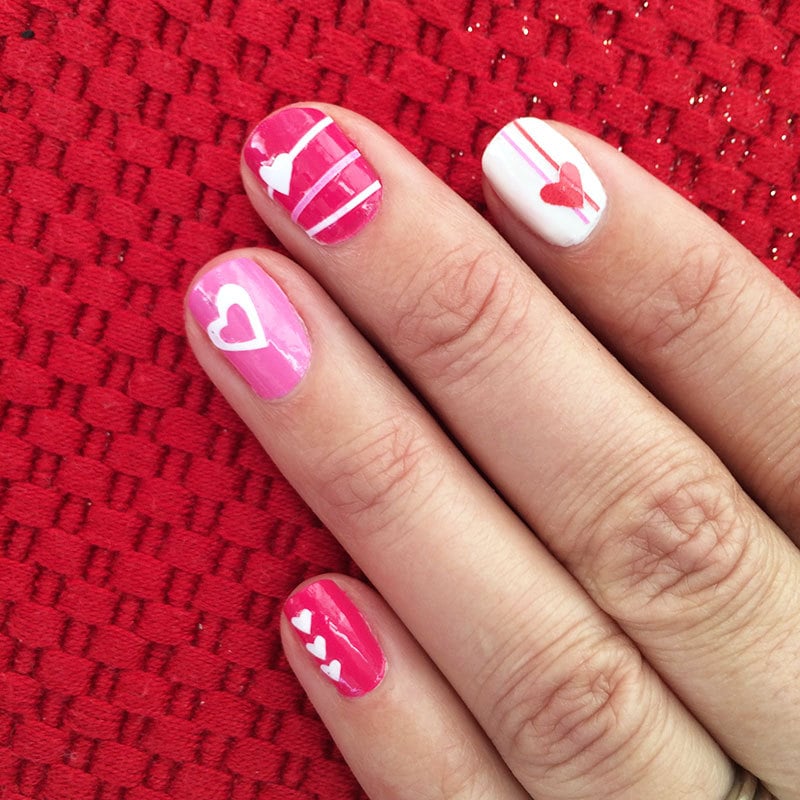
Recommended: Heart nail art decals with Cricut
Cricut Pro-Tips for Perfect Nails
- The “Stick” Secret
Use Permanent Vinyl (like Oracal 651) for your decals. It has a stronger adhesive than “removable” vinyl and will last much longer under a top coat. - Avoid the “Peel”
Before applying decals, wipe your dry nail polish with rubbing alcohol. This removes any oils that might keep the vinyl from sticking. - Seal the Deal
Always apply two thin coats of clear top coat over your vinyl. Be sure to “cap the edge” (swipe the brush across the very tip of your nail) to lock the decal down and prevent it from snagging. - Size Matters
In Cricut Design Space, aim for decals between 0.20″ and 0.35″. For child-sized nails, drop down to 0.15″. - Wait for It
Make sure your base color is 100% dry (wait at least an hour) before sticking vinyl on top. If the polish is still “soft,” the vinyl will pull it right off when you try to reposition it!
More Cricut Nail Projects
I designed this project thinking of Valentine's Day, but you can certainly create pretty hugs and kisses nail decals for a wedding, an anniversary or just because. Here are more Cricut projects to create with your Cricut for Valentine's day.
- Another Valentine Nail Art idea to make with your Cricut
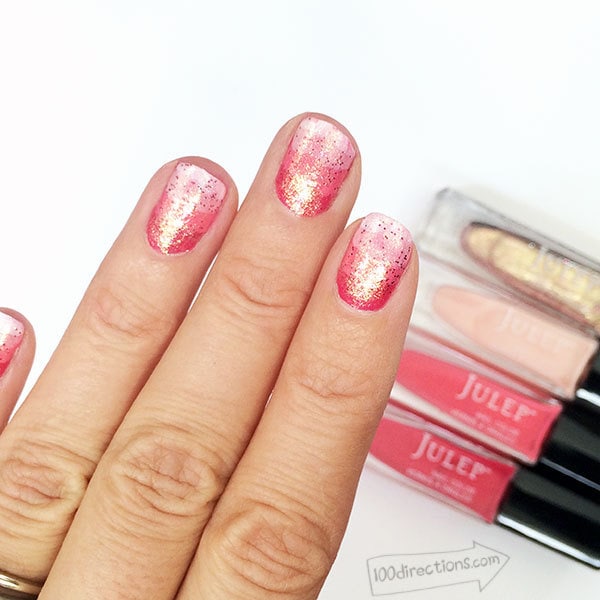
- Paint a pretty ombre nail color blend before adding your nail art decals, here's how.
- More Cricut projects you can make.
- More Valentine projects you can make
More Valentine Cricut Project Ideas to Make
I've partnered with some of my favorite creative friends to share all kinds of Valentine ideas this week. The Country Chic Cottage, 30 Minute Crafts and I are featuring Cricut projects you can make for Valentine's day. Today is Day 2 in the series, check out Day 1 of Valentine Cricut Project Ideas and then come back tomorrow for more creative fun!


Such a cute idea I never would have thought to use my Cricut for nail art!
Thank you! We love making tiny nail decals with the Cricut over here… especially because you can resize the art to fit all sizes of nails.