I love mixing and matching materials to make a finished craft project that's both pretty and functional. Today I'm going to show you how to make pretty mixed media gift tags use some of your extra crafting crafts. They're like little pieces of art you can gift as an extra gift with each of your wrapped packages.
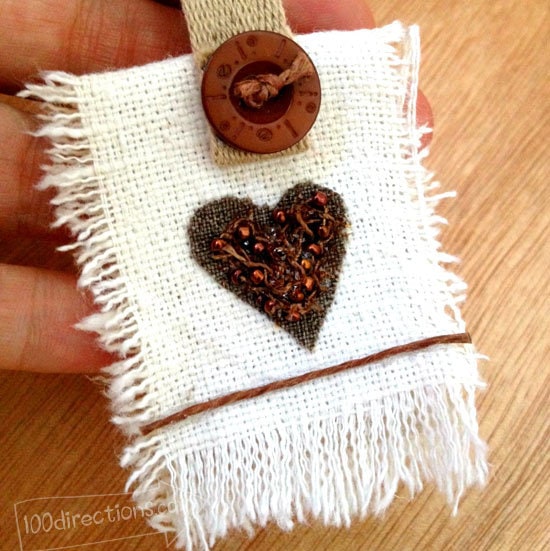
You can use a wide variety of materials to make your own little gift tags. Think of your scrap box or even Goodwill pile of old clothes. You don't need a large quantity of supplies, so just about any left overs will work. Go through and see which textures and colors you like together. I'm going to share the materials I used just as a rough guide to help you start thinking of materials you want to use.
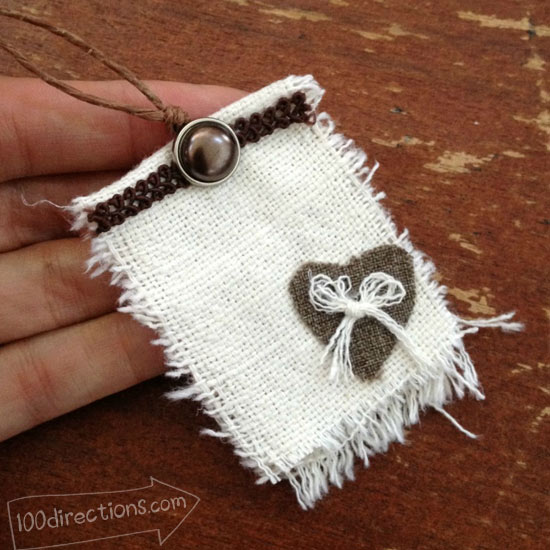
Materials I used:
- Canvas fabric
- Various brown ribbon and beaded trim
- Brown buttons
- Brown twine
- Brown (kraft) card stock
- Beacon Adhesives 3-in-1 glue (love)
- Scissors
- Black ink pen (to write the message)
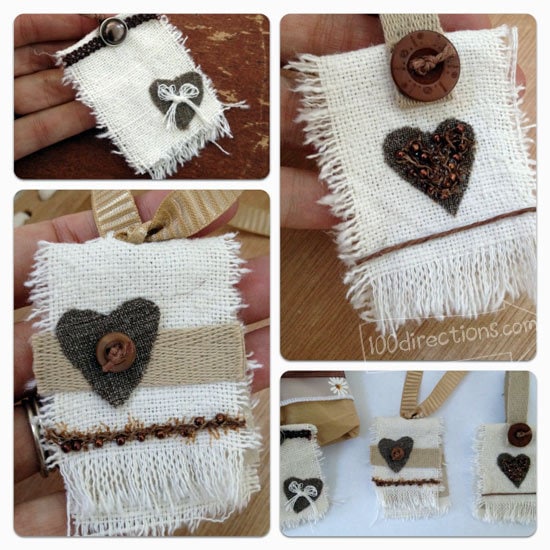
Step-by-step instructions to make your own fabric gift tags
- Cut a piece of fabric and fold to create a card style “cover” for your tag.
- Cut a piece of card stock, slightly smaller the cover, glue to the inside panel of fabric card. Applying glue just to the top of the card stock is sufficient.
- Decorate the front of the tag. Use fabric, buttons, paper and trim to create a design you like.
- Add a hanging or tying string. Adhere, tie or thread in place.
- If you have a little more time, optionally stitch components in to your tag as you'd like.
- Write a message on the card stock on the inside, attach to your gift.
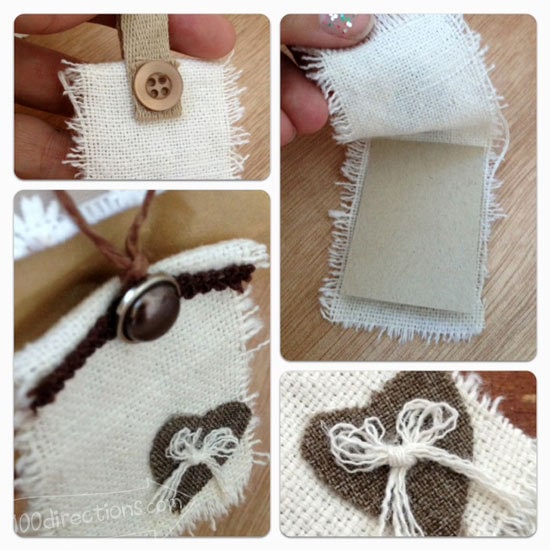
Tip: when adding buttons to your tags, if you aren't sewing them in place, tie a piece of twine or thread through the button and then glue in place. This will give the look of a button stitched onto your tag, even if you don't actually sew it on.
I made a set of 3 of these tags in just about 30 minutes. That included time to dig up the supplies and deciding what I wanted the tags to look like. If you already know what you want to use, you could easily make a set of these handmade gift tags in no time at all.
I didn't plan it this way, but I wrapped up a special gift for someone and the tags I made for this tutorial just fit perfectly, so I used one to accent the gift… isn't that so pretty!?
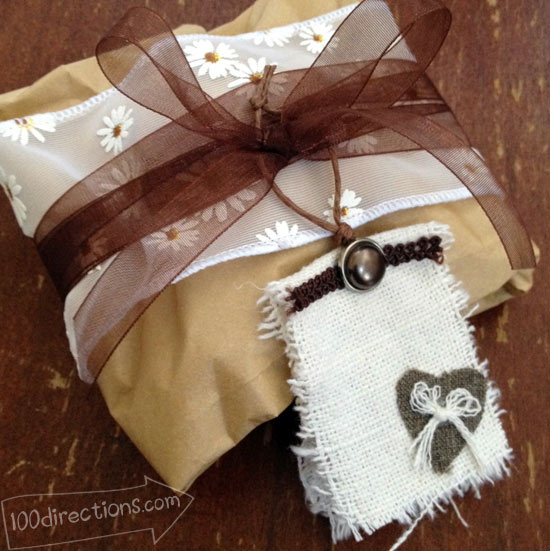
I think simple textures mixed together can make some a lovely statement. Add your own personal touch using the materials you have and make custom gift tags. I'd love to hear how they turn out!


