You can design fabulous accents for your home decor with just some paint and a stencil. Stencil1 has some absolutely beautiful stencils you can use to create custom accents and beautiful personalized art. AND you don't even have to be a pro! I don't stencil a whole lot. I tend to be a messy stenciler. My edges are never entirely crisp and then I wonder if I'm doing it all wrong. So when I was asked if I would like to design a project for Stencil 1, I had to really think about what I wanted to do. I decided to jump in with both feet and design a statement piece for my son's room. Check it out… I created a hand stenciled headboard using a Stencil1 11×11″ pattern stencil in orange and blue for my Bronco football loving kid!

Design Your Own Stenciled Headboard
I usually create projects my daughter would love, so this was a whole new challenge. My poor son never gets the glitter! (I think he's ok with that.) Some of this is because boys are messy and don't care about pretty things… or so they say. This is what we started with…
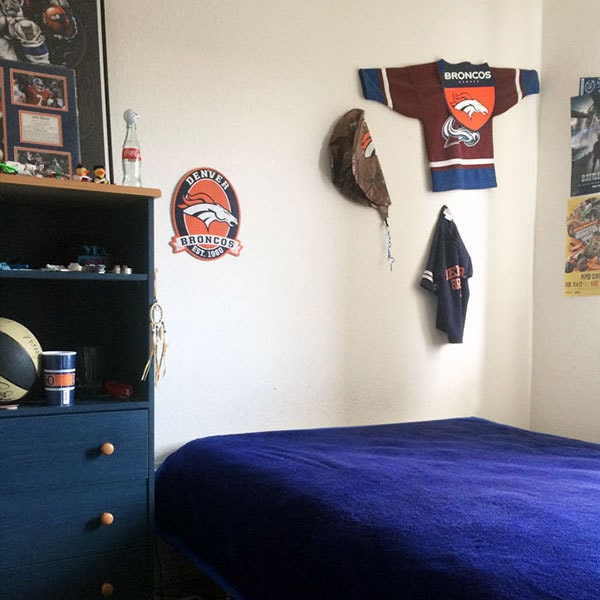
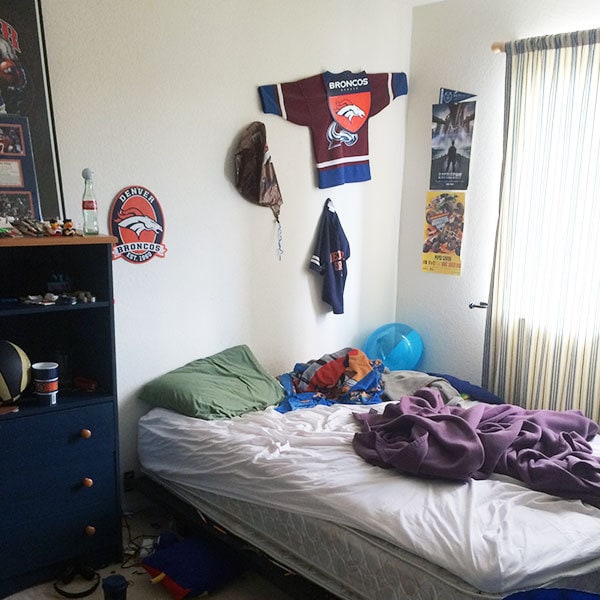
That's actually a lie. That picture is what we started with after an hour of me forcing my son to help clean. Yes, please do note the fancy wall decor pre-stenciling. However, take another look, THIS (below) is REALLY what we started with… He's 12, we'll give him a pass for a few more years.
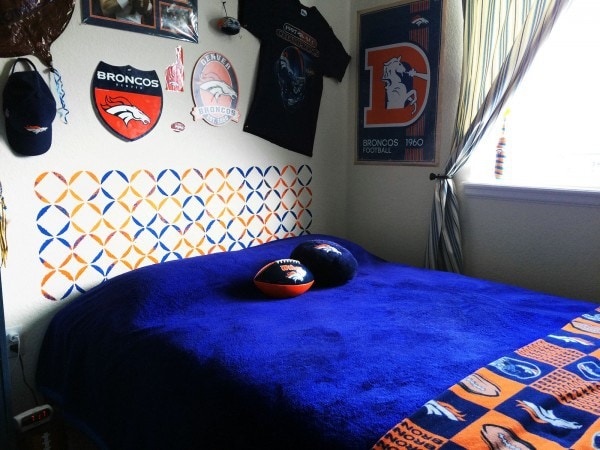
I can't claim that Stencil1 actually cleaned and prettied up my son's room. But the magic that happens when you add your own creative touch to a space is pretty powerful. The photos don't lie. His room is a little nicer after this project. PLUS we had a mother/son afternoon over paint and stencils. All good stuff if you ask me! And look what we came up with together…
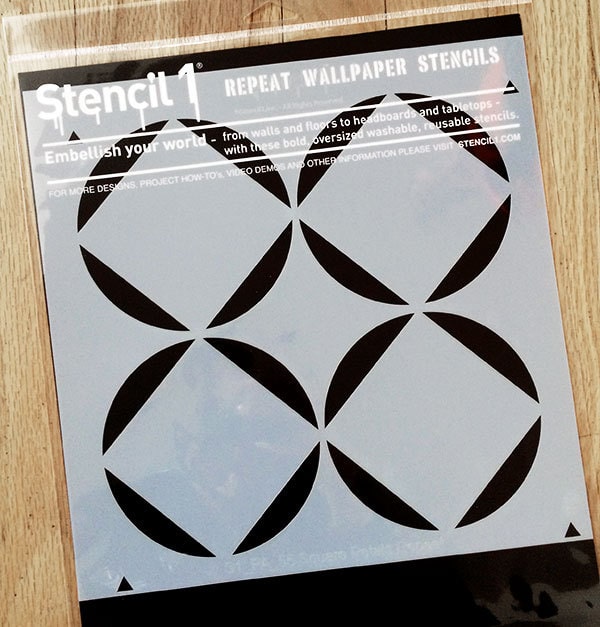
Thinking before we paint. Planning the project is important. Paint on the wall can't just be redone in seconds like a new paper project. The first thing I had to solve with this project was the need for a crisp line. We have knock-down textured walls… nothing is crisp. So I knew ahead of time I wanted to create more of a grunge style design. This made picking the colors and the pattern I wanted to use even easier. We went with an orange and a blue standard paint for Bronco football and a cool geometric design. I chose the Square Petals pattern stencil for this project. It's a great versatile pattern that can be used for so many different projects.
Materials you need:
- Stencil1 11×11″ Square Petal Pattern Stencil
- Paint colors in your choice of colors – I used a standard acrylic craft paint
- Medium to small sponge brush – one for each color of paint
- Repetitional spray adhesive
- Painter's tape
- Pencil
- Disposable bowls
- Paper towels
- Something to cover your workspace – I used a large lawn trash bag cut open
- Level – not entirely needed
Instructions to make your own stenciled headboard
Prep: cover your work area so you don't end up with accidental glops of paint on the carpet – especially if the kids are helping. Wipe down your wall. If you have any big dirt spots or anything grimy, take a damp cloth, wipe it down and let it dry. Pour paint into individual disposable bowls, one for each color.
Set up the stencil space: I measured the top edge of where I wanted the stenciled design, taped it off and made sure it was level. I didn't measure the width, I eyeballed it because I knew the bed could move slightly if I needed to adjust placement. You don't need a giant level, but making sure the top edge is straight is important when you start.

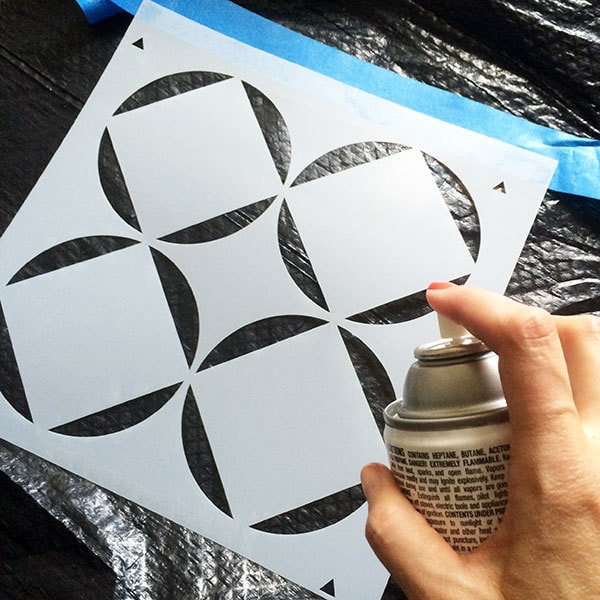
Setting up the stencil: add some tape to the top edge of the stencil. Spray some spray adhesive on the back of the stencil. DO NOT just spray where ever – this is not hair spray, it will stick and will become an irritation if you don't use it correctly. I use my giant trash bag as a spray area. I place the stencil on the plastic, spray lightly – LIGHTLY, too much is messy.
Place the stencil on the wall and gently rub it onto the wall, making sure the adhesive sticks as best as it can to the wall. Remember, if you are painting on a textured wall, you aren't going to get a clean, crisp seal, so you're lines are not going to be smooth. Go with it, the stencils look so cool on this kind of wall!
Now you're ready to place the stencil on the wall. Once you have it on the wall where you want the first part of the pattern, use your pencil to lightly mark the triangles on the stencil. This will allow you to create a repeating pattern really easily.
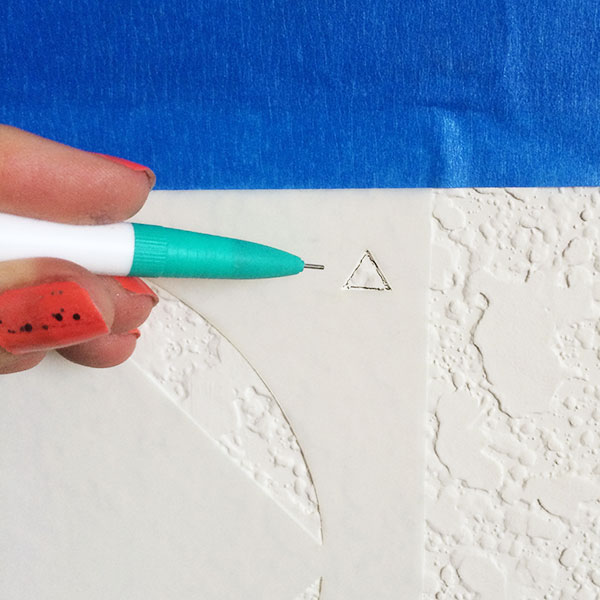
When you move the stencil to the next spot, you just line up the triangles and VOILA! the stencils will repeat beautifully.
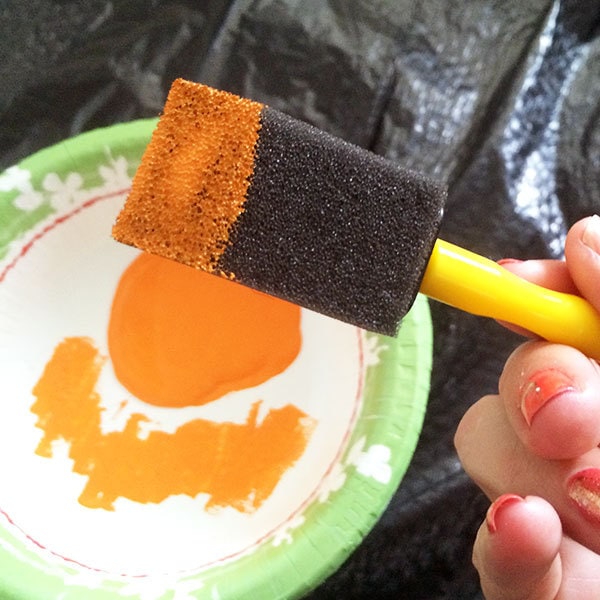
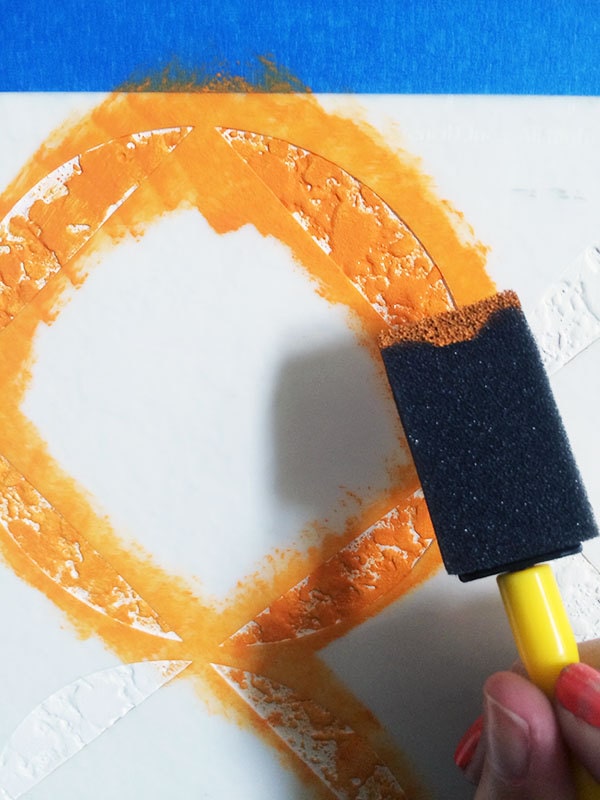
Let's Paint! So once you have the stencil in place, take your sponge brush and dip it in the paint. Dab the brush on the side of the bowl to remove some of the paint. Too much paint on the brush and you'll end up with gloppy, messy stencil designs.
Gently dab the paint onto the wall within the stencil opening.
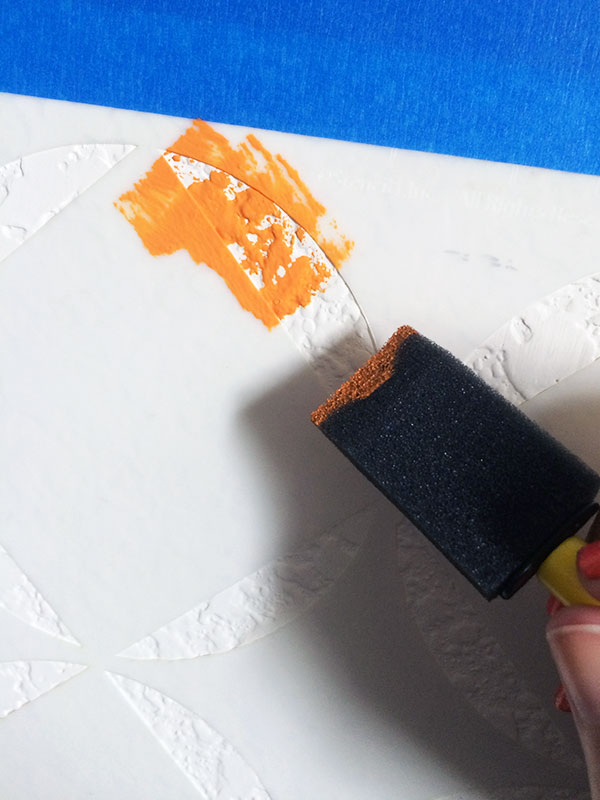
Continue dabbing until you've covered the area as thoroughly as you'd like. I layered paint, so in some cases I did not cover the entire stencil with a single color.
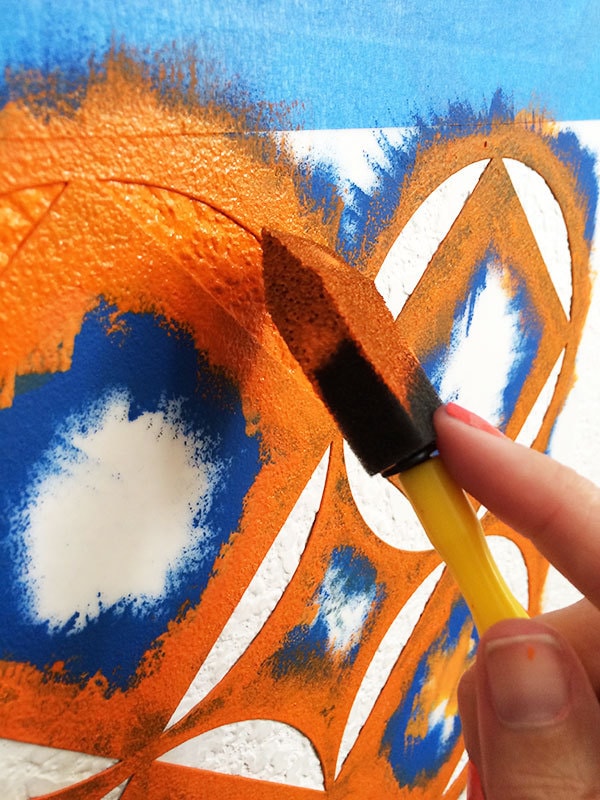
Tip: for the best results, paint slowly. Go over one area lightly, allow it to dry a bit and then go over again. This helps to prevent any goopy edges around the stencil design.
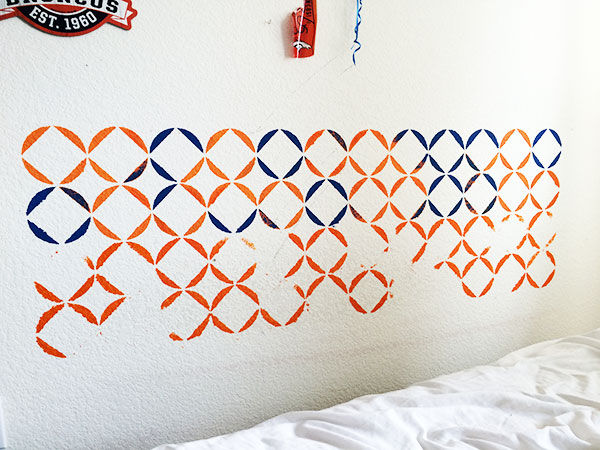
For the look I wanted, I was using orange and blue and a bit of grunge style. So I left some edges unfinished and I overlapped colors.

A whole row finished… YAY!
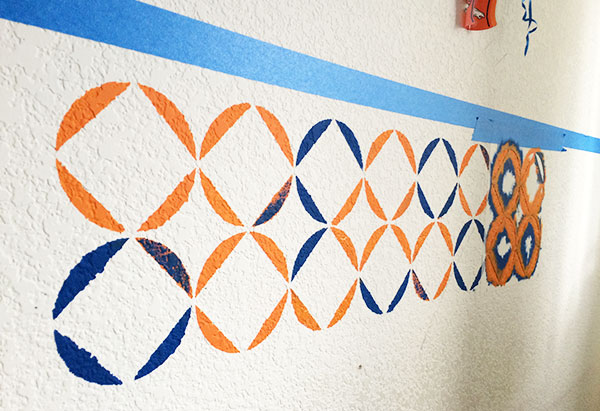
You can go back and touch up some of the edges if you'd like. We loved the look and continued to paint a second row. Again, adding rows, you line up the triangles you've been penciling in and the pattern will follow itself perfectly. Smart folks over there at Stencil1!
I love this look of layered paint!
Tip: make sure the paint is dry on the stencil before applying a second color. I made some muddy orange/blue a couple times… oops!
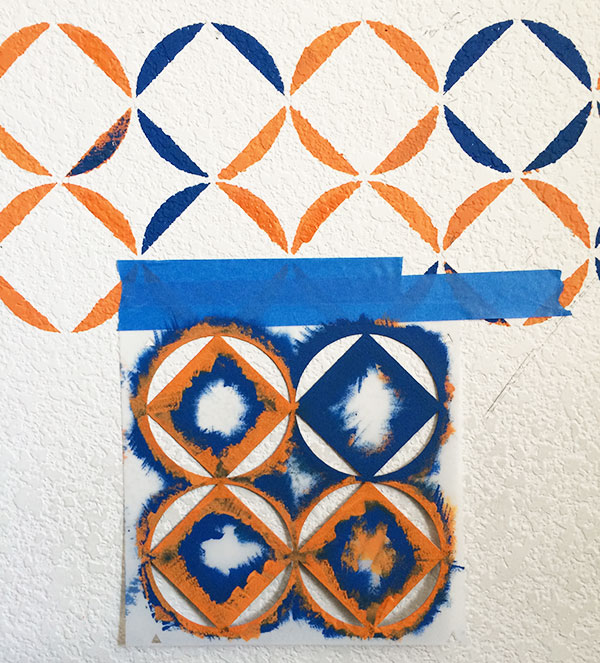
I started the second row in the middle of the design. No particular reason other than That's where I was sitting and I wanted to run with the process. We did not clean off the stencil as we went along. If I did this again, I would recommend buying 2 stencils so one could be drying while you're painting with the other.
This second row went realllly quick. I went through and just added orange all along the row. Then I went back and added blue. I found this process much quicker than my original orange and blu rotating on each stencil placement. Play around with it and see what works best for you.
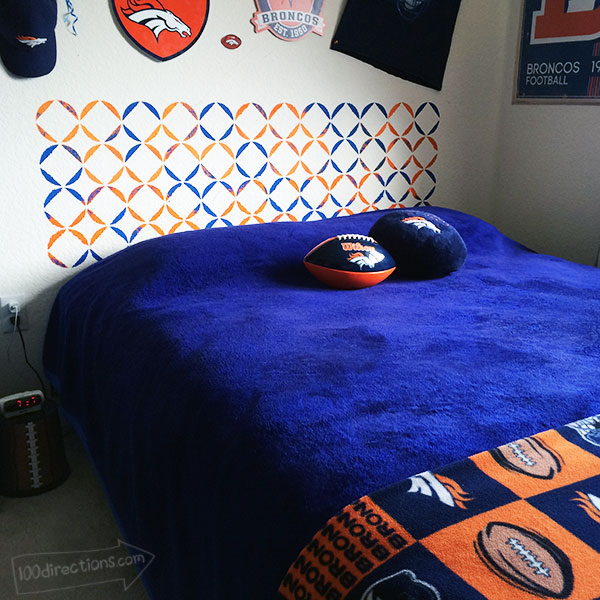
And here we go… all finished! See that magic happen? All new decor on the wall, the bed is made and even the bronco pillow football has a home… all because there's a pretty Stencil1 headboard on the wall. Love it!
What would you do with a Stencil1 Stencil? Check out all the designs they have and let me know. I'd love to hear about your creative ideas.
Disclaimer: This post is sponsored by Stencil1, the room, the creativity and all that paint was all my own.


