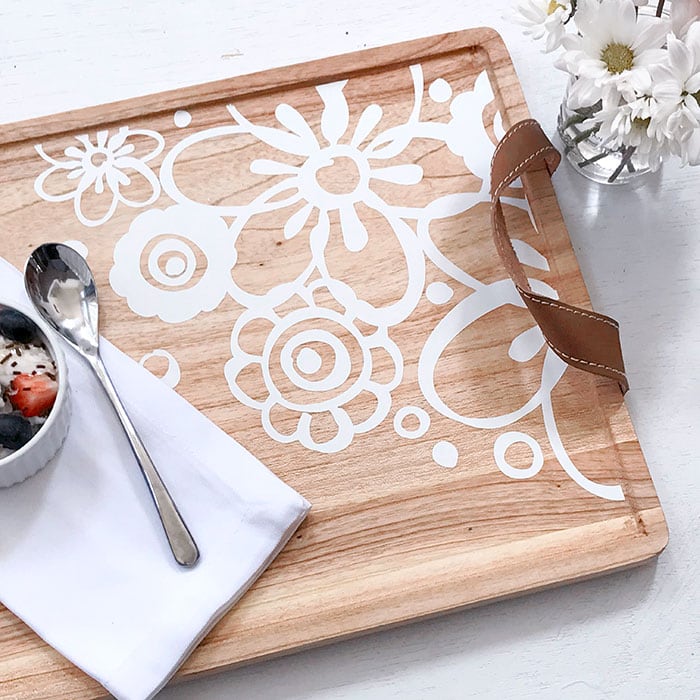
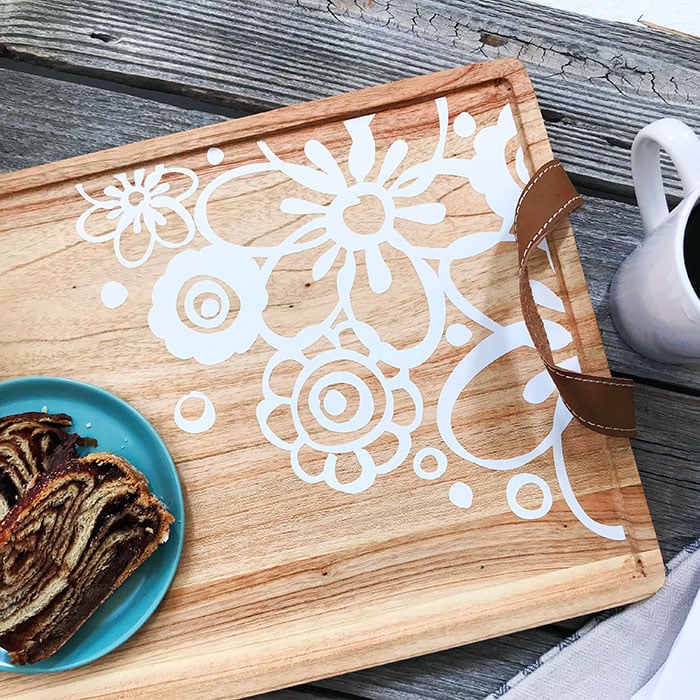
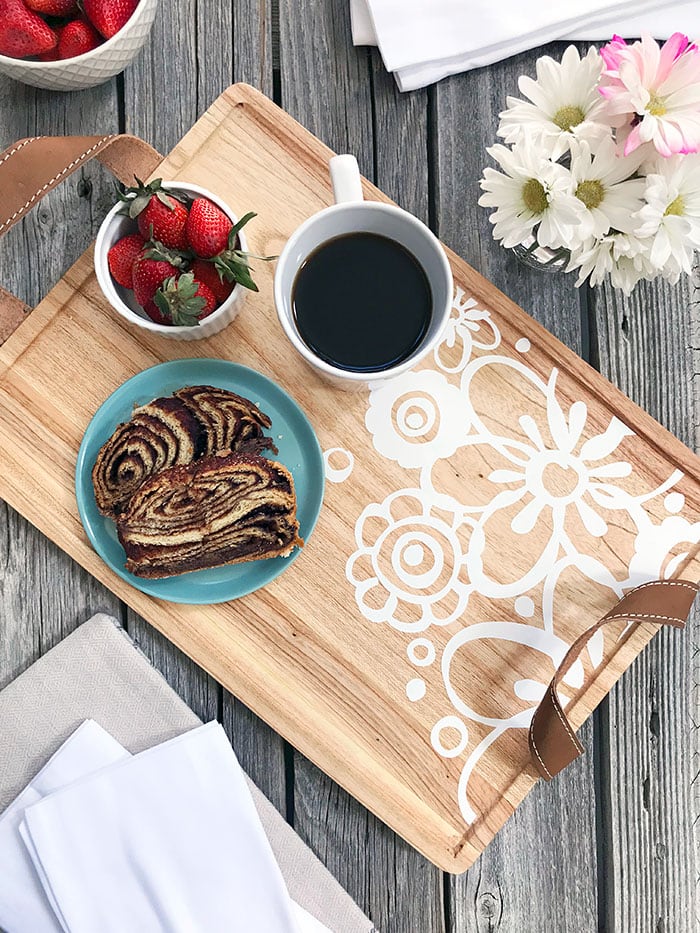
Dress up a wood serving tray with pretty art details. Learn how to make a decorative serving tray with a wood tray and vinyl cut designs. This easy step-by-step tutorial will show you everything you need to create your own pretty tray for parties and gifts and you can create this project in literal minutes!
Use your Cricut to cut fancy vinyl art designs that are unique and fun to make. You’ve got to love a quick craft, Cricut projects are my favorite!
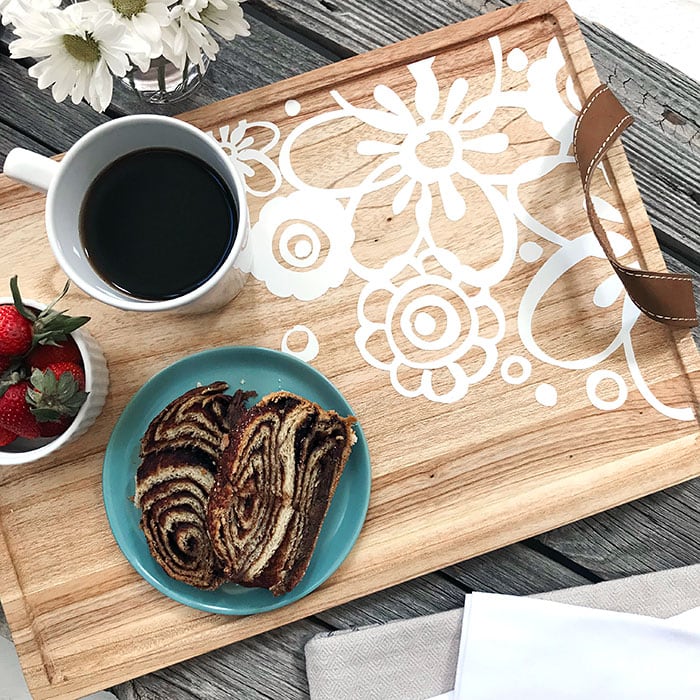
Make your own Decorative Wood Serving Tray
You can customize the look of any serving tray with just a few steps. For this project, I used a pretty floral design that I created. It’s free to use and available right in Cricut Design Space. You can edit the design to fit your tray however you’d like. See below for steps to fit the design to your exact tray.
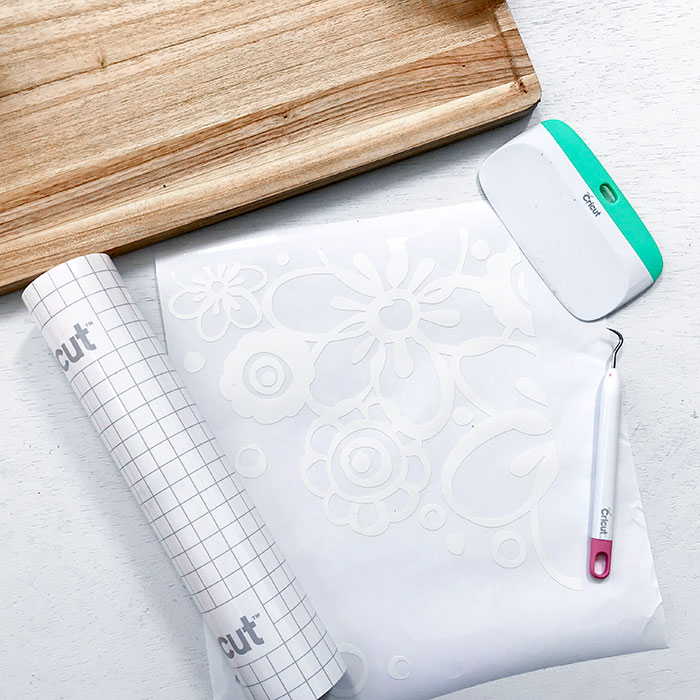
Materials
- Cricut Machine
- Cricut Design Space
- Floral cut design by Jen Goode (click here to go to the ready to make canvas)
- Wood Tray
- White Vinyl
- Vinyl Transfer Tape
Find this art in Cricut Design Space. You can find this art, already set up and ready to go in Cricut Design Space. I’ve set up the image, cut down, ready to cut. I’ve also included the full image so you can make coordinating projects. Let me know if you have any problems finding it.
Instructions
- I’ve already set up the project file with everything you need to create this same art design. Just visit Cricut Design Space.
- Measure your own tray to get the dimensions you need to cut your design.
- You can use my pre-cut design and resize for your own tray. Or, slice the original design to suit your own sizing needs.
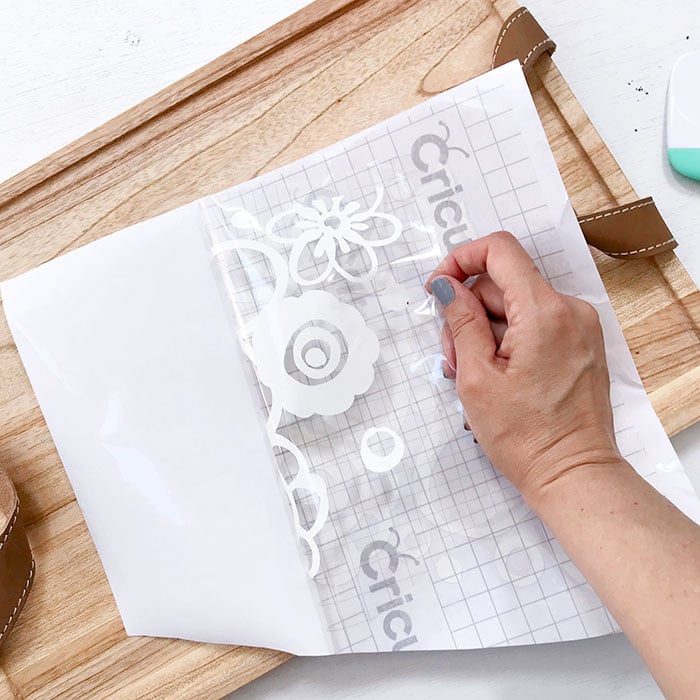
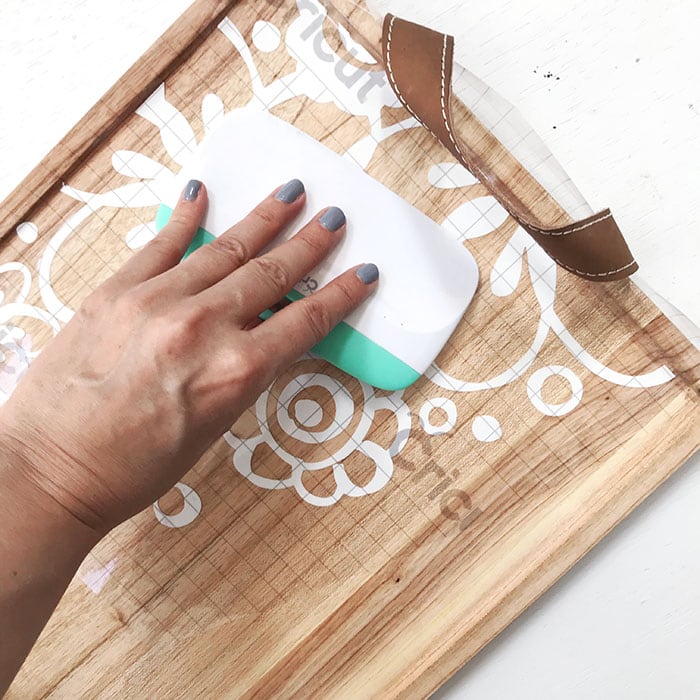
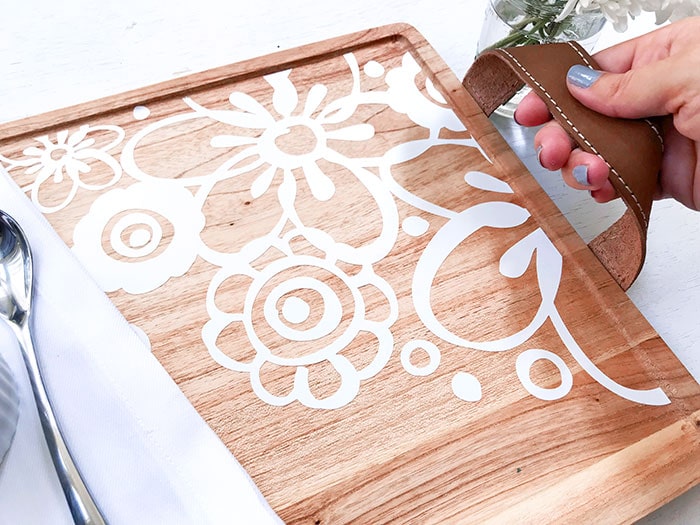
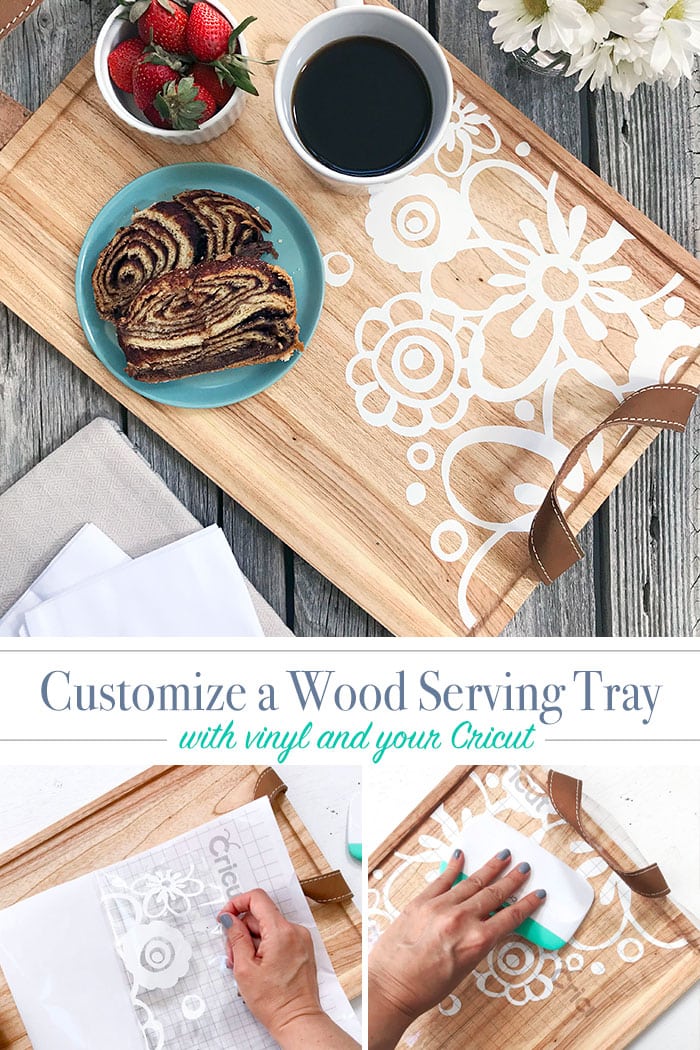
- Once you have your vinyl cut, use the transfer tape to apply the vinyl art to your tray. Make sure to burnish the vinyl well to ensure it is secured in place. You can also try using iron-on vinyl to heat set your design. My tray has a little dip in the construction, so I wasn’t sure my Easypress would fit and seal the HTV well.
- If you’d like, seal your tray to ensure a long lasting design.
Click here to make this project in Cricut Design Space
Note: I used a removable vinyl on my tray so I can reuse the tray with a variety of different designs.
How to size your vinyl cut design to your specific serving tray
Resizing and fitting art to specific dimensions is pretty simple in Cricut Design Space. Here’s how I set up the art for this serving tray project.
- Measure the tray space that you’d like to decorate.
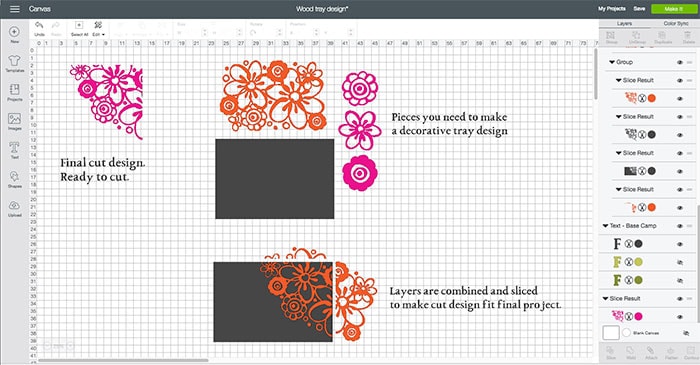
- Create a block in Cricut Design Space that fits these same measurements. I use the basic shapes square and resize as needed.
- Layer the design you’d like to cut, right on top of the block you’ve created.
- Select both the decorative design and the block and click on “slice”. You should end up with a design that has been cut within the dimensions of the block you’ve created. Hide or delete all the other pieces and you’re ready to cut your vinyl.
Tip: if you are combining multiple cut designs into the same space. You can either individually slice each design. Or, you can weld all the different pieces together (do not include the block in the weld) first and then slice with the block. Play around with these options and see what works best for you.
Where to get a wood tray for crafting
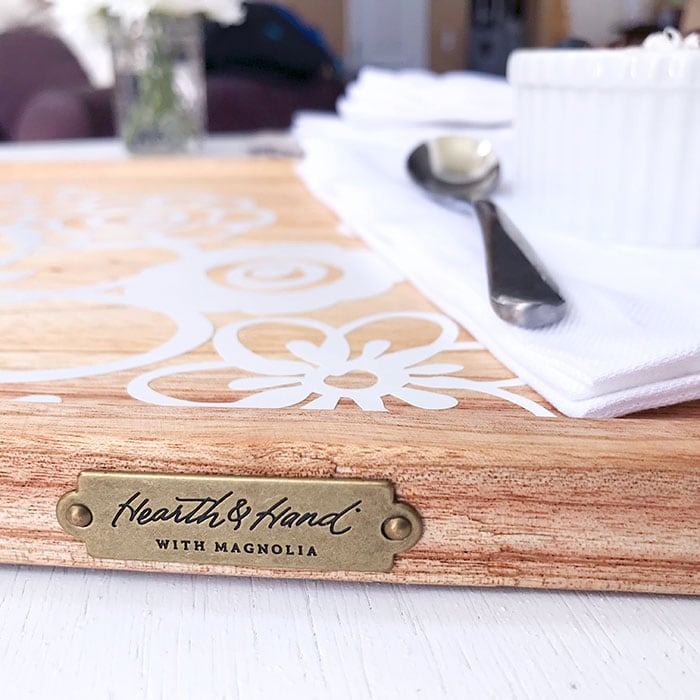
You can find wood trays to use for decorating at a variety of stores. You can also make your own wood tray, I’ve found a number of tutorials on Pinterest. I picked up the tray I am using in the clearance section of home decor at Target, isn’t it pretty?
Buy your own set of nesting wood trays at Amazon, they are perfect for all kinds of crafts. If you use the removable vinyl, you can decorate the fanciest trays without worrying about permanently changing the tray.
Have fun with your wood tray designing. You can use different colors of vinyl, foil vinyl or create a single color design like I did. You can also decoupage wwatercolorpaper designs if you’d like. Check out all the vinyl options on the Cricut website, there are some pretty printed pattern styles too! Click here to make this project in Cricut Design Space
More DIY Wood Craft Ideas
Here are a few other wood projects I’ve created I think you might like. I tend to make more wood crafts in the winter, so most of my tutorials are holiday themed. But you can create these same type of projects all year round!
Today I’ve joined in with my friends at Craft Lighting and we’re sharing all kinds of wood projects you can make in under 15 minutes. Check out all the fun ideas that are being shared this week!

More DIY Wood Serving Tray Ideas
Looking for more wood tray ideas? I’ve found a few I think you might like.
- Make Rustic Stenciled Coffee Tray
- How to: Pretty Fabric Lined Wood Tray
- DIY Chalkboard Serving Tray
Do you like to create crafts with wood? If you have a favorite wood craft project, I’d love to hear about it!


Hi Jen,
I’m looking for the Floral file so that I can make the serving tray. Can you help me ?
Hi Victoria, the image is included in the Cricut Design Canvas than I’ve set up for this project. You can find it here.
Love the serving tray — it’s got SO much more style now!
It turned out great Jen!