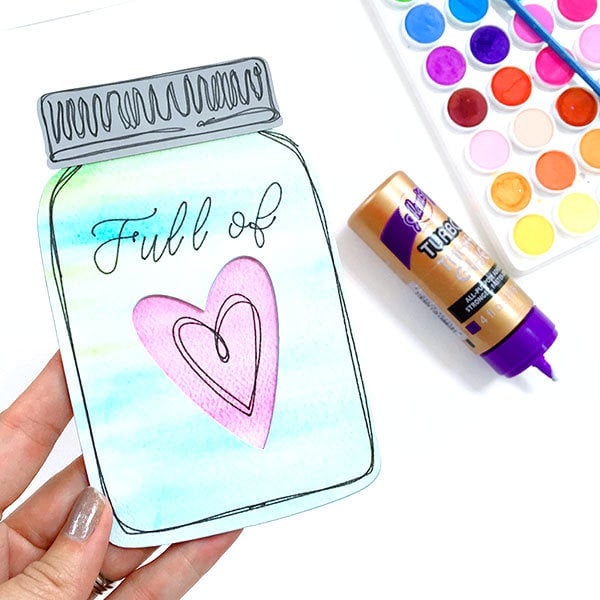
Create your own pretty little Mason Jar wall art with just a few supplies and your Cricut Machine. The piece includes a heart cut out and the phrase “filled with love”, handwritten with the Cricut’s write feature.
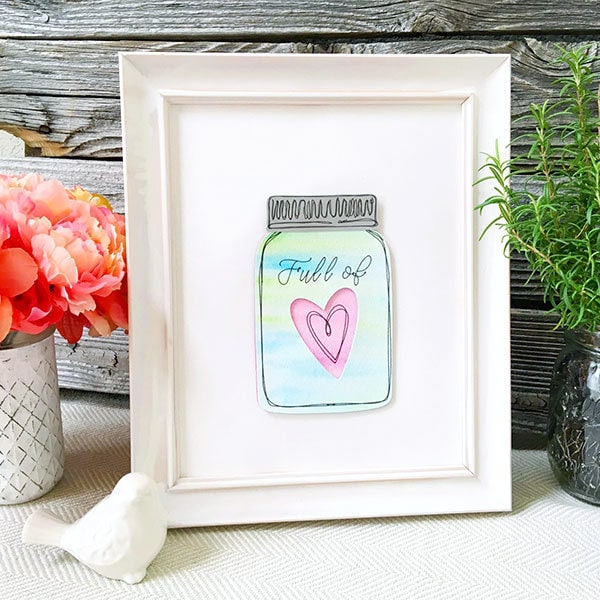
Cut out the art using your favorite cardstock colors or create your own watercolored paper for a decor piece that is truly custom. This is a fun Cricut project that is easy to create and super simple to customize by just changing out with your own favorite colors.
Cute Mason Jar Wall Art
This Mason Jar Cricut project can be created as a piece that you can display or give as a gift… you can add your own little personal touch to the kitchen with this fun mason jar wall art design. Customize wit your own colors, paper patterns or custom paper designs.
Materials
- Cricut Explore Cutting Machine
- Cricut Design Space™ software
- Mason Jar designed by Jen Goode
- Cricut Fine Point Pen in Black
- White Cardstock (3)
- Teal Cardstock (1)
- Pink Cardstock (1)
- Gray Cardstock (1)
- Glue – ( I use Aleene’s Tacky Glue)
- Photo Frame
More Cricut Projects: View my Cricut Design Space project library
Instructions
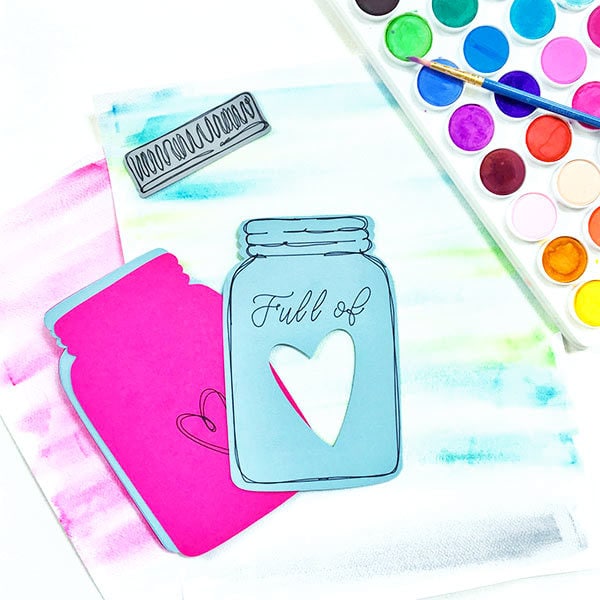
- Watercolor two pieces of white cardstock and allow to dry thoroughly.
- Following onscreen instructions to cut each of the mason jar pieces. First draw/write, and the cut the jar and lid from the appropriate cardstock. I used a watercolored paper piece for the jar and a gray piece of cardstock for the lid.
- Next, cut 4 of the main jar design without the drawn art, with the heart cutout. Use whatever color cardstock you’d like for these pieces, I used white. These jar cutouts will be used to layer together.
- Finally, cut another jar design, without drawing, from your second watercolored cardstock. I used a pink watercolored piece for this… it is the back piece, without the heart cut out and is the color the heart will display.
- Layer all the jar pieces on top of each other, applying glue between each layer. I used glue with a paintbrush.
- Press all the carstock layers together firmly and allow to dry thoroughly.
- Glue the finished jar art to the center of the background cardstock piece.
- Frame and enjoy.
For extra sparkle, add some glitter accents or sprinkle with a layer of fairy dust-style glitter.

If you make this project, I’d love to hear about it! Stop back by and tell me about it. Stop by the 100 Directions facebook page or tag me #jengoodeart to show me your creations!